
In this series, Muzzle Blasts Field Agent Ethan cracks open a Traditions St. Louis Hawken Kit and builds it. These kits are a simple and affordable way to get started in muzzleloading, and kits are bigger than ever with COVID 19 keeping many at home.
Check out this list of kits to find the perfect one for you
NMLRA Members can order their Traditions kits from Flintlocks LLC and receive an exclusive discount!

We’re finally ready to do our final assembly on this Traditions St. Louis Hawken Kit. We’ve got all of our parts treated, our stock is ready to go, and it’s time to see what it looks like all together!
To get started, I’ve placed all my small parts in my little plastic bin off to the side of my bench, with my barrel and stock on the bench. Some of your parts might be a bit tight, don’t fret though, this is normal after you’ve stained and oiled your stock. When setting these tight parts, be careful but forceful and you’ll get everything in just fine. If you are really having trouble setting your pieces, use the end of a wooden hammer handle or your non marring mallet to gently tap pieces into place.
I started by setting my lock, lock bolts, and the ramrod retention spring. Tightening the lock bolts down too much will make it hard to set your barrel and tang correctly, so keep them loose until everything is assembled.


Basically, you’ll follow the same process we followed for the dry fitting, except this time you won’t be taking everything back off again.

Next is the barrel tang, and then the trigger plate. I like putting these on at the same time because we can use the tang bolt to keep them together. Using your fingers, tighten the tang bolt until the threads catch the trigger plate. You don’t want this too snug, your tang needs a little wiggle room to get the barrel set.

At this stage, I recommend putting on your trigger guard. We’ll need to put the hammer on half cock to put the barrel on, and the trigger guard is going to help keep you from accidentally bumping the trigger and dropping the hammer when you don’t intend to. The trigger guard goes on with a couple screws, feel free to tighten these down.


Before you are ready to set the barrel, fit your nose cap and screw it down. You could probably fit the nose cap after the barrel is on, but you'll scratch the barrel up and mess up the finish in the process.
Placing your hammer on half cock, set your barrel by catching the hook breech in the tang and gently setting the barrel to the stock. Check your fit by looking for gaps between the barrel and the nose cap, if there are gaps, gently squeeze the barrel into the stock until there are no more gaps. Don’t get anxious and use a vice to do this, your hand will be plenty strong and won’t run the risk of breaking anything.
To secure the barrel, we can get out the barrel wedge and it’s accompanying brass inlay pieces. I marked my brass pieces with which end was up as well as an R or L denoting what side they belonged on so I had the right fit when assembling these. If you haven’t marked them, double check to make sure you have the right piece on the right side before you screw them in to make sure you have a nice fit. With these screwed, go ahead and insert your barrel wedge.


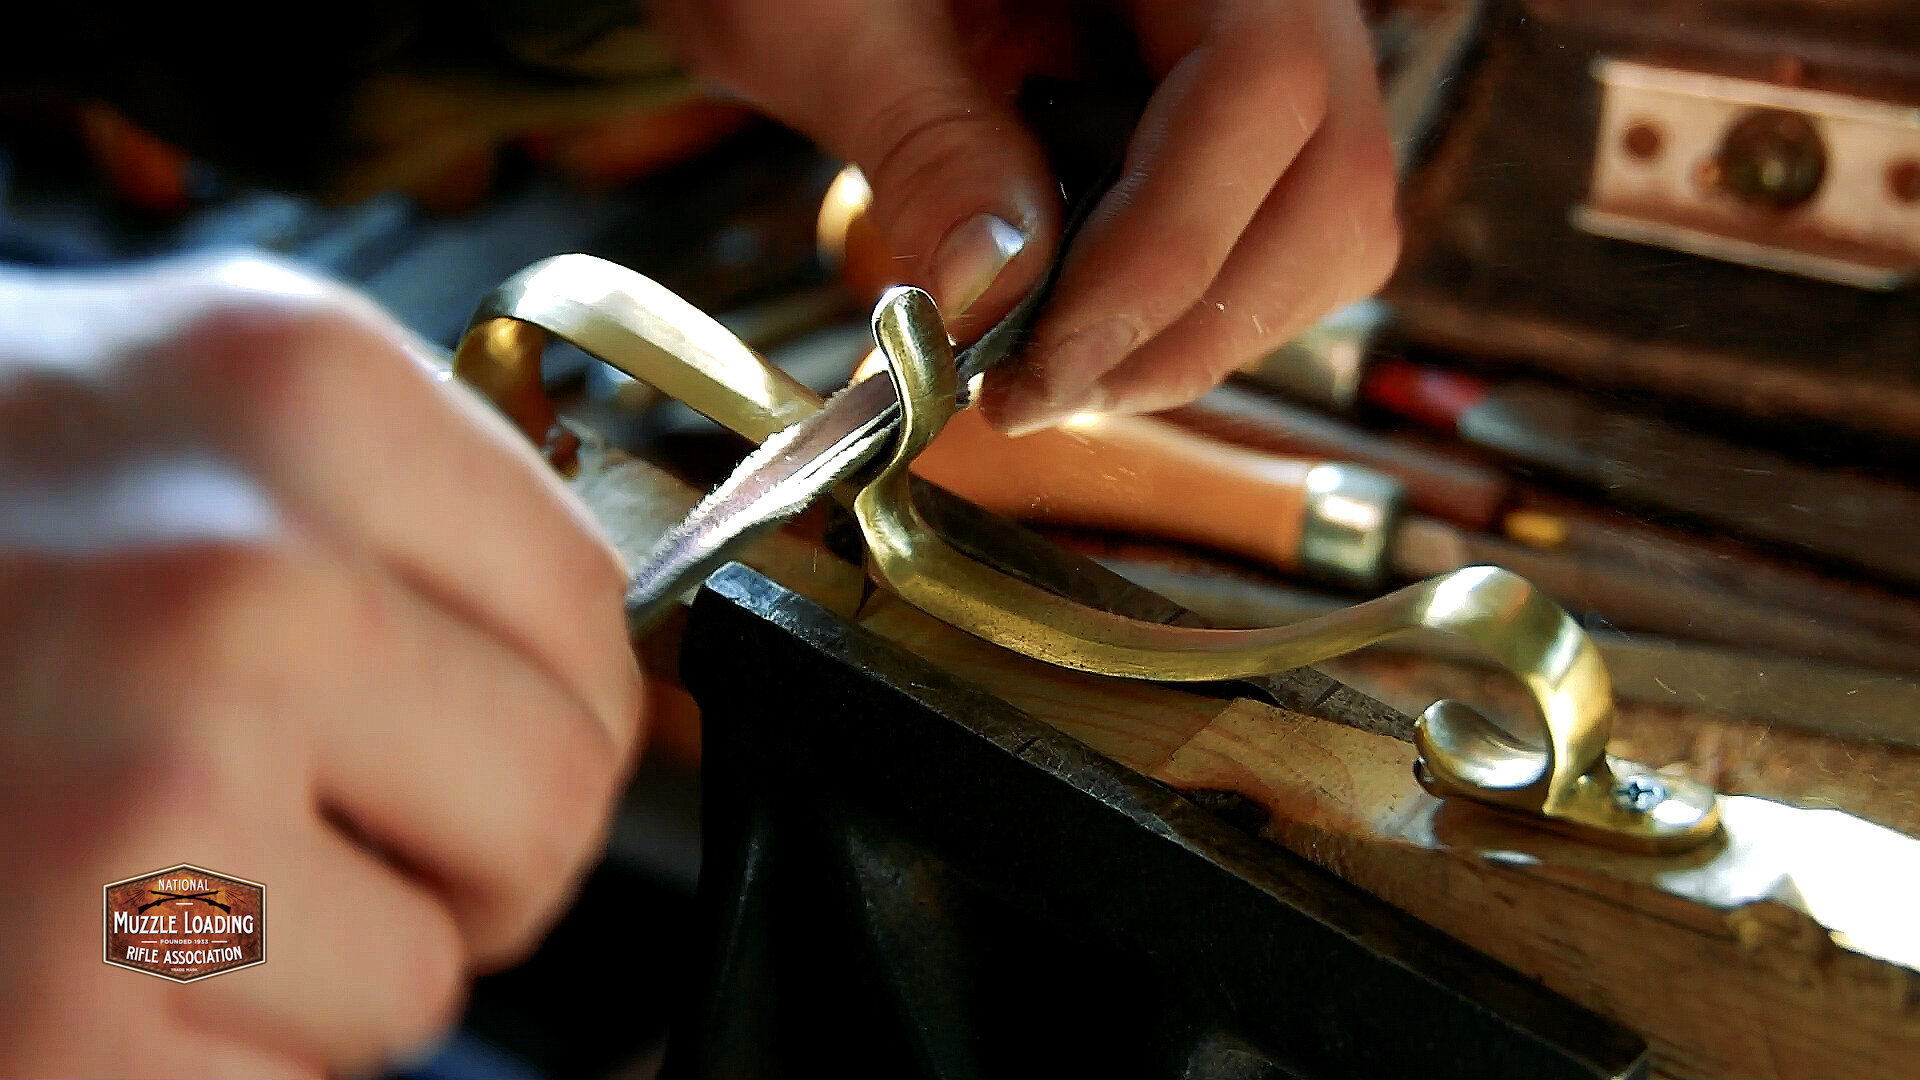
Moving back now, set your patch box and screw it down. On my build, I totally forgot to treat the brass screw ends, so if you aged your brass and haven’t aged your screws, give them a dab of the brass black before screwing them in. My patchbox was real snug, but using the end of a wooden hammer handle to gently tap around the edges worked great. If you can keep from it, don’t tap in the center of the patch box lid, you’ll risk denting it if you are not careful.


The buttplate goes on with two more screws and then we are just about done!
Normally when fitting gun sights, you would file the dovetail in the barrel to fit the sight, but because these sights are plastic and I plan to replace them down the road we don’t want to touch the machined dovetail. To fit the front sight we’re going to file the dovetail on the sight, not the barrel to get it to fit. This is going to make it easier to replace these sights down the road and get us shooting with these sights a bit faster.

Before you remove any material though, check to see if the sight will fit as it comes! Sadly, mine did not, it was about ¼ of an inch too large so I set out to make it fit. Using your triangle or dovetail file, begin removing the sight dovetail on either side until it fits, checking after 10 or so good file strokes. When you get close to the sight fitting, try tapping it in. I found that tapping the sight in as I got closer would peel off some plastic and give me a nice visual indicator of how much more I needed to file.
The rear sight is a neat little sight, it’s got a fair bit of adjustment in it to help you get sighted in, as well as some elevation so you can get ready to shoot out to a few hundred yards!

Next we can begin assembling our barrel rib and ramrod pipes. The flat side of the barrel rib will be botlted to the barrel, but first we want to attach the ramrod pipes. The ramrod pipes go on the side of the rib with the V cut, use the small bolts included with the kit to get them tight. Other builders of this kit have recommended using some superglue or loctite on the pipe bolt threads to keep them from loosening over time, so take that into consideration as you are building. Another thing to heck for with your pipes is the length of the pipe bolt. These bolts can come a bit long and interfere with your ramrod. Look down your pipes to make sure the bolt isn’t sticking out too far, and file it down with a round file if the bolt is sticking our far enough to interfere with your ramrod.


After the pipes are attached, use the remaining bolts to attach the rib to the barrel. You can now go back to your lock bolts and the tang bolt and tighten them down snug. And with that, your Traditions St. Louis Hawken Kit is ready to go!
Reflections on the kit
This was the 2nd muzzleloader kit I’ve assembled, the first being an old CVA Derringer kit from the 80s, and I have to say I’ve had a lot of fun. I was a little nervous when I started the kit and wanted to make sure I didn’t mess it up, but I have to say I’m pleased with the result. This is a simple, affordable kit that goes together nicely as long as you take your time and pay attention to the building process.
One of these Traditions kits is an easy and affordable way to get started in muzzleloading. I’ve spoken to older shooters who started with a very similar kit in the 70s and 80s and while they still bring out their hawken kit gun from time to time to relive those great memories.

I’m not bothered too much by the plastic sights, they are made of a durable plastic, and didn’t break under any stress that I put them under in the shop. If they really bug you, a set of iron sights are available from many retailers and can be mailed to your door for less than $30. Looking back on the kit, I think it would be nice to see either the machining on the trigger guard inlet adjusted, or the trigger guard casting adjusted to match up better. I had a large gap in the inletting that I fixed by stretching the guard, but not many builders are going to want to risk breaking their trigger guard to get rid of that gap. Tightening up that game on the production side would help new kit builders have an even nicer first muzzleloader.

All in all, I’m very pleased with this kit. Is it as nice as a custom built muzzleloader? No, but it’s not one. Many of the bad reviews on these kits unfairly compare them to a more expensive muzzleloader and that’s just not fair. This is a fun kit to build, gives you a nice place to get started and will burn powder with the best of them.
Later this month I’ll be digging out some lead and powder and showing you how I develop a load for a new muzzleloader, where I get supplies, and how to make some of the accessories to go with it.
There are a million ways to assemble a muzzleloader, and a million of them are right. This is by no means meant to be the ONLY way to build one of these kits, just one way.
Have a suggestion? Email us at media@nmlra.org and we’ll take your comments into account as we continue the series.