
In this series, Muzzle Blasts Field Agent Ethan cracks open a Traditions St. Louis Hawken Kit and builds it. These kits are a simple and affordable way to get started in muzzleloading, and kits are bigger than ever with COVID 19 keeping many at home.
Check out this list of kits to find the perfect one for you
NMLRA Members can order their Traditions kits from Flintlocks LLC and receive an exclusive discount!

We’re back in the shop after unboxing our kit and getting our tools around and today we’re going to get started with the initial assembly and dry fitting!

The dry fitting process is just doing an initial assembly and fitting of all of the kit parts to make sure everything lines up the way we want. This is a beginners kit, so 95% or more of the inletting is done for us, but there is still some that will be done, making for an excellent learning experience.
First up is inserting the lock into the inlet. You’ll want to be careful during this process because there isn’t much wood left in this area on the stock. The lock should snap in with a bit of a push.
Now on the other side of the stock, we want to make sure the lock bolt holes line up. Hold your stock up to a window or light and confirm that you can easily see through each hole. Taking our lock bolts now, we’re going to make sure the holes fit the bolts and the lock bolt washers.
To keep track of your hardware, put any small pieces you aren’t using into a plastic bin away from your bench so you can’t spill them.
You lock bolt washers might be too large to fit in their holes, so some inletting might need to be done. Using your half-round file, go around the inner edge of each washer hole and remove just enough wood to allow for those lock bolt washers to fit snugly. This will be the first of your real fitting/inletting work on this kit. Take it slowly, what works here will work for the other pieces as well. When you get close, gently tapping each washer with a non-marring mallet might be enough to get the washers fitted. Be careful though, you don’t want to split or damage the stock. When your washers are flush with the stock, you are ready to put in your lock bolts and make sure they thread correctly.

This is one of your lock bolts

I used a small half round file to make enough space for the washers.
Next, we’ll add the “ramrod retention spring” into the barrel inlet closest to the lock. Keep the loop part of the spring towards the muzzle, that loop is going to connect with the front lock bolt and keep this spring in place.

A close up of the spring in place, connected to the lock bolt.
Now find your trigger assembly and the tang screw for your rifle and thread the screw through the front hole of the trigger plate to check the threads.This will remove any burs that may have been left from the manufacturing process. With your trigger assembly and trigger plate in hand, “air fit” the two pieces as if they were in the stock to make sure there is enough space for the triggers to operate. You shouldn’t have any trouble here, this is just to make sure you don’t have a defective part.

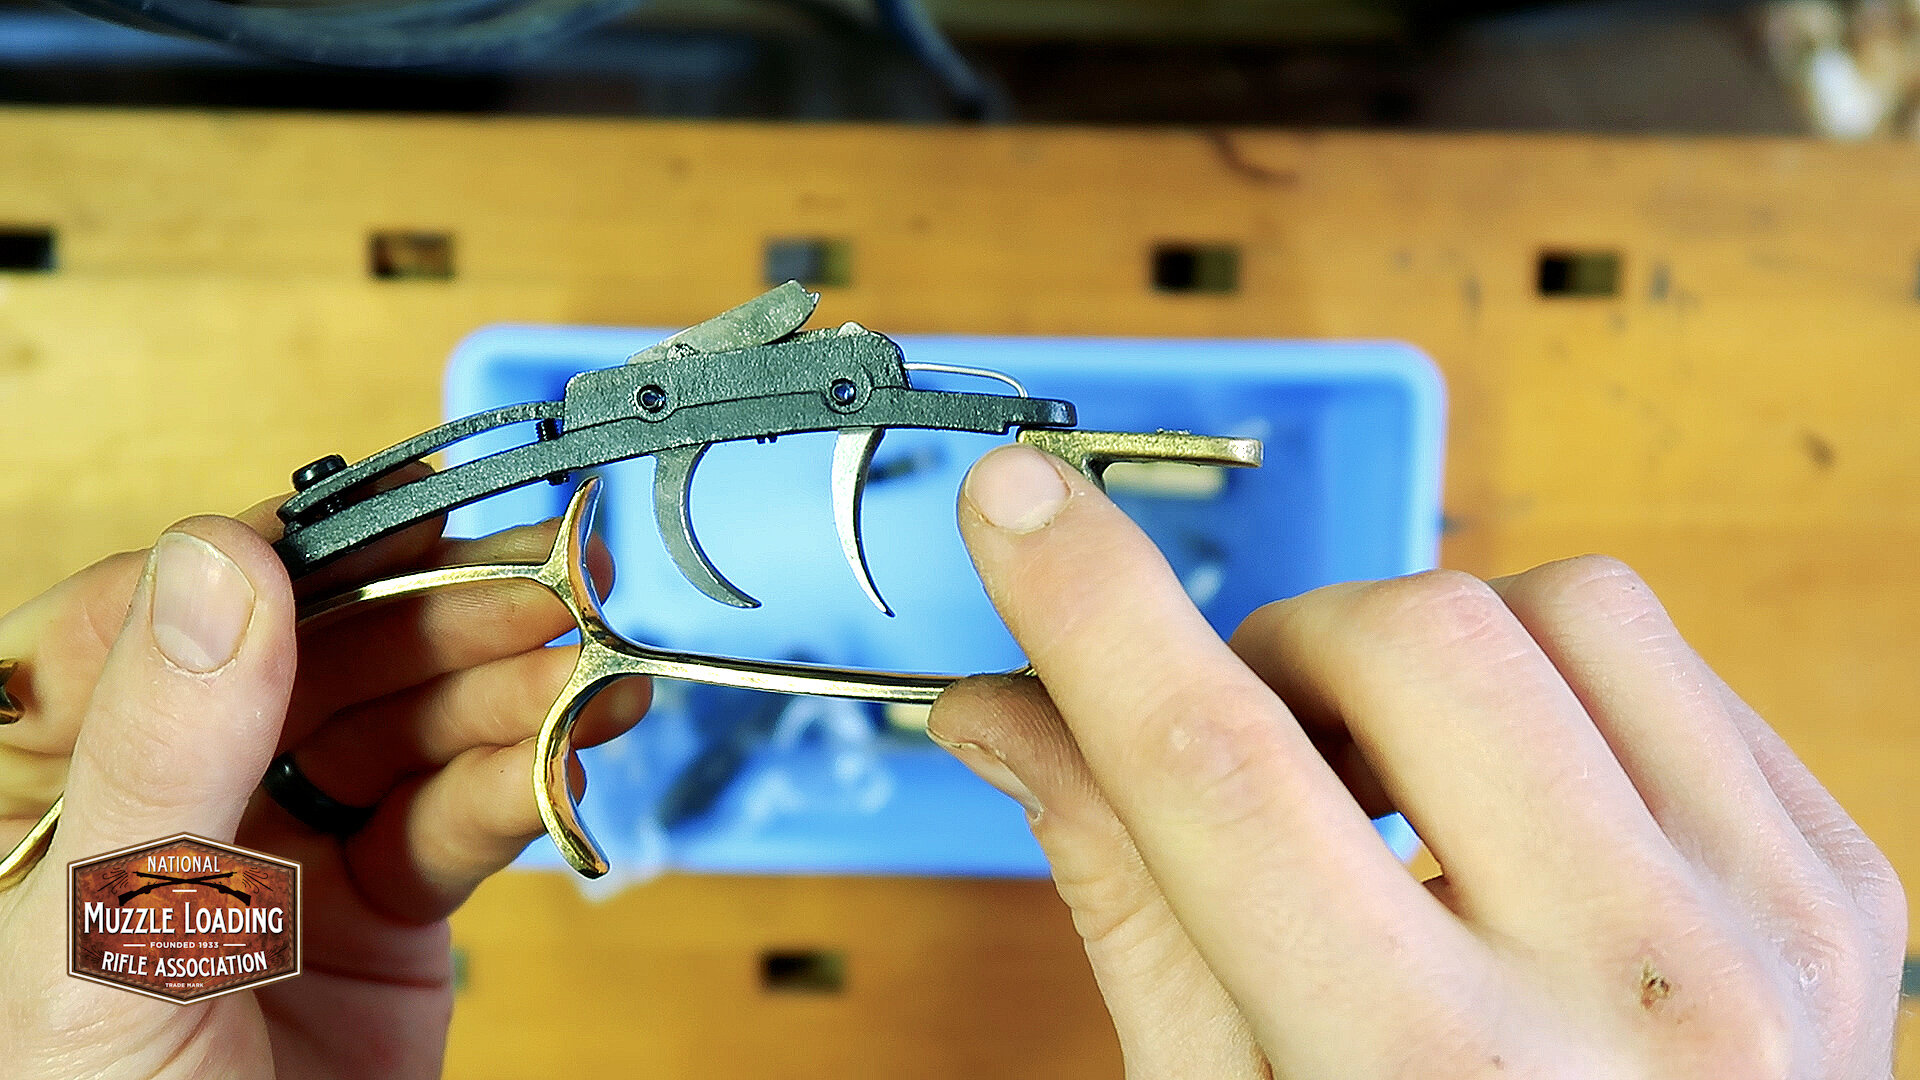
An example of “Air fitting” the trigger guard and assembly.
Grab your stock in your swivel vice with the trigger inlet facing up. Depending on your kit, there may be some shavings inside this inlet that will need to be removed, we don’t want anything interfering with our triggers at a shoot or on a hunt. Using your preferred file, I’m using a fine half round, clean up those shavings and blow any stragglers out of the inlet. With the shavings removed, test fit your trigger assembly in the inlet and make sure you can seat the assembly so it is level with the stock. Now verify that the front trigger assembly hole lines up with the correct hole in the stock for the tang bolt.


Removing debris from the tang inlet
Flipping your stock over in the vice, position the tang side up. Test fit your barrel wedge and then remove the wedge. Next you’ll want to make sure your tang bolt passes freely through the tang before fitting the tang. On this kit, the tang has a cut out for the rear lock bolt, make sure you are lining up the bolt with this cut out. Clean up any shavings or wood debris that might be left in your tang inlet.
If you run into issues seating your barrel or tang because it runs into or is tight against the lock plate, you’ll want to loosen your lock plate screws or remove your lock to have enough visibility to see what you are doing. If your lock bolts are a little too tight can compress the lock inlet and stock, causing mild fitting issues.

Make sure that the barrel tenon has it’s angled side facing towards the muzzle
When your tang is fit how you want, with as few gaps as possible, remove your stock from the vise and clamp your barrel into the vice with the bottom side up, we’re going to add the barrel tenon now. This tenon is going to slide into the dovetail on the bottom of the barrel and will connect with our barrel wedge to keep the barrel attached to the stock. Ideally, the tenon will slide right into the dovetail, but it might not be fitted correctly, meaning you’ll have to adjust the dovetail on either the tenon or the barrel.
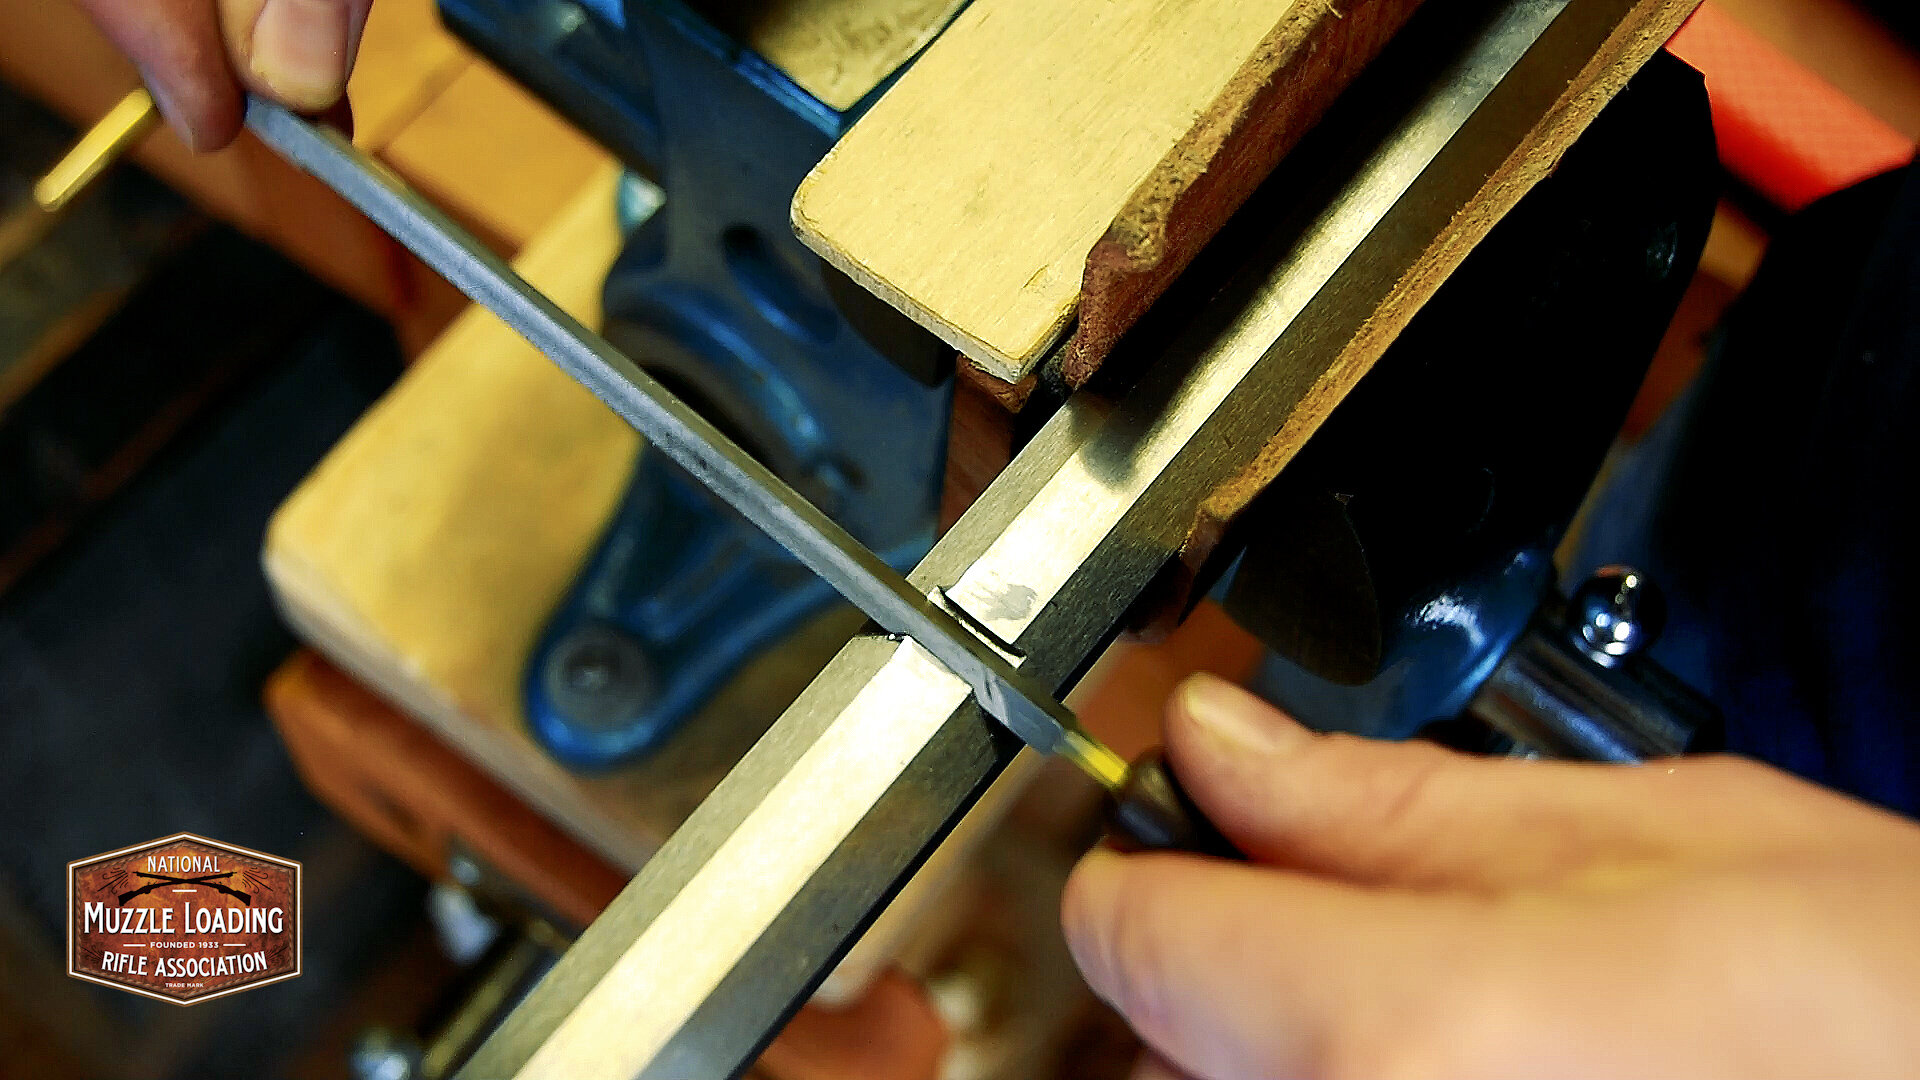
For this part, we’re going to use a dovetail file to extend the width of the barrel dovetail. As you work on fitting this piece, I recommend you file a few passes and check the fit, file a few passes and check the fit, repeating these two steps until your tenon fits into the dovetail, just like we did on the lock bolt washers. This is going to ensure a tight fit on your dovetail. Once you get this tenon fitted into the dovetail, make sure your tenon is centered on the barrel.
Back at the bench, you’ll want to find your nipple and bolster screw and thread them into their appropriate holes on the breech end of the barrel. The nipple might be snug, using a pair of pliers can help get it tight. When you know these fit, dab some oil on the threads to make them easier to take out in the future.

Place your stock back into the vice with the barrel channel facing up, insert your tang and tang bolt before test fitting your now complete barrel. You want to make sure you have a flush connection between your barrel and your tang. Be sure to check that the barrel wedge lines up correctly as well. Now we’ll turn the stock 90 degrees in the vice and clamp it so the lock inlet is facing up. With your lock on half cock, insert the lock into the inlet. This should be a snug fit, so don’t worry about the lock bolts right now.
With the barrel fitted now, we’re going to first put in the barrel wedge. This is going to give us a good point of contact to keep the barrel, tang, and stock in one piece while we move onto the next step. Grab your tang bolt and your trigger assembly. While holding your trigger assembly in place with one hand, insert the tang bolt through the tang until it touches the threads in your trigger plate. Turn the tang bolt with your fingers to get a clean, straight thread started. Once you know your tang bolt is connecting, tighten the bolt down with your flat head screwdriver. With this complete, your barrel is now fully attached to your stock.

We will now want to release the hammer from half-cock. Leaving your hammer cocked for a long period of time can put unnecessary stress on the internal springs and lead to the need to replace your lock springs frequently. Place your thumb on the hammer and pull back gently with your thumb, about ⅛ to ¼ of an inch. This will release the hammer from half-cock, allowing it to move freely. Now gently pull the trigger until you feel or hear the trigger release internally. Gently allow the hammer to move forward towards the nipple while keeping pressure on it with your thumb until it contacts the nipple. You don’t want to let the hammer slam onto an uncapped nipple, over time doing so will crimp your nipple and you’ll need to replace it.
The instructions from Traditions advise us to attach the sights now, but seeing as I’ll be bluing the barrel and adding metal sights down the road, we are going to put this off.
We are now ready to move on to fitting the trigger guard. I shift over to my rotating vice with a swivel jaw and grab the stock at the back of the wrist as it changes into the cheek rest, with the trigger inlet facing up. Following the rear of the trigger guard, line up the inlet to the guard and see how it fits. On my kit, the front part of the rear inlet did not fit.
Start by removing any burs that may be built up from the manufacturing process and see if that solves your problem. If not, read on.

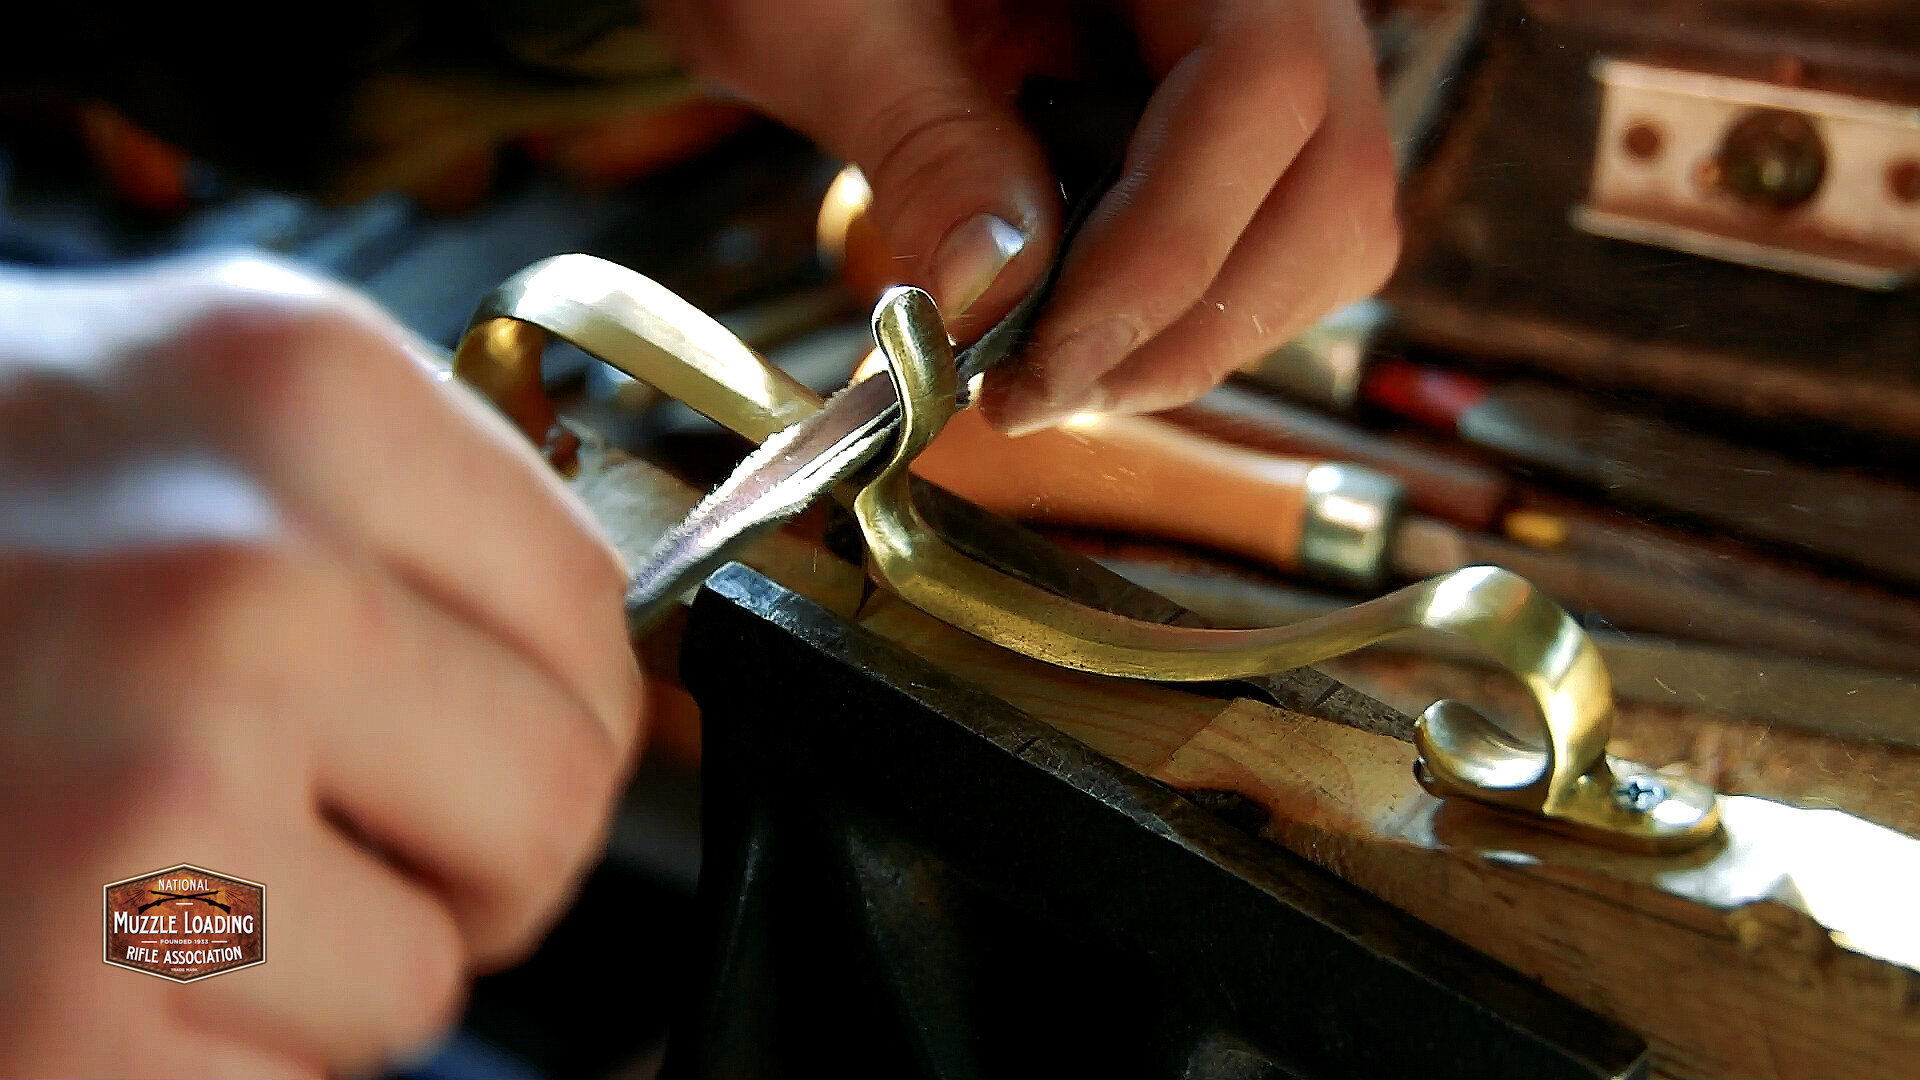
The first thing you’ll want to remove is any flashing or mold marks from the casting process, you want to have a nice, clean round edge on the brass that will connect with the inlets. Getting your metal cleaned up will ensure that any adjustments you make will be correct. I’ll be using my fine half-round file to get the casting marks off this part. I could use something more aggressive, but I’m nervous about taking too much off, and this small file is easy to control.
While doing this initial fit, go slowly. The fit on the inlet is tight and we want to keep it that way. After a few strokes of your file, test the fit again, and repeat these two steps until the guard fits snuggly.
Experienced Gunsmiths often like to take their hardware from a rough casting to a final finish before they begin getting it close to the wood.
If adjusting the inlet is still required after you’ve removed the casting marks, use an Exacto knife to trace the edge of the hardware on the wood. This is going to give you a much thinner line than a pencil will, and can help with a more accurate result. From here, grab your rounded carving chisels and extend the inlet to your scribed line, checking the fit after a few cuts to make sure you aren’t cutting too much. With your guard fitted, use your awl to create pilot holes for your trigger guard screws, then screw each of the screws in with your screwdriver.
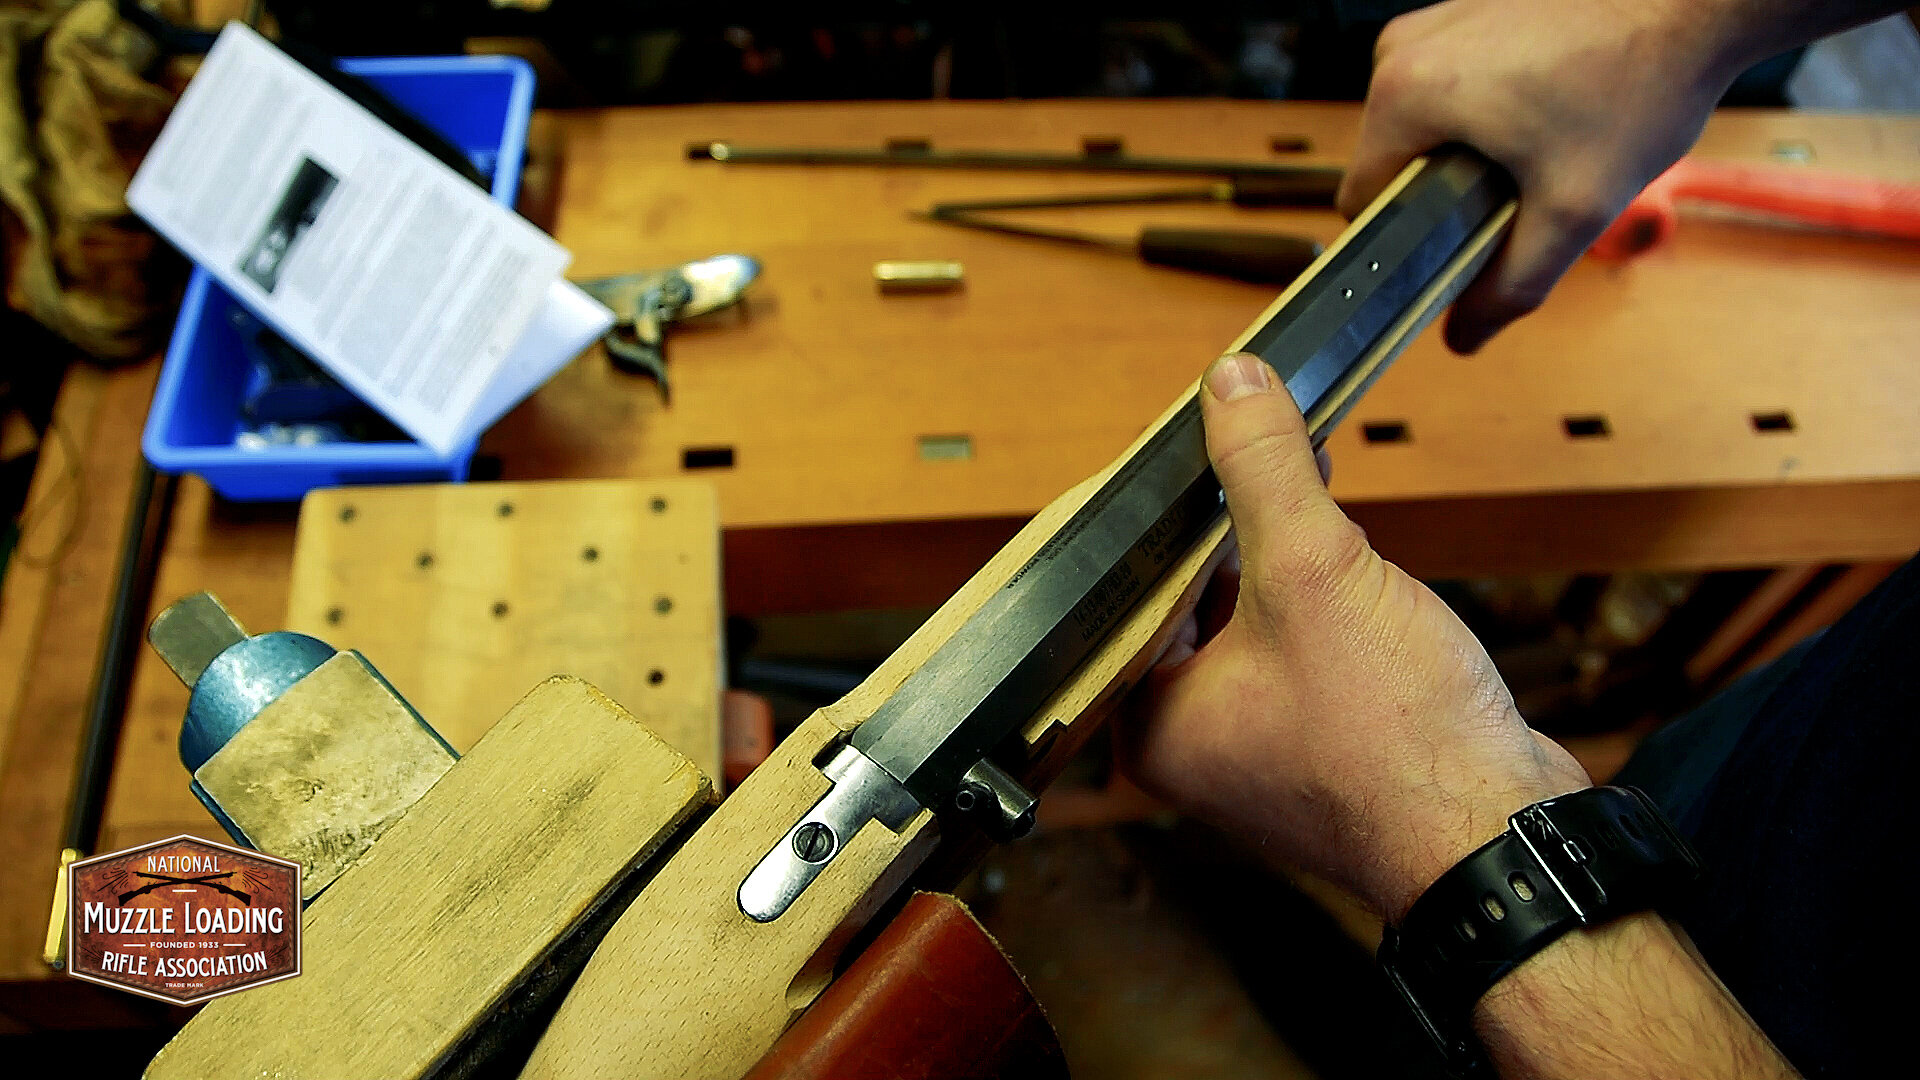
Next we’re heading to the muzzle to take a look at the nose cap.
Much like the other parts, the nose cap will be tight. If needed, use your non-marring mallet to gently tap the nose cap in place. Once tight, you can use your awl to make two pilot holes for the nose cap screws.

The inside of the nose cap looks pretty rough, but that is nice because it really grips the wood.
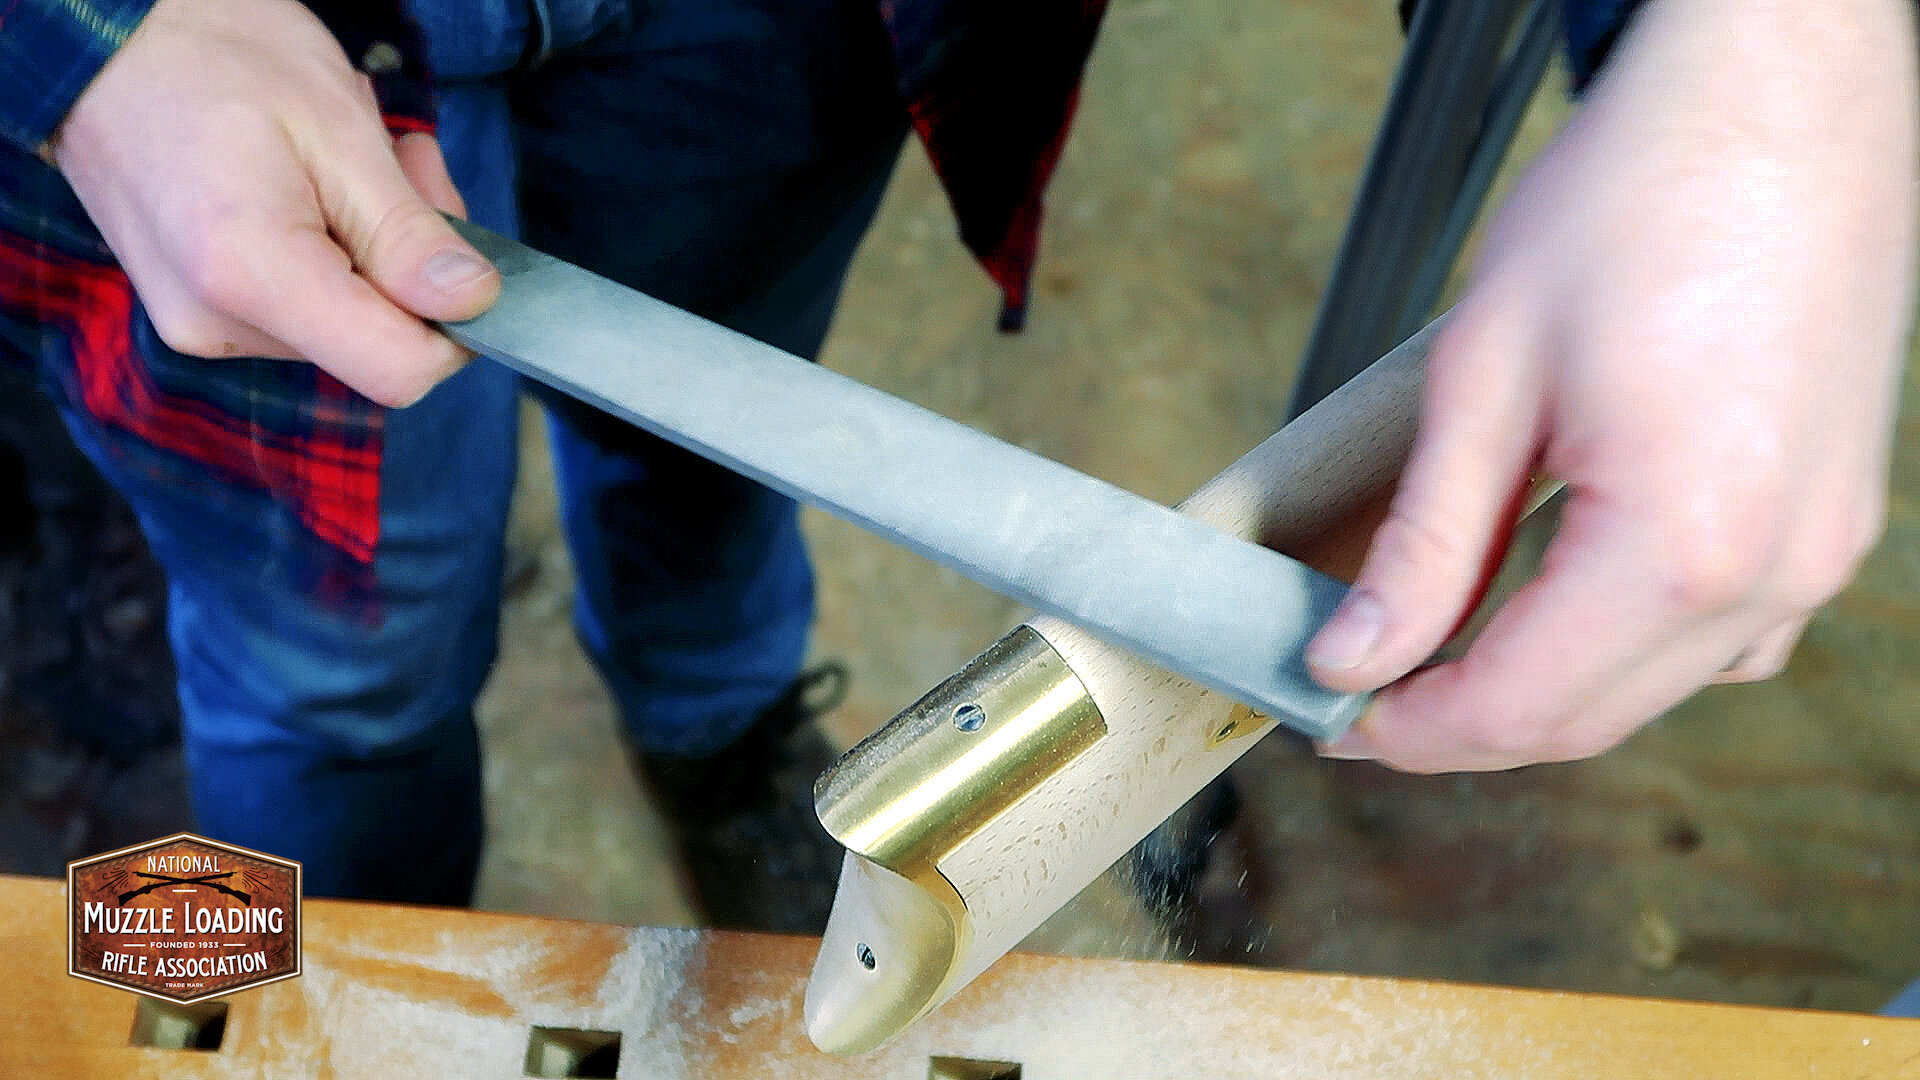
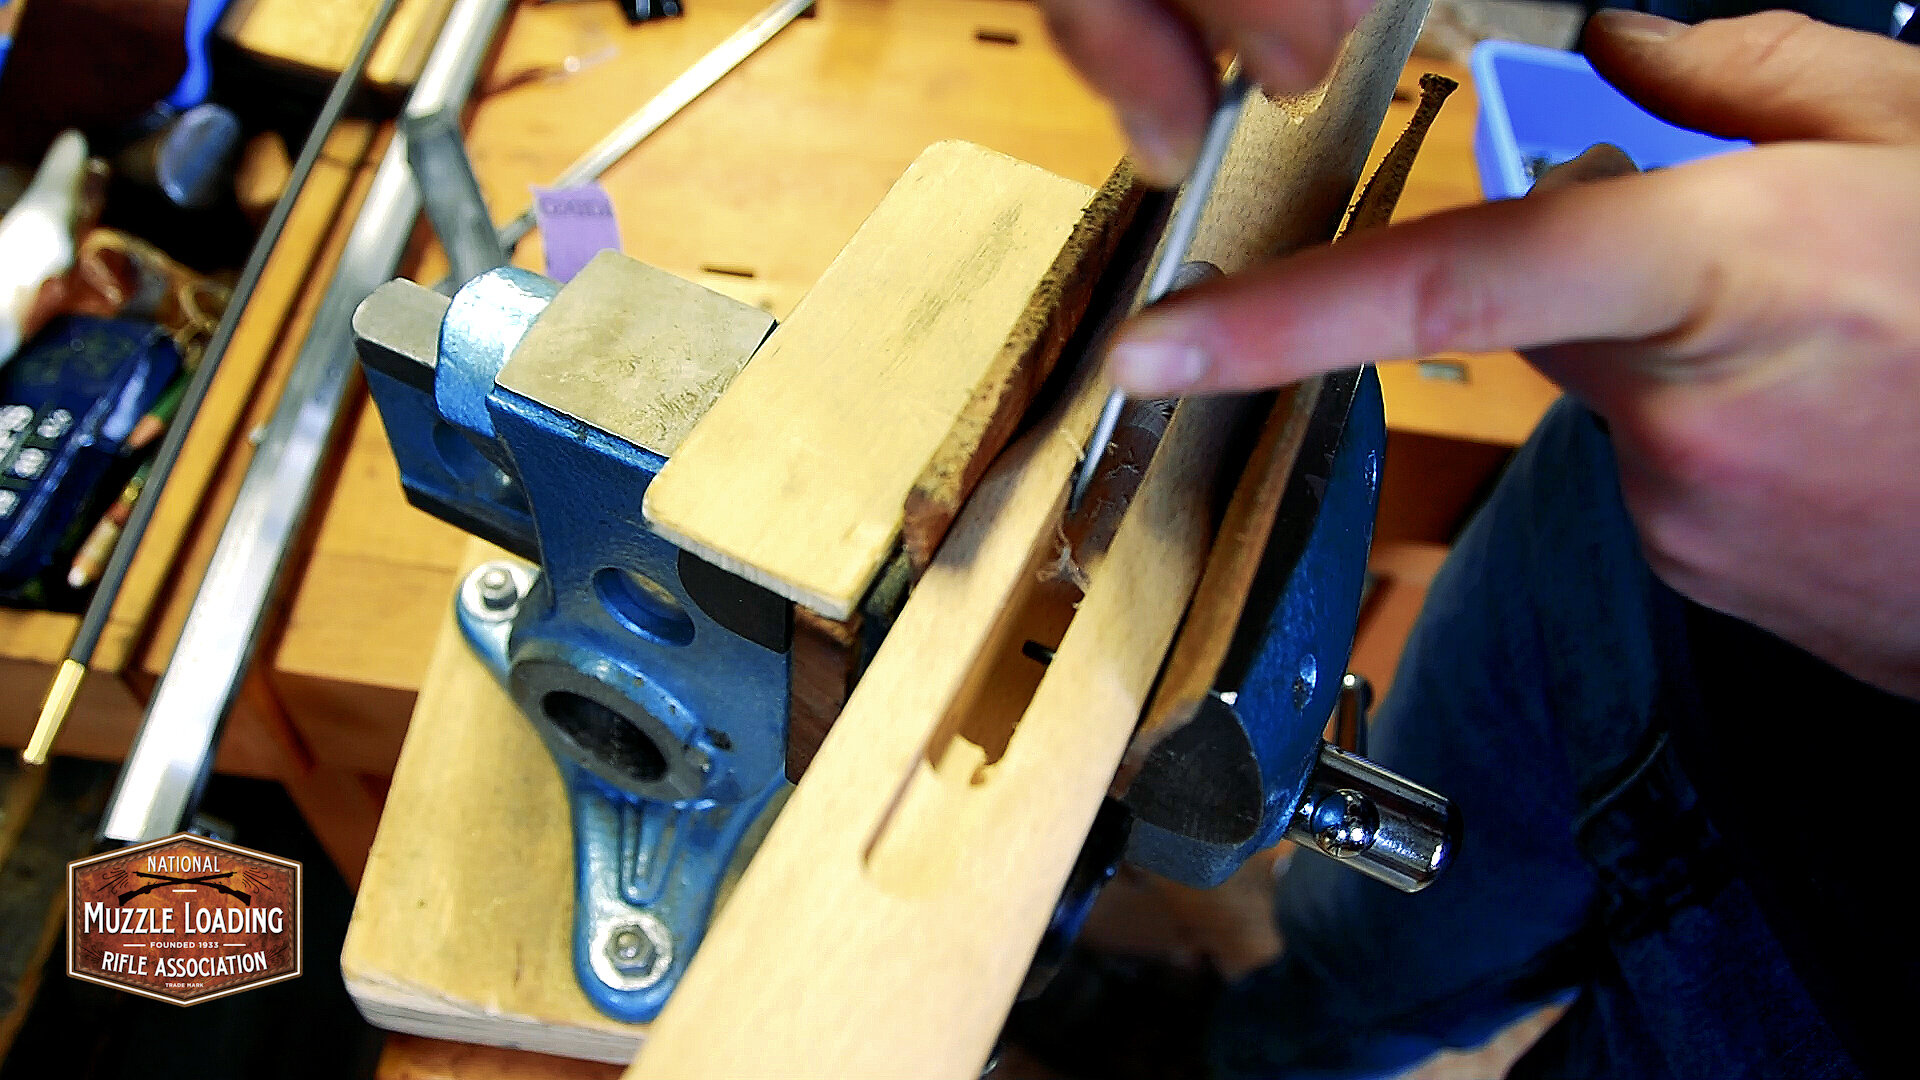
The butt plate on this kit was already attached, but the stock machining left some extra wood around the butt plate that we’ll want to get rid of. There are a couple of options when removing this wood, you can trace around the butt plate with a pencil, remove the plate and work the wood to the line, or you can leave the plate on and work the wood down to the plate and finish the wood and plate at the same time. Knowing that I’m going to add a new finish to the plate, I’m going to go ahead and file the wood with the plate still on. As noted in the video and photographs, I’m using a large flat file to remove this wood. The large file gives me more wiggle room on keeping the stock shape consistent, I’m running less of a risk of creating large grooves in the wood in any one spot. It’s important to continually rotate your file around the stock as you work to keep the shape of the stock through the process. This is totally up to you and how you want your rifle to look, but I’m filing until the plate and the wood are even in height. After the butt plate is fitted, I take the same file to the muzzle end and reduce the wood around the nose cap until it is clean as well.

After about 4 hours of work, everything is fitted, our hardware lines up nicely, and we’ve removed most of the excess wood. As far as the instructions in the kit are concerned we could take some sandpaper to the parts and finish it out just like this, but we’re going to do some extra work on this kit to learn a bit more about the techniques involved in muzzleloader building. Starting in the next post, we’ll start cleaning up the brass and enhancing some details.

There are a million ways to assemble a muzzleloader, and a million of them are right. This is by no means meant to be the ONLY way to build one of these kits, just one way.
Have a suggestion? Email us at media@nmlra.org and we’ll take your comments into account as we continue the series.