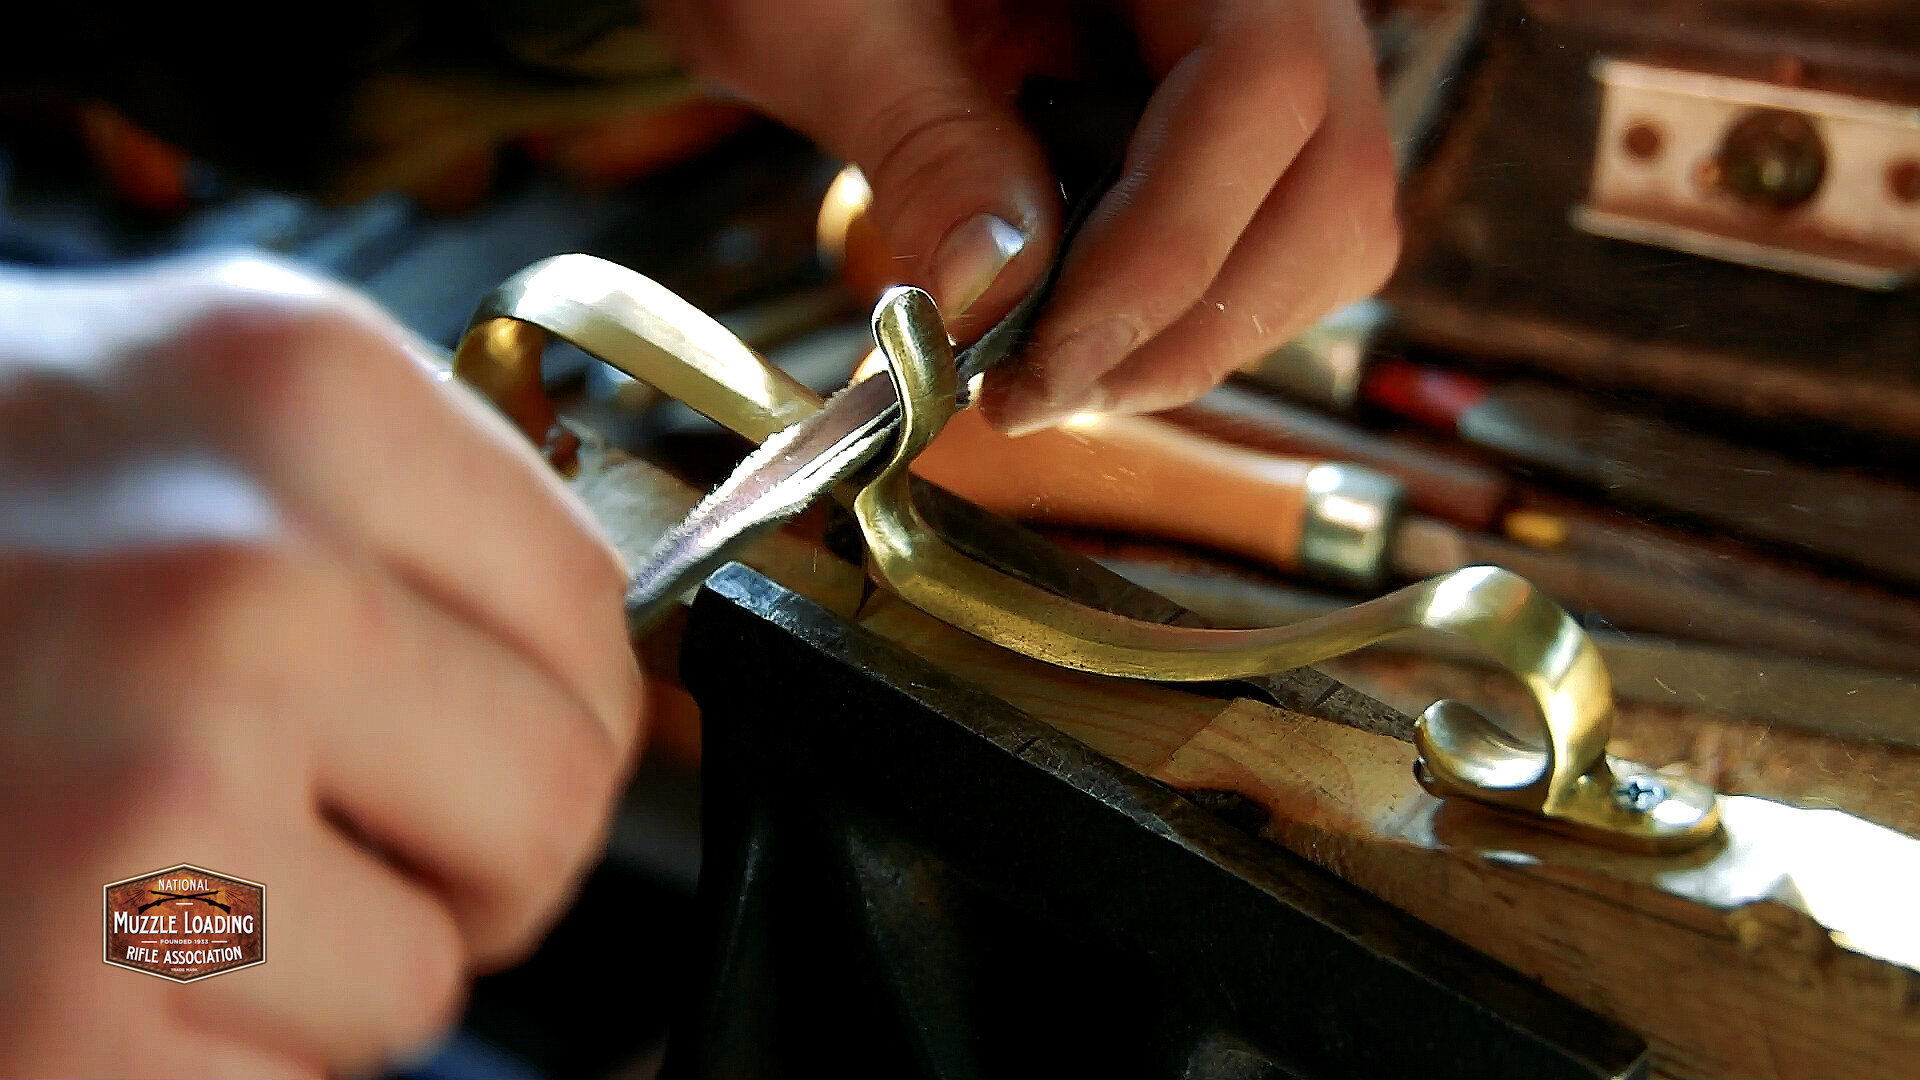

In this series, Muzzle Blasts Field Agent Ethan cracks open a Traditions St. Louis Hawken Kit and builds it. These kits are a simple and affordable way to get started in muzzleloading, and kits are bigger than ever with COVID 19 keeping many at home.
Check out this list of kits to find the perfect one for you
NMLRA Members can order their Traditions kits from Flintlocks LLC and receive an exclusive discount!
Next on our list here is bluing the barrel, barrel rib, tang, and any other “white” iron pieces like screwheads. First though we are going to soak a cotton ball in some rubbing alcohol and wipe down all the pieces we want to blue. This is going to clean off any dust or dirt from the shop, but also remove any skin oils or other oils that may be on the parts to give us our best shot at an even blued finish.
I recommend using at least 70% alcohol rubbing alcohol for this, it can be hard to find 90% right now, so don’t sweat it if you only have 70%.
After I’ve wiped the parts down with the alcohol, I take a clean paper towel or shop rag to the pieces and dry them off. You can wait a few minutes for the alcohol to evaporate, but I was getting anxious.
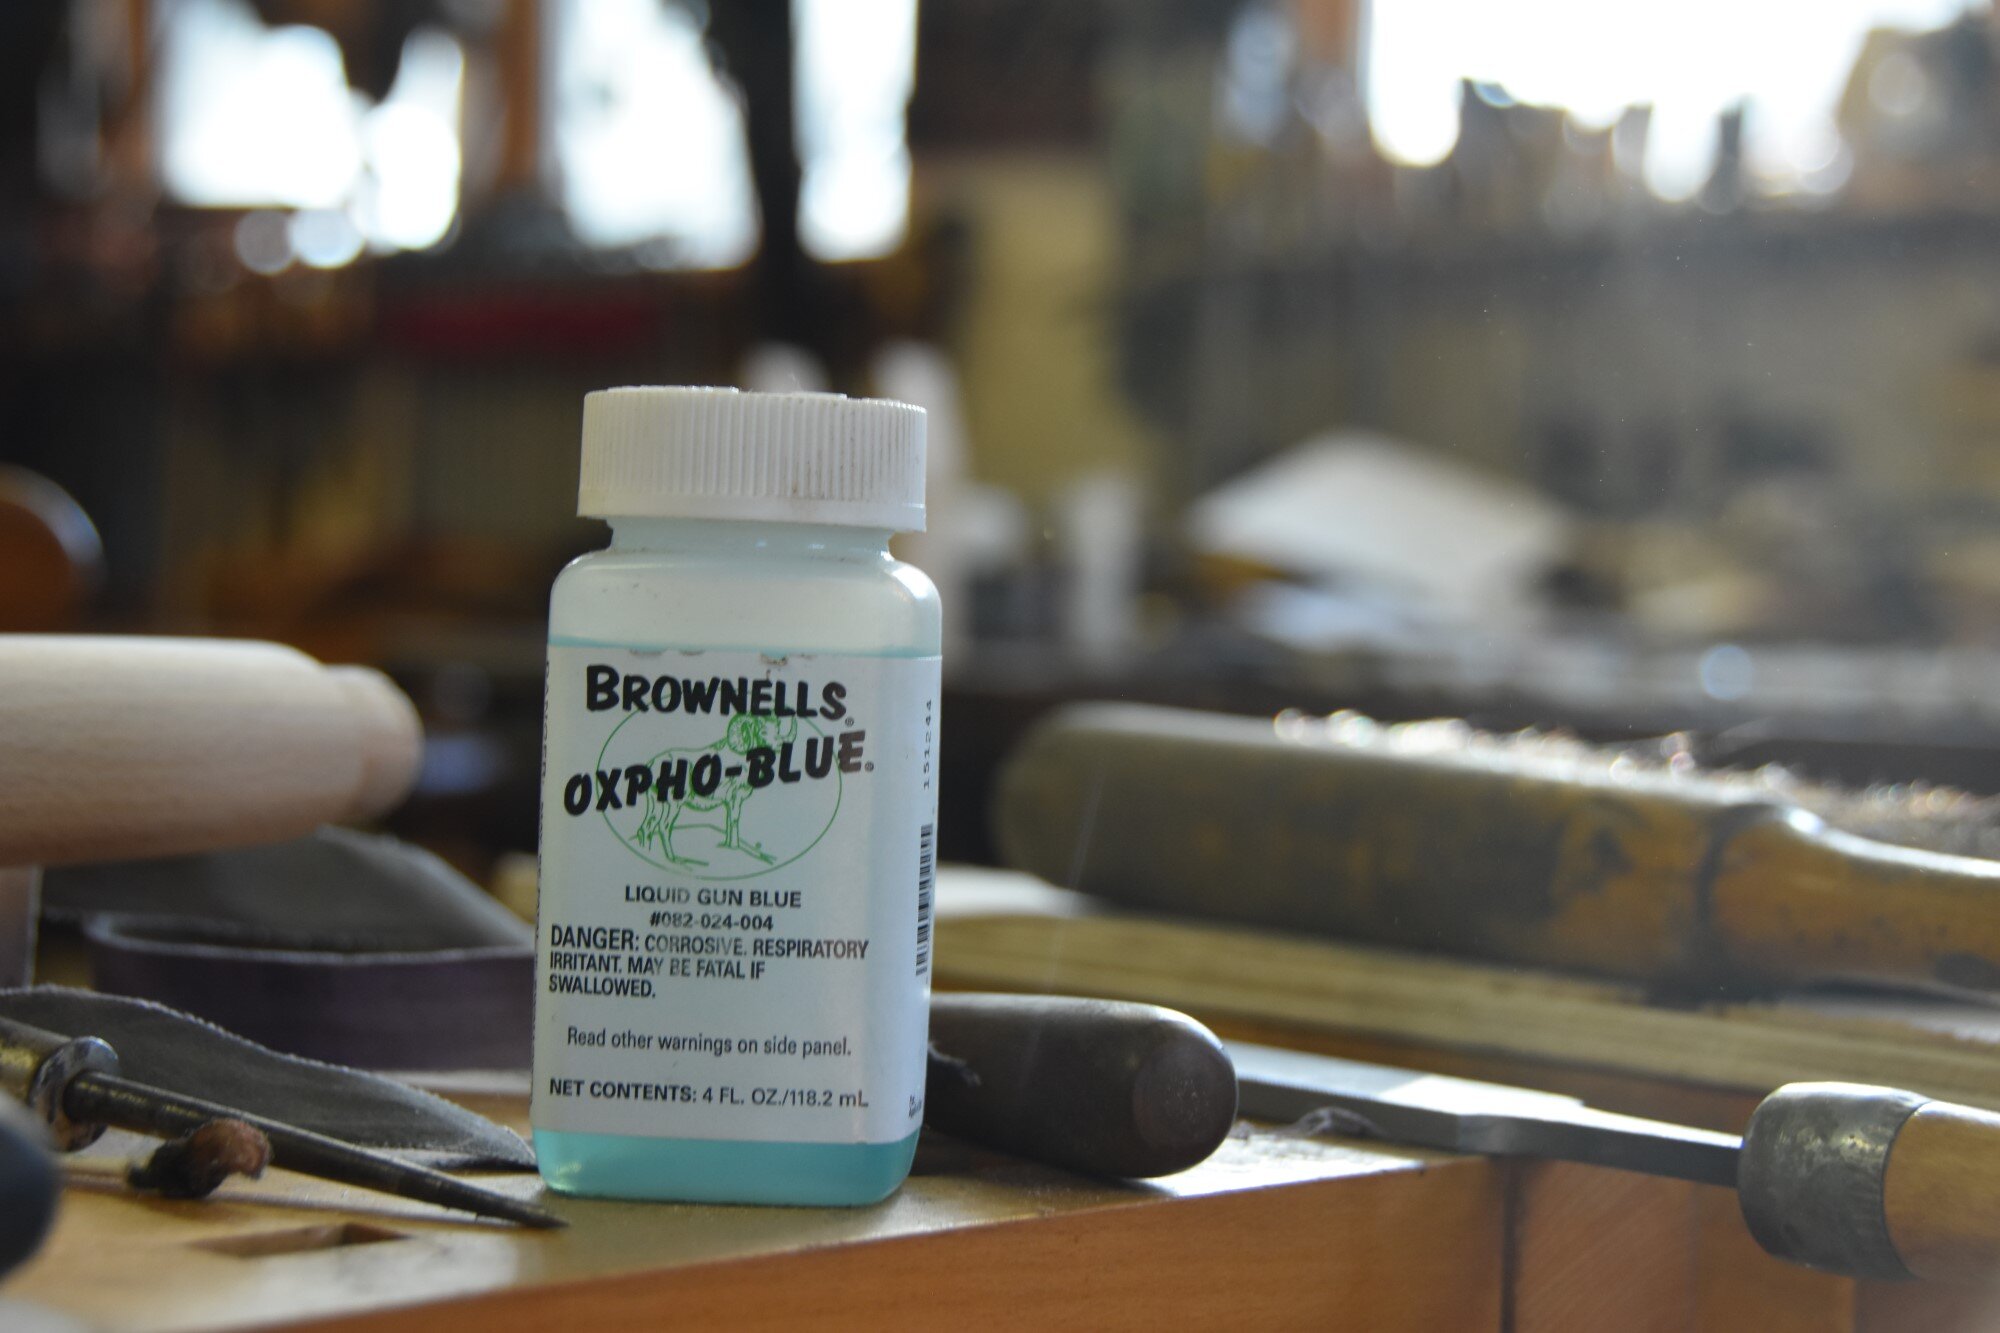
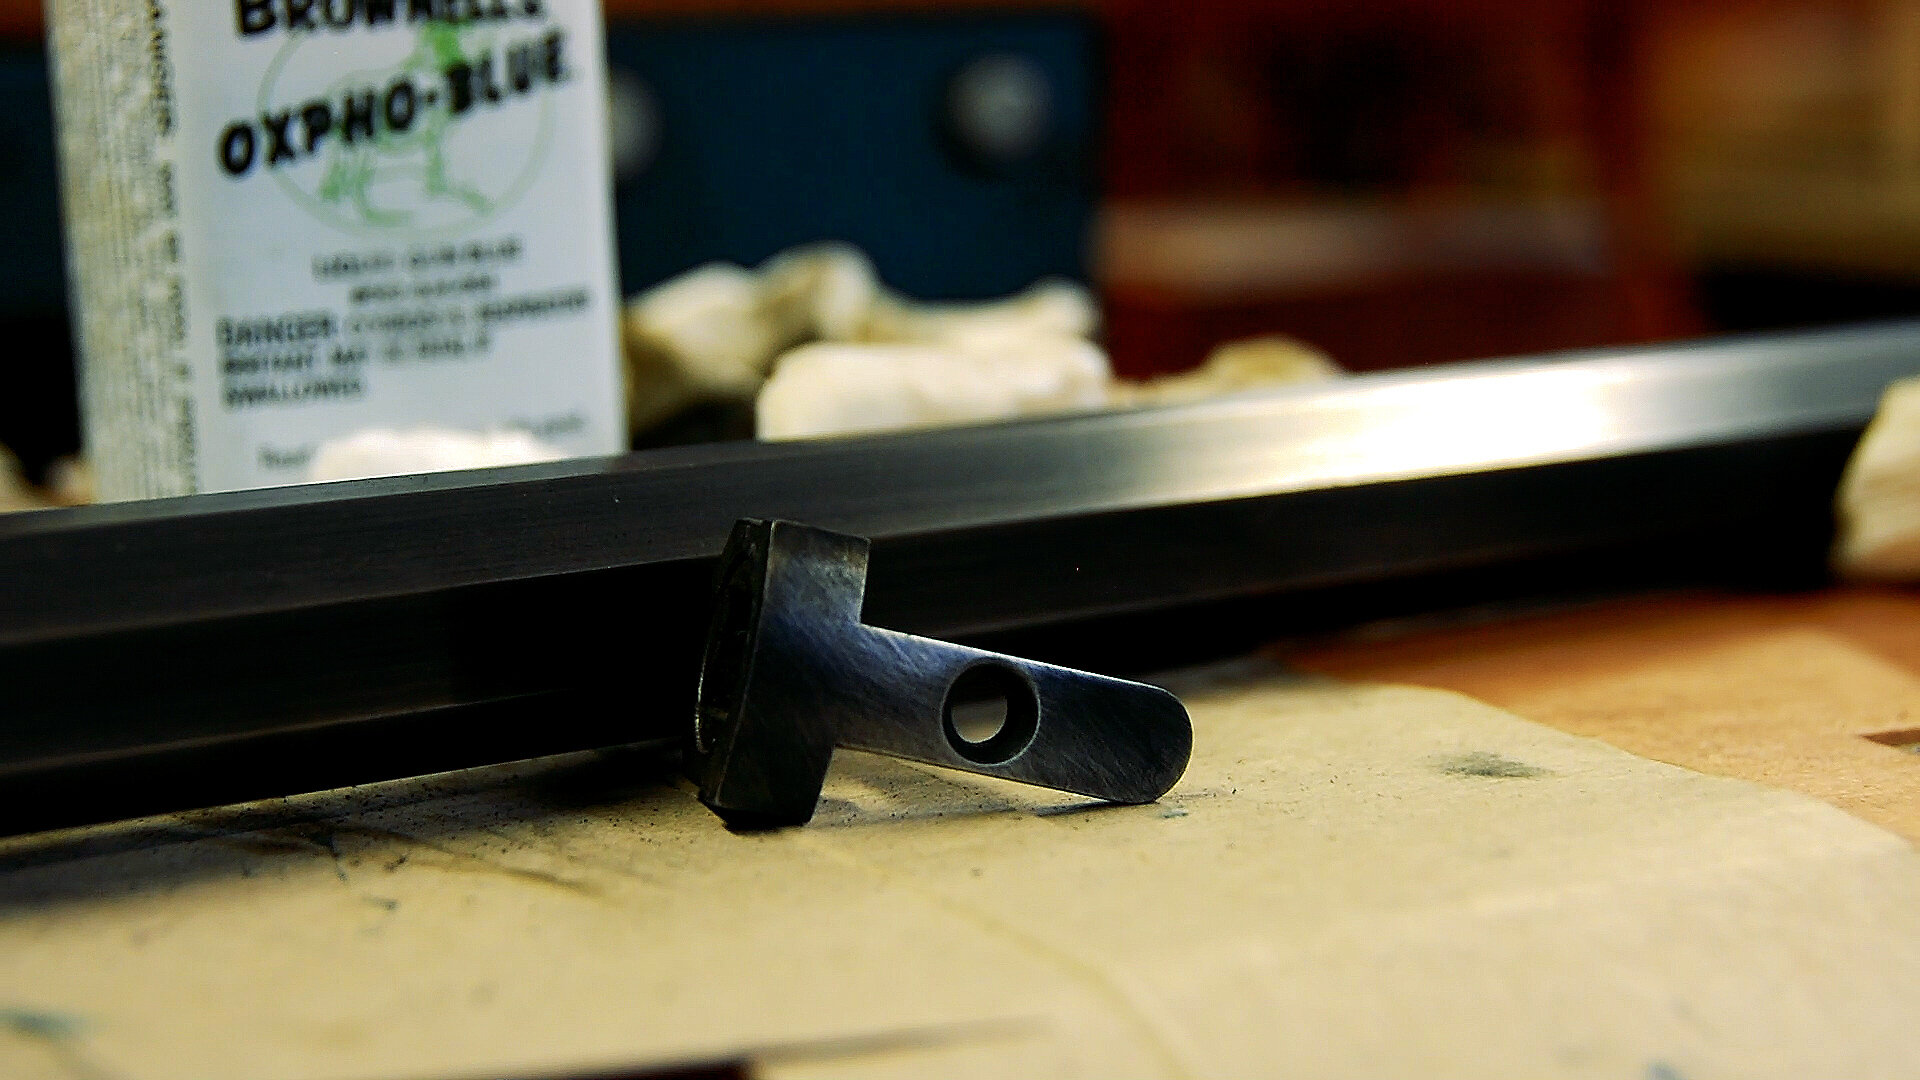
We’re going to be using Brownell’s Oxpho Blue for this project. This was something I had already in the shop, it’s a liquid cold bluing solution and will work fine for this project. Because I’m not sure how much of this I’m going to need, I pour out a small amount of the bluing solution into a clean plastic container.

This is my first time doing this, so I’m going to test the bluing on the tang of our kit. Using a clean cotton ball, pick up some bluing with the cotton and begin applying it to your tang. Do your best to cover the entire piece before it can dry. You should start seeing a reaction immediately after you begin applying the bluing. While applying the solution, you may notice little spots that still appear bright. Continue to wipe/scrub the bluing solution into those spots until you see them change color. Odds are you missed some oils in cleaning, nothing to worry about.
With a full coat on the tang, let it sit to the side and begin on your barrel. Holding this can be tricky, I found that I could hold it by the hook breech, rest the muzzle on the bench and keep a good grip on it. If I had to do the barrel over again, I’d try to rig up a dowel rod hooked to the bench, allowing me to simply rotate the barrel as needed.

Apply the bluing down an entire facet of the barrel, with each stroke, rotating the barrel from face to face as you complete coats. I did 2 complete rotations, covering each face as I went to complete the first coat. I wasn’t too concerned with the muzzle as it’s not going to be clean as long. When you complete the barrel facets, go ahead and coat the muzzle with the Oxpho Blue.
After my initial coat, I noticed I had a darker color near the breech, and the color got lighter as it traveled to the muzzle. I was worried I had messed the barrel up, but applying another coat to the front end of the barrel brought it to the same color as the rear end of the barrel.
This is a major color change on a kit that has been otherwise very clean, so it’s okay to be nervous! I found it helped to continue reading the directions to stay on track, and if worst came to worst, you can always sand or file the bluing away and start again!
When the barrel was completely dried, after about 15 minutes, I took another clean paper towel to it and wiped it dry. Not happy with a couple spots on the underside of the barrel, I applied a few light coats to make it uniform with the rest of the barrel. All of the steel on this kit really matched up well, I think as long as you cover each piece with a similar number of coats of the Oxpho Blue, you shouldn’t have any trouble getting a uniform color.


Finally, to remove any excess and add another layer of detail, I began rubbing each piece with my scotch brite pad. If you are worried about your parts being too dark after a few extra passes, the scotch brite is going to clean it right up. I took my pieces to a dull gray, but you can keep your parts dark blue, or brighten them up even further. For even more color depth, apply some more Oxpho blue after you’ve scrubbed each piece with the scotch brite and then re-scotch brite it in a different direction. When using the scotch brite on my barrel, I noticed it highlighted the edges of each face while leaving color in the center of each face, to lighten up the facets you might want to clamp your barrel in the vice and back your scotch brite pad with a piece of wood for a stiffer scrubber.
If your goal is to make these pieces match, I recommend scrubbing each piece to an even state before scrubbing or applying more bluing.
With the bluing complete, I’m really pleased with how the Brownells Oxpho Blue performed, it’s a simple bluing to use that gave me a nice look even for my first time using it. Up next we’ll be taking a look at a selection of stains for our stock, and final assembly!
There are a million ways to assemble a muzzleloader, and a million of them are right. This is by no means meant to be the ONLY way to build one of these kits, just one way.
Have a suggestion? Email us at media@nmlra.org and we’ll take your comments into account as we continue the series.