In this series, Muzzle Blasts Field Agent Ethan cracks open a Traditions St. Louis Hawken Kit and builds it. These kits are a simple and affordable way to get started in muzzleloading, and kits are bigger than ever with COVID 19 keeping many at home.
Check out this list of kits to find the perfect one for you
NMLRA Members can order their Traditions kits from Flintlocks LLC and receive an exclusive discount!
A quick note before we get started, this article and video aren’t a substitute for reading and following the manufacturer instructions and safety guidelines when the chemicals we are going to use in this build. Always follow the instructions that come with or are printed on the container of the chemicals in use.
This is after a single, thorough coat of the Casey Brass Black. Note the small amount in the clear container. This is all you need for a first coat.
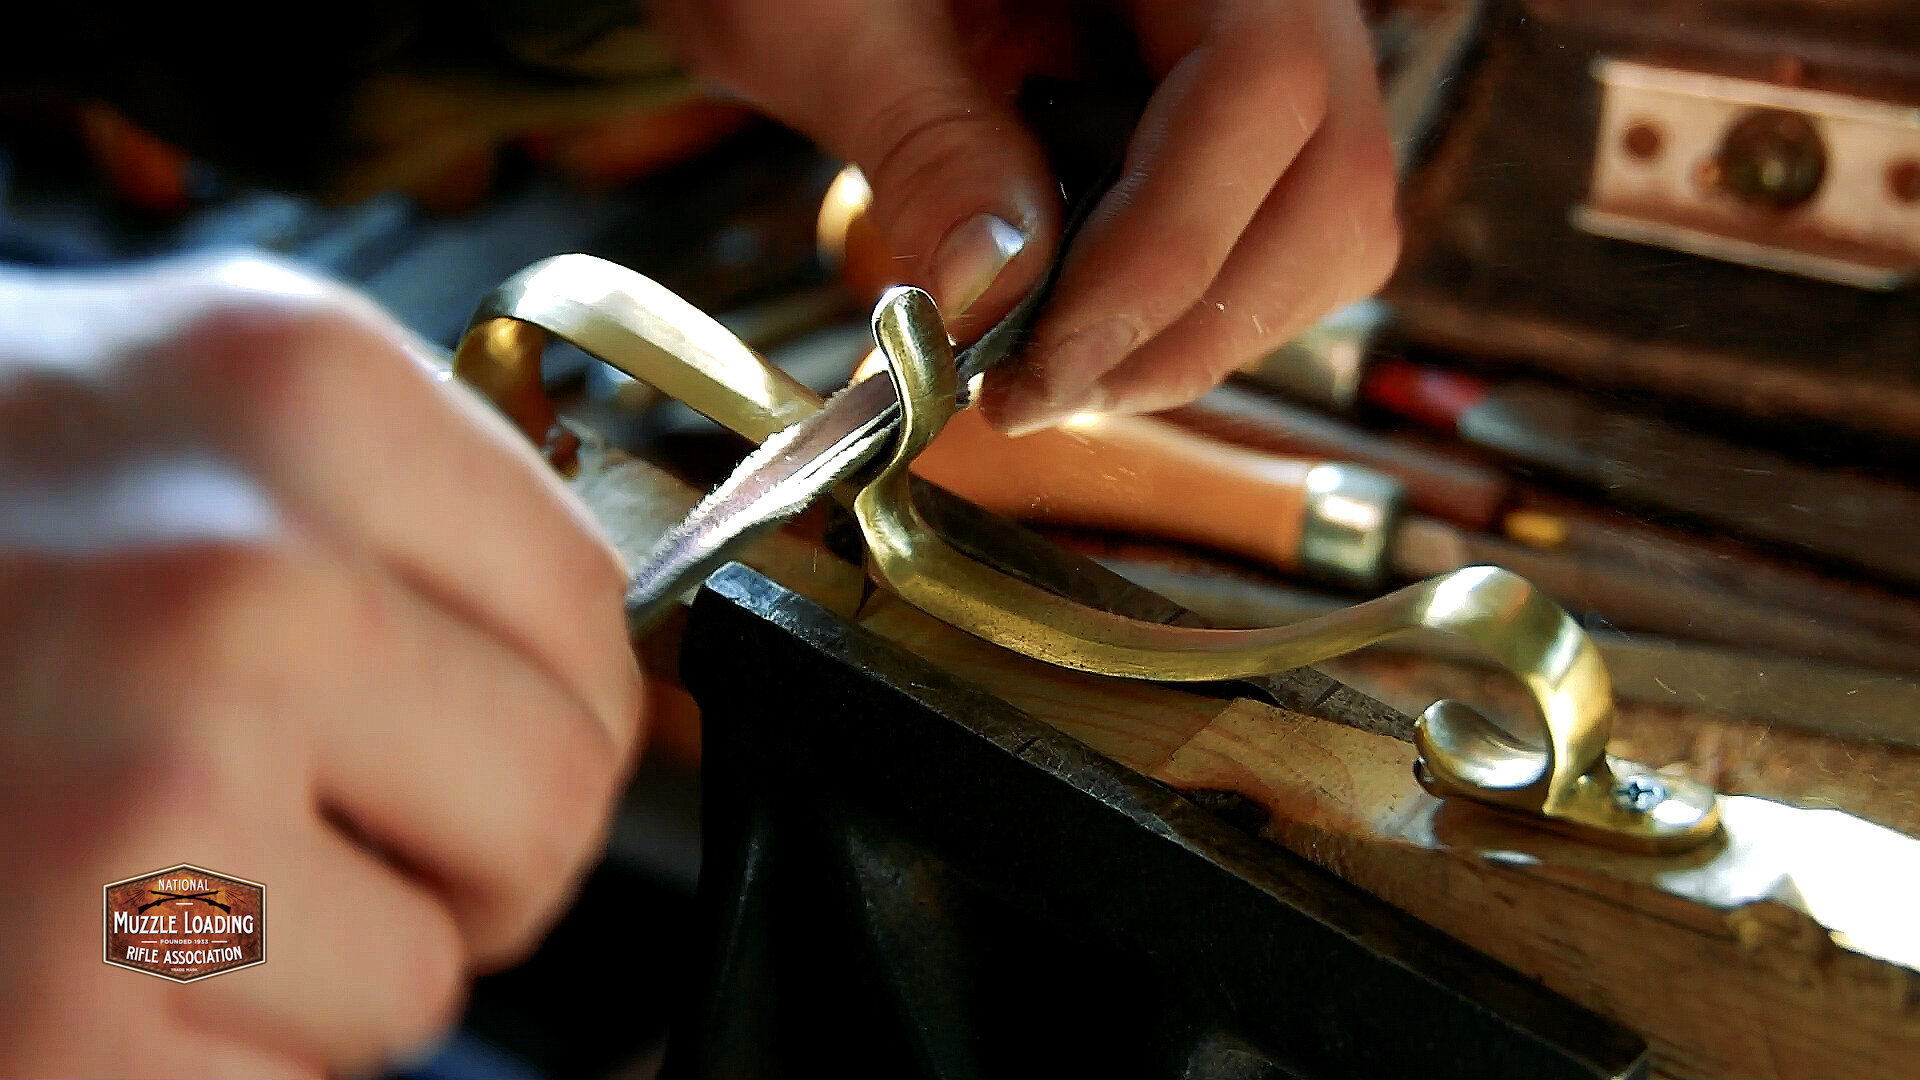
With the buffing done on our brass pieces, we’re ready to move forward to the next step. This is a step you don’t need to go to if you are happy with how the sanding and polishing of your pieces look. You can put your polished pieces back on your gun and continue with assembly. I wanted to try a bit of brass black on my brass pieces to age them and dial the brightness down. I’m using Casey Brass Black, something just about everyone seems to use, so we’re going to see how it turns out!
When using a chemical like this that is going to react with your metal, be it brass black, cold bluing or a browning solution, you want to keep your bottle of the chemical separate from your working amount. If you don’t keep your bottle separate, after you apply that first brush of the liquid and go back to refill your brush or swap, you will set off a reaction in the bottle causing all of the liquid to react and go bad. Always pour out a small amount of the chemical to work with into a clean separate container to work from. Close your bottle up so you don’t accidentally contaminate it and set it aside until you need more.
I like to use little condiment containers or left over plastic lids in the shop for just this purpose. They are super cheap and readily available so it’s easy to have them around, remember to reduce, REUSE, and recycle!
Next you’ll want to wipe down each of your brass parts with a rag and some rubbing alcohol. This is going to remove any residual buffing compound from the pieces and get rid of any oils from your skin that might be left on the part after handing, allowing for a nice even finish. I did not do this on a couple of my parts, but it did not hamper my progress, you’ll just need to layer a bit more brass black on any spots that don’t take immediately.
Using a cotton swab, apply a single layer of the brass black to each of your parts. I found that it helps to make complete strokes with my swab from one end to the other on each part. This helps you get a more even coat, making for easy clean up.
After I went through and blackened each piece, I went to the first piece I had coated and began the process of removing the dried brass black. I started out using a paper towel, but it soon disintegrated under the pressure. I recommend using a scotch brite pad at this step. Get your scotch brite a little damp before you begin removing the brass black and you’ll be able to get some nice color variation that is hard to get with a dry pad. I scrubbed these pieces in a circular motion gently to get a nice balance between clean and dirty brass.
I’m very new to this process, so it took some repeating of the application and removal process to get a color I was happy with. Don’t be afraid to take your time and get a finish you are really happy with before moving on. You can always go back, but when you are done with this kit I don’t think you’ll want to go back to brass finishing!
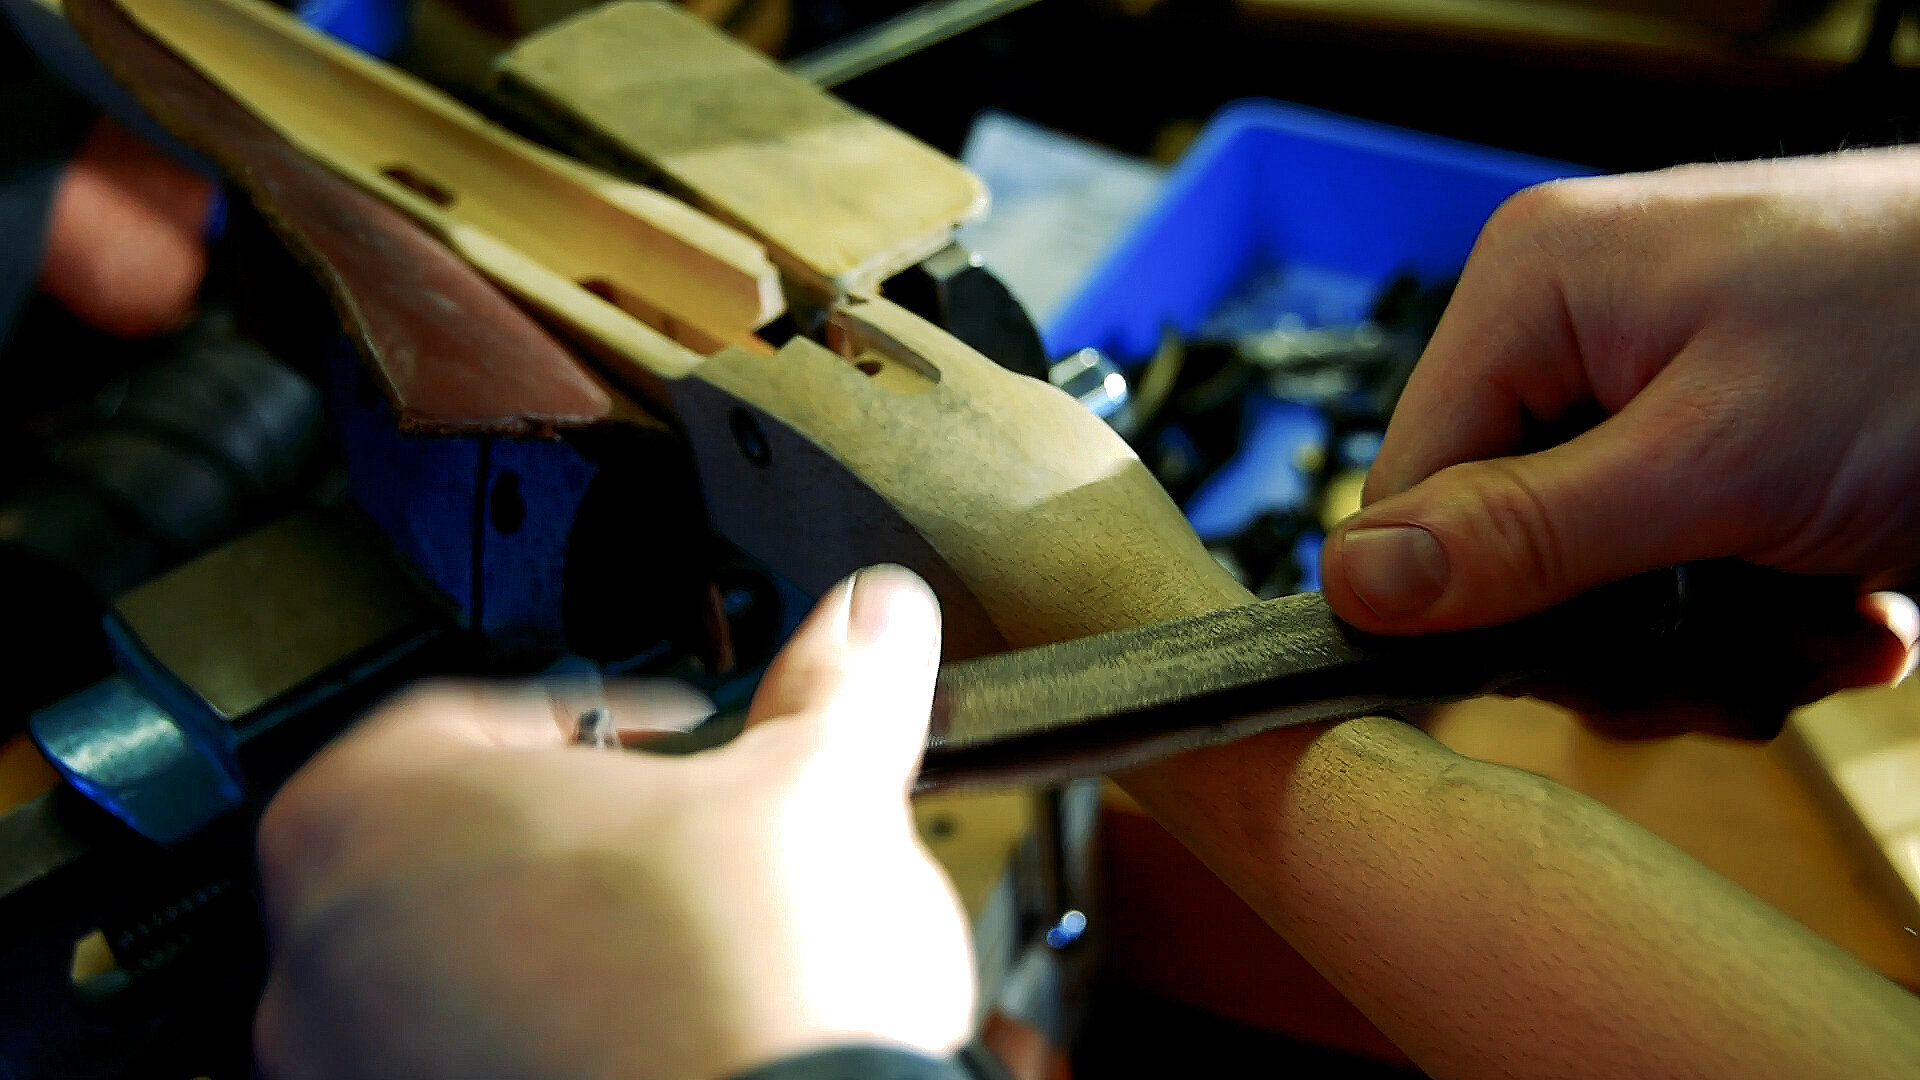
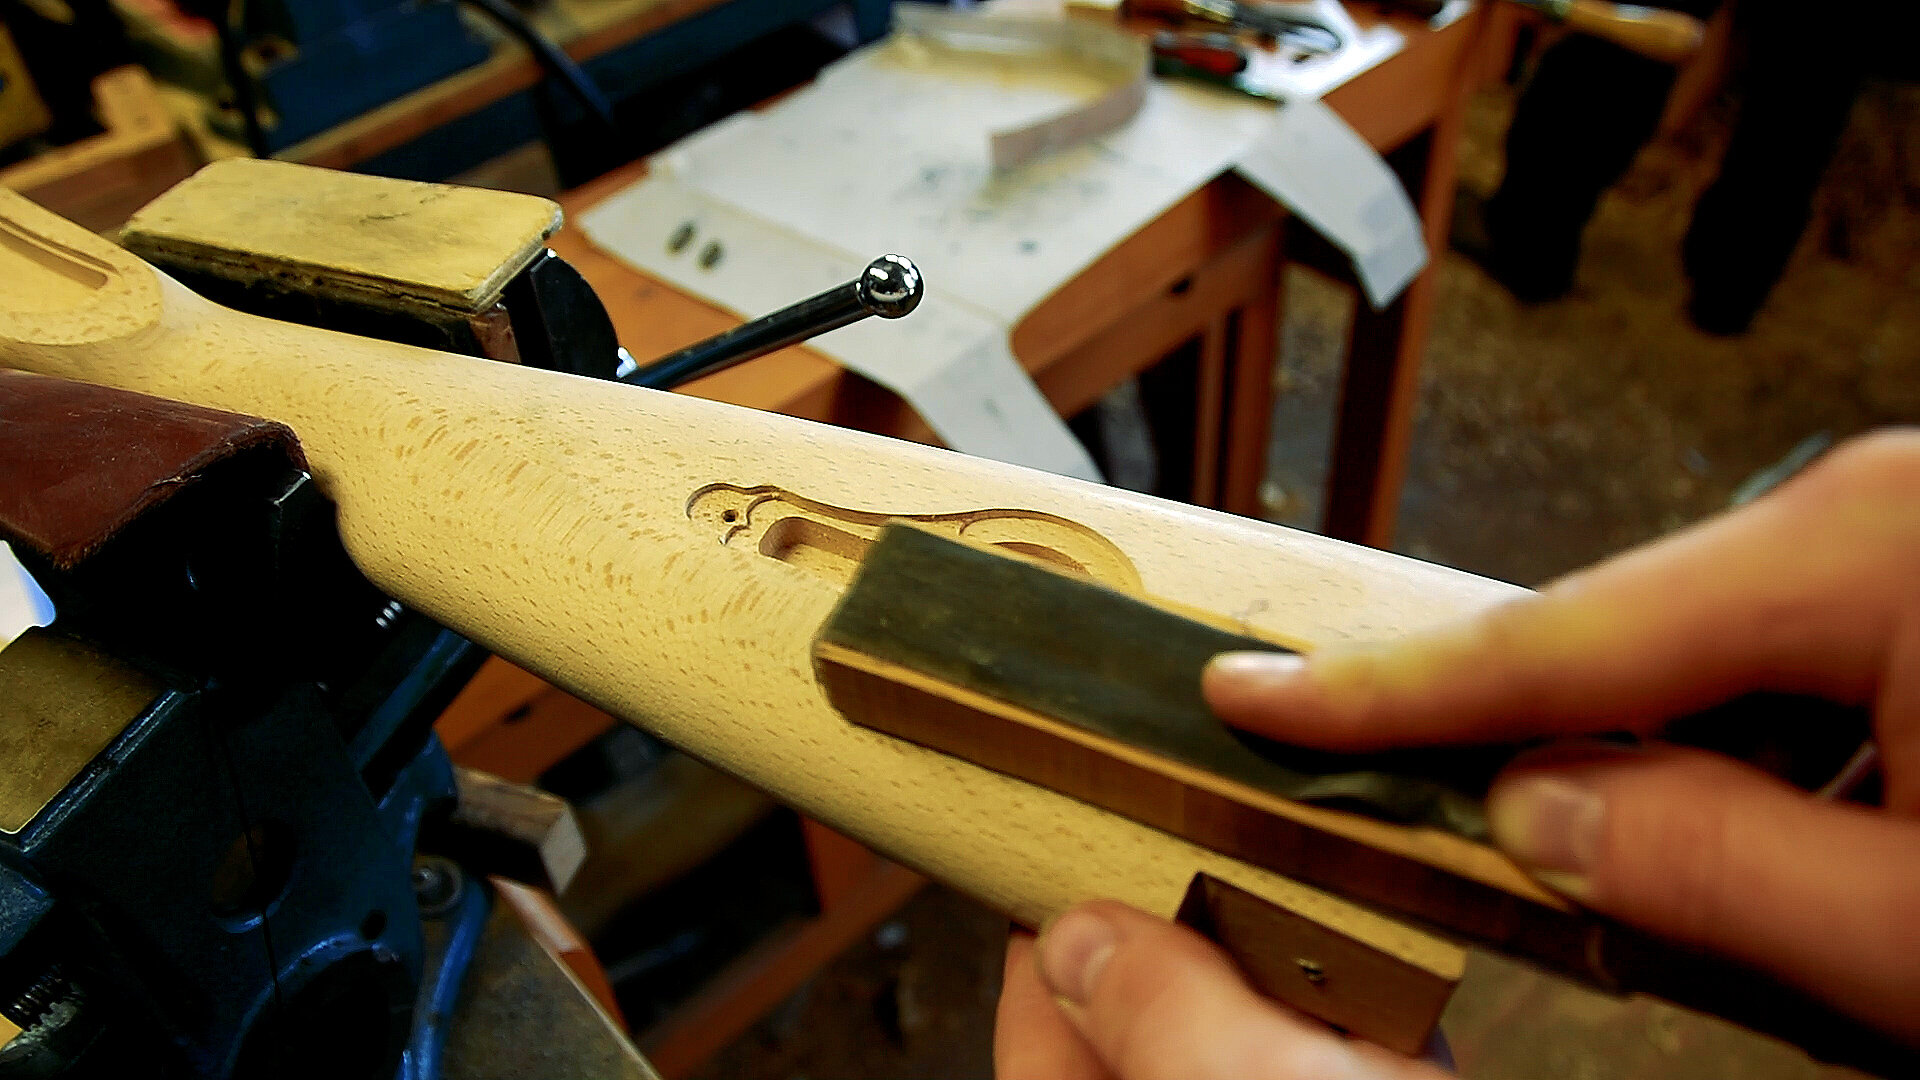
After getting a color I was happy with on the brass pieces, I wanted to set them back into the stock and get a good feel for how the build was coming along. We’re going to take this time to sand the stock and get it ready for stain as well.
When sanding your stock like this, make sure you are running your sandpaper in line with the stock, from butt to muzzle and vice versa. This will help you keep the lines of your stock and not cause any odd dents or notches in the shape. I recommend using a wood block or file as a backer for your sandpaper to keep from causing any wobbles in your sanding. It’s really easy to go too far with this step, and using a firm backer for your sandpaper keeps your stock lines clean.
In the next step of the process we’ll start blueing the barrel and staining the stock, see you then!
There are a million ways to assemble a muzzleloader, and a million of them are right. This is by no means meant to be the ONLY way to build one of these kits, just one way.
Have a suggestion? Email us at media@nmlra.org and we’ll take your comments into account as we continue the series.


