
In this series, Muzzle Blasts Field Agent Ethan cracks open a Traditions St. Louis Hawken Kit and builds it. These kits are a simple and affordable way to get started in muzzleloading, and kits are bigger than ever with COVID 19 keeping many at home.
Check out this list of kits to find the perfect one for you
NMLRA Members can order their Traditions kits from Flintlocks LLC and receive an exclusive discount!
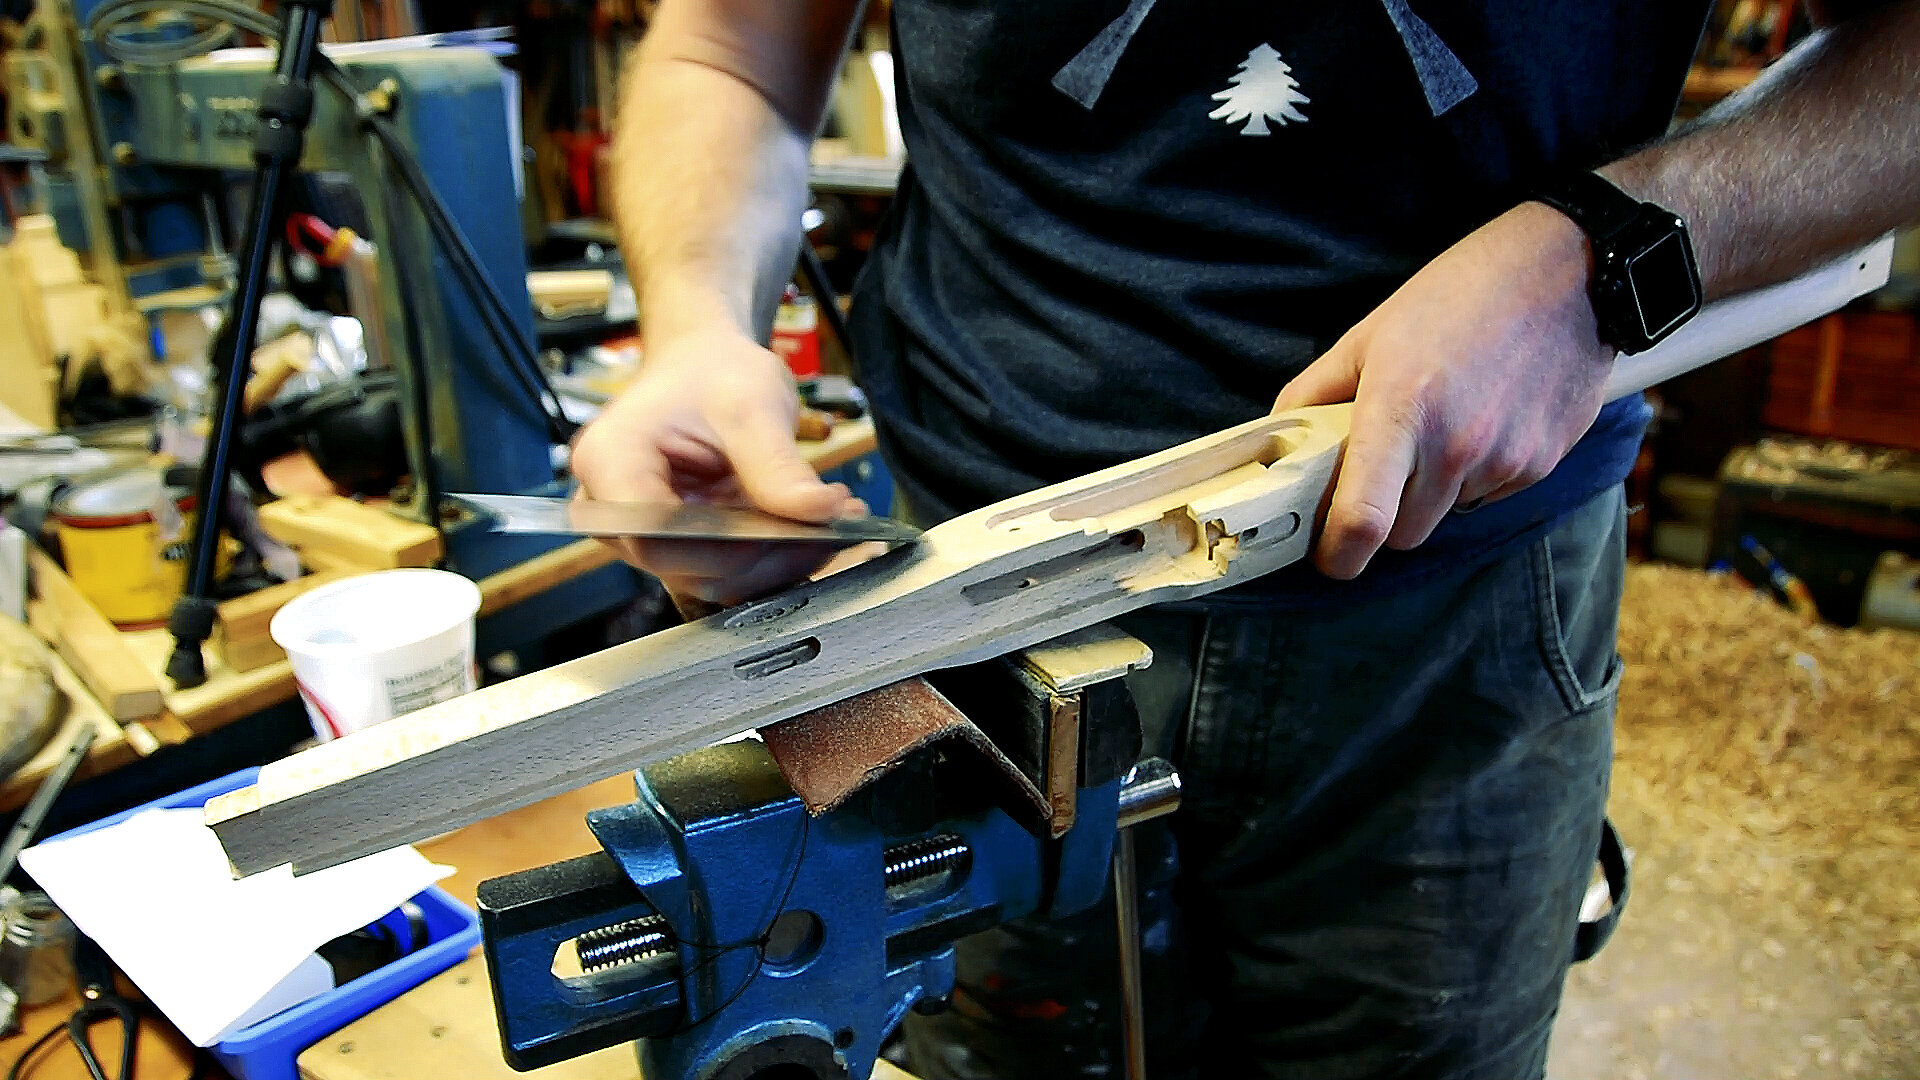
When it comes to your stock finish, a lot of the process comes down to personal choice. For my kit, I’m going to do a little sanding, some whiskering, some scraping, and some burnishing. To start though, we’re going to get a nice even surface on the stock with some sandpaper.

If you are looking to have a stock that’s a bit more smooth, you’ll want to do some more sanding. For most of you out there looking to build your own Traditions Hawken Kit, the 240 grit sandpaper is going to be plenty. This sandpaper is rough enough to remove any rogue toolmarks you may have left behind, but it’s not so rough you risk removing too much wood.
I’ve taken a gentle approach to this pass of sanding, making sure I go over the entire stock evenly, and dont forget to use a rigid surface of some kind to keep your sandpaper flat as you work. Around the lock inlet and the comb of the stock, I found a couple dents from the vice that really didn’t want to come out with the sandpaper, so I picked up my fine half round file and was able to even out the surface. On my next kit, I think I’ll be more careful with the vice!
The level of finish I wanted will be a bit different than yours, so feel free to keep sanding if you aren’t happy with the look. I found that after about 45 minutes of sanding, it was time for me to stop. I had a couple file marks near the butt plate that were really deep, and completely removing them would leave some major dents in the stock and buttplate, so I have left them. Like I said, it’s all a learning process, and the next kit will be better!

After we have the stock where we want it, I’m going to go through a process called “Whiskering” to prepare the stock for stain. This process would be more important if we were working with a fine curly maple or walnut stock, but it’s nice to get a feel for the process on this kit before we start tinkering with expensive pieces of wood.
First we are going to wet the entire stock using water and a rag. As you work the wood with this water, you might notice spots you soaked earlier starting to dry as you work, wet them down with one more pass of your rag, and keep moving with the rest of the stock. The entire stock doesn’t need to be damp when you get to the heat gun, but multiple passes only helps get that end grain to cooperate.

Using a heat gun or a powerful hairdryer, we’ll gently go over the entire stock until all the moisture is taken from the wood. You’ll notice the color change from dark to light as the wood dries. Go over the stock until all the wet spots are removed, unplug your heat gun, and place it in a safe spot where it can’t start any fires.
Note the darker wet areas and the dry lighter areas. Our goal is to get the entire stock to be dry once again.

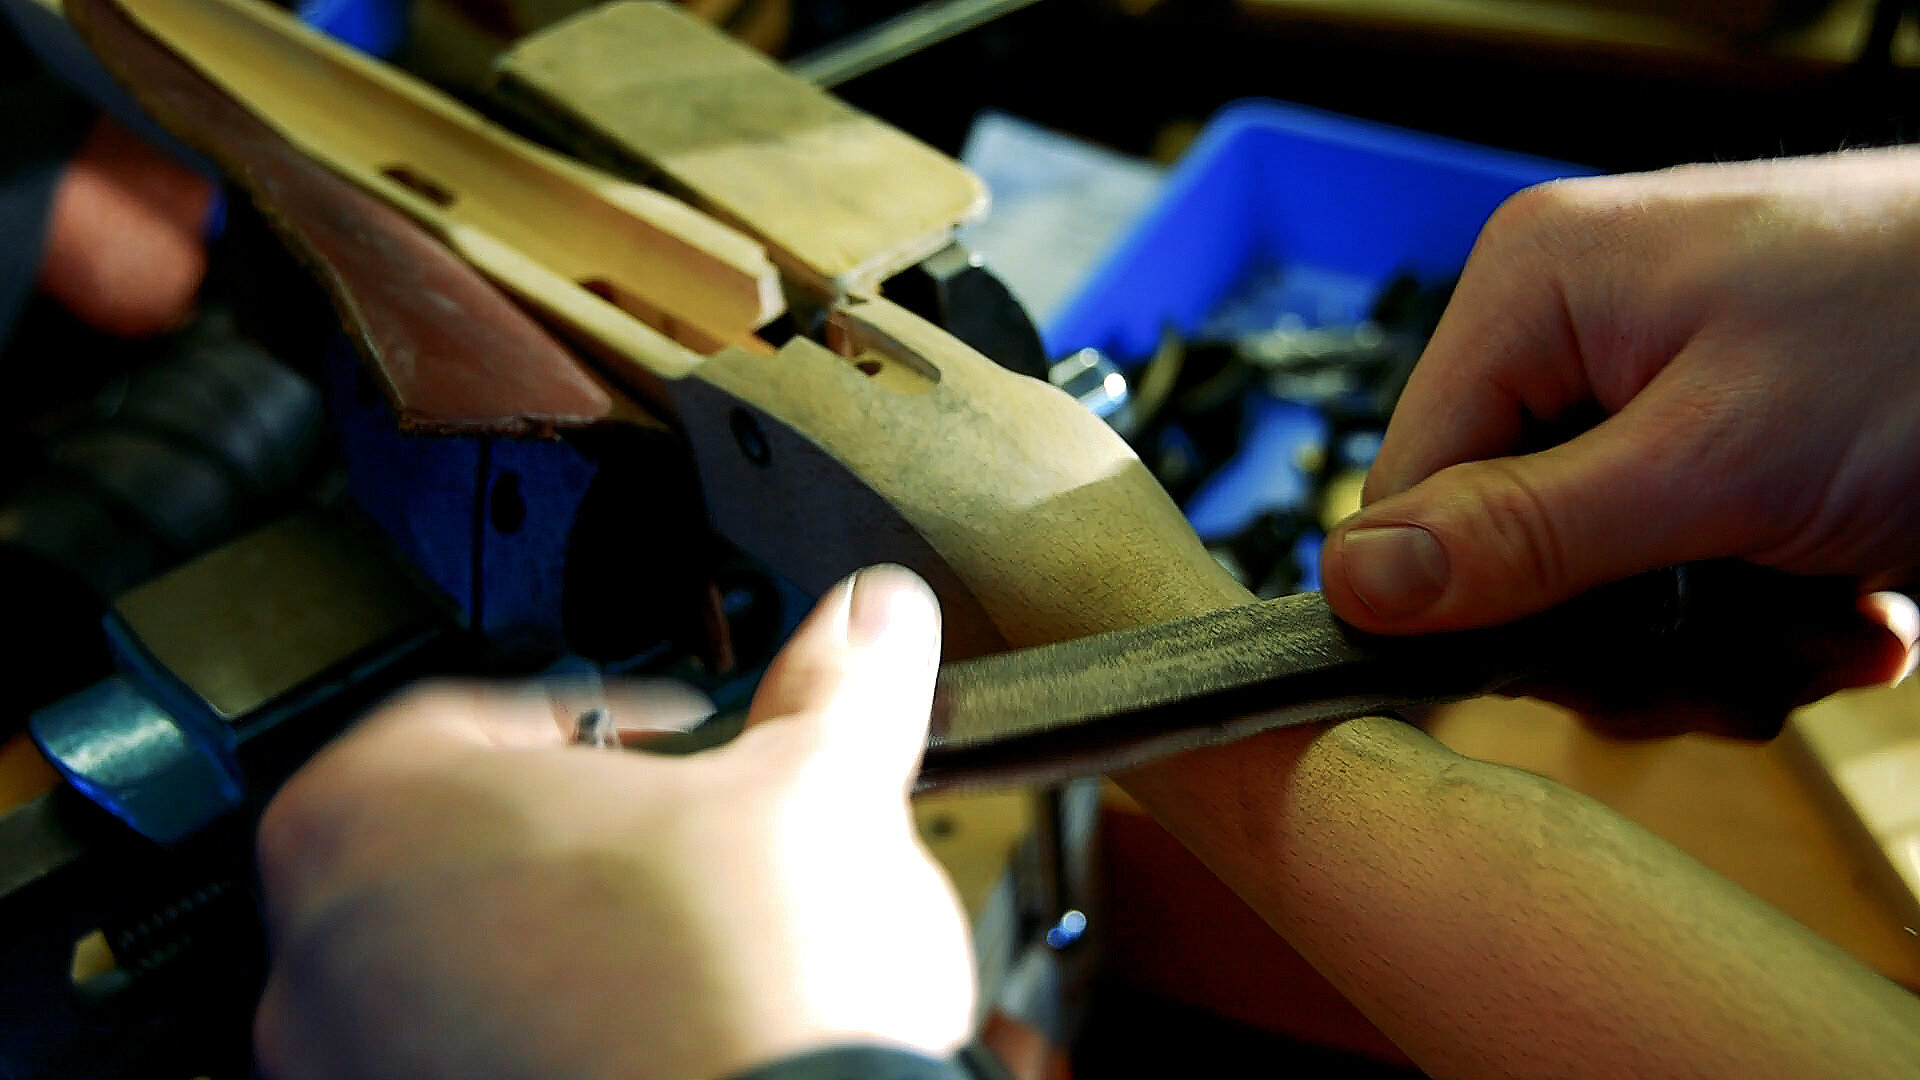
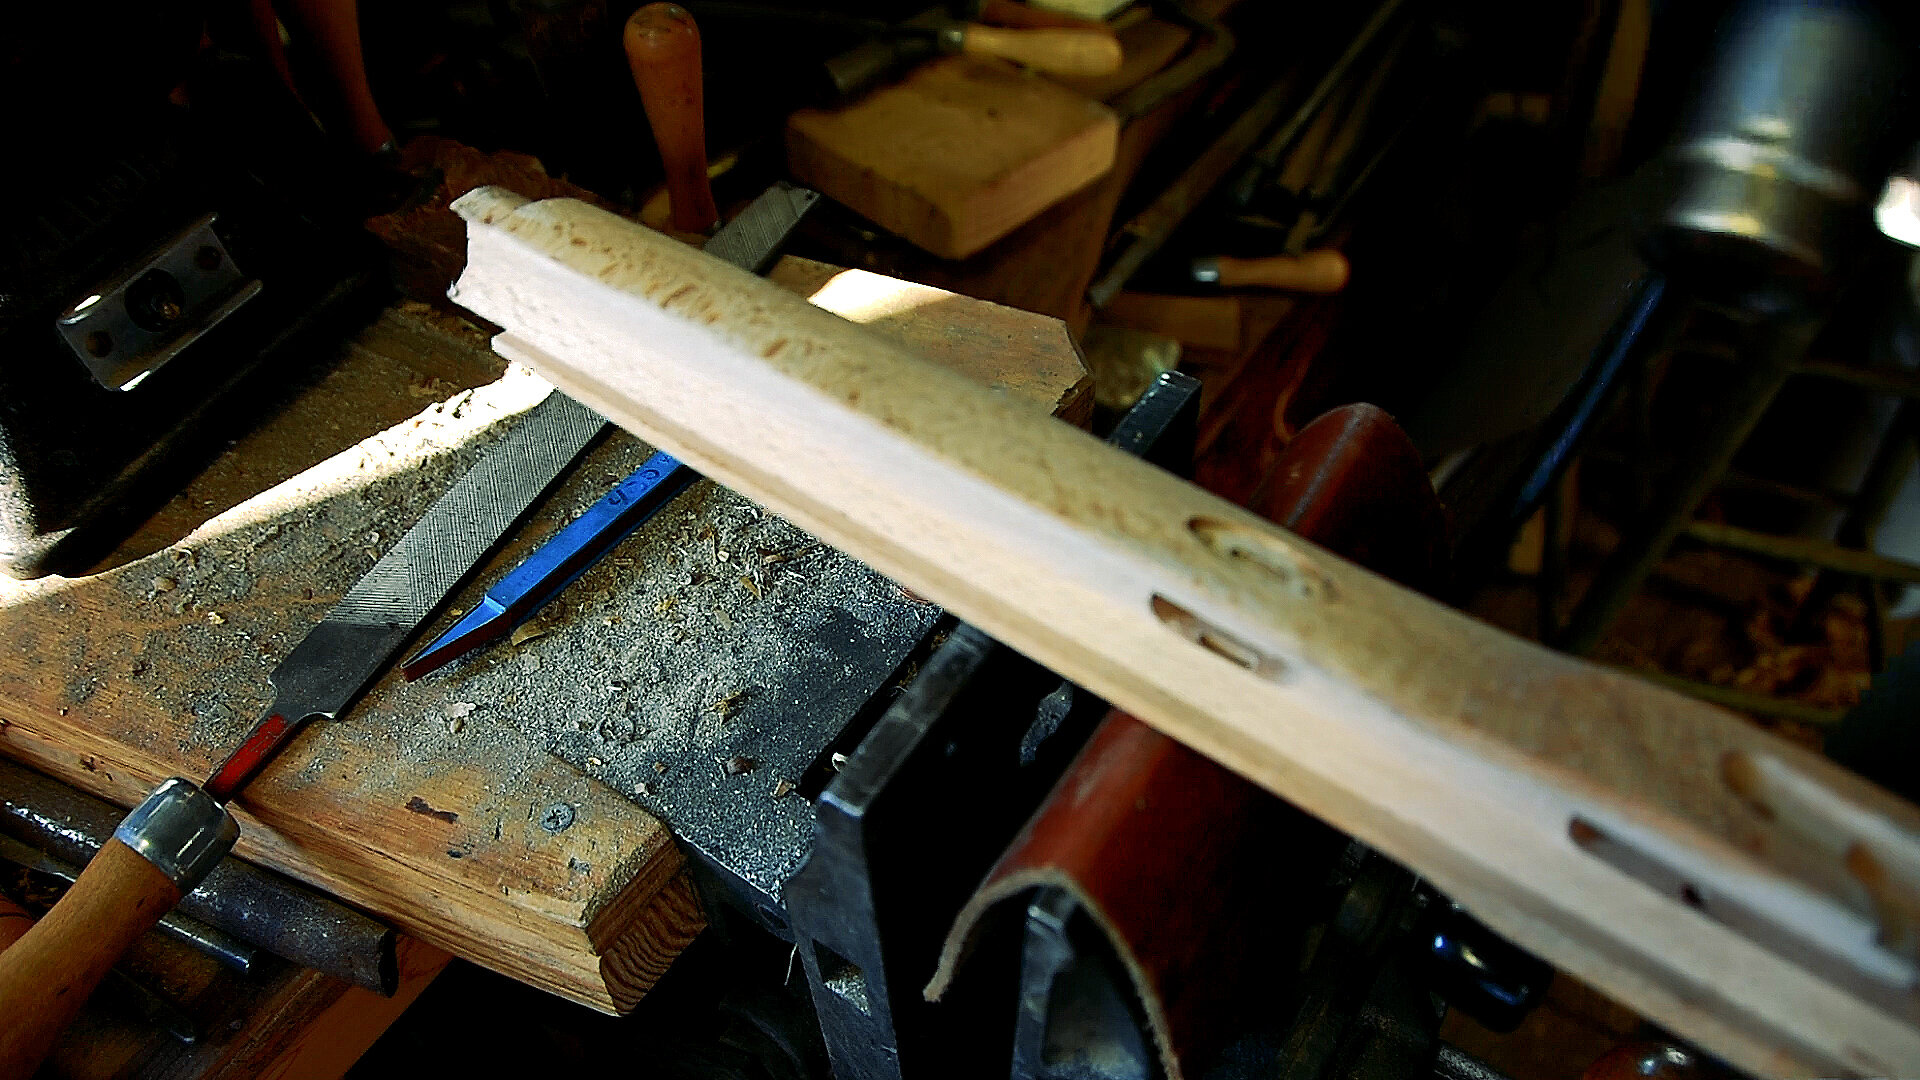
With your freshly dried stock, you’ll notice a lot of fuzzy bits of wood sticking out. These bits are pieces of the end grain of the stock that we want to scrape off. Doing this process now will ensure that the end grain doesn’t stick up like this after we’ve added our stain. I’m using a cabinet scraper to remove the fuzz, you can use sandpaper to do the same thing. I like the card scraper because it leaves a very thin facet all over the gun that gives it a nice texture. Scrape or sand the entire stock and repeat the wetting/drying/sanding process as you see fit. One pass might be enough, or you might need 4 passes to get where you want on the stock.
When whiskering is complete, we’re ready to move on to the next step! If you haven’t already, head down to your favorite hardware store or muzzleloading supply shop and pick out a few wood stains.

There are a million ways to assemble a muzzleloader, and a million of them are right. This is by no means meant to be the ONLY way to build one of these kits, just one way.
Have a suggestion? Email us at media@nmlra.org and we’ll take your comments into account as we continue the series.