
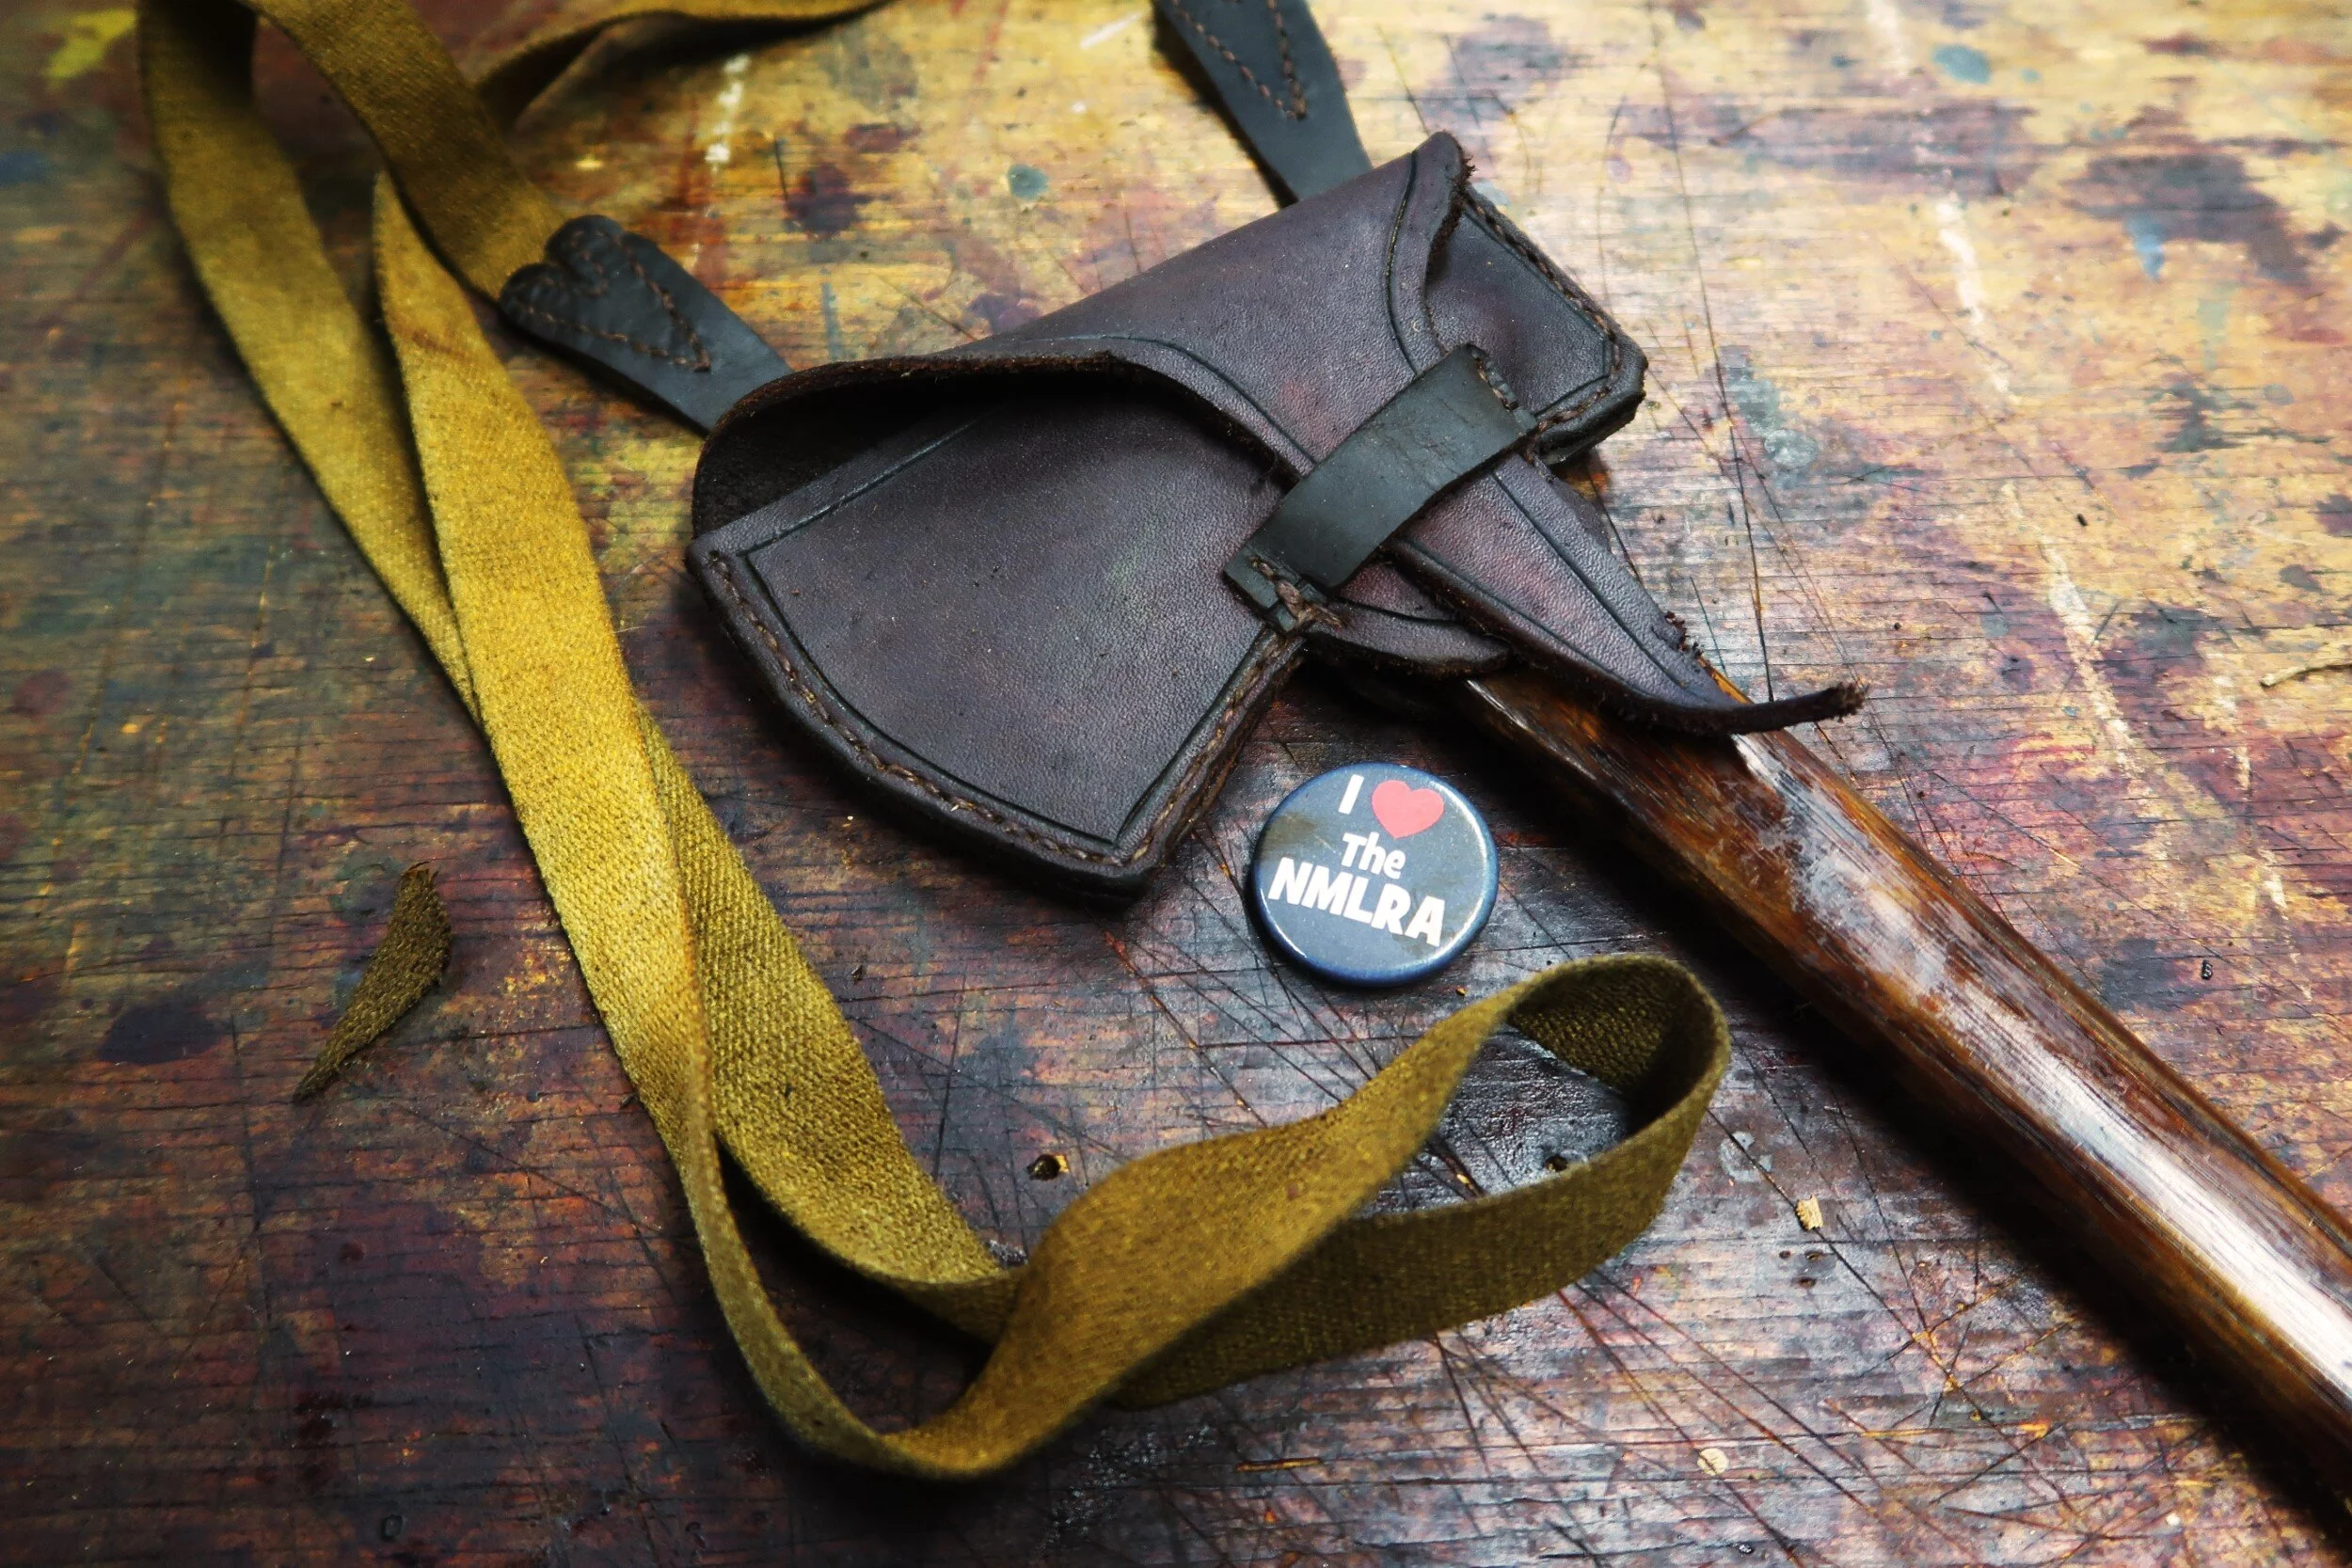


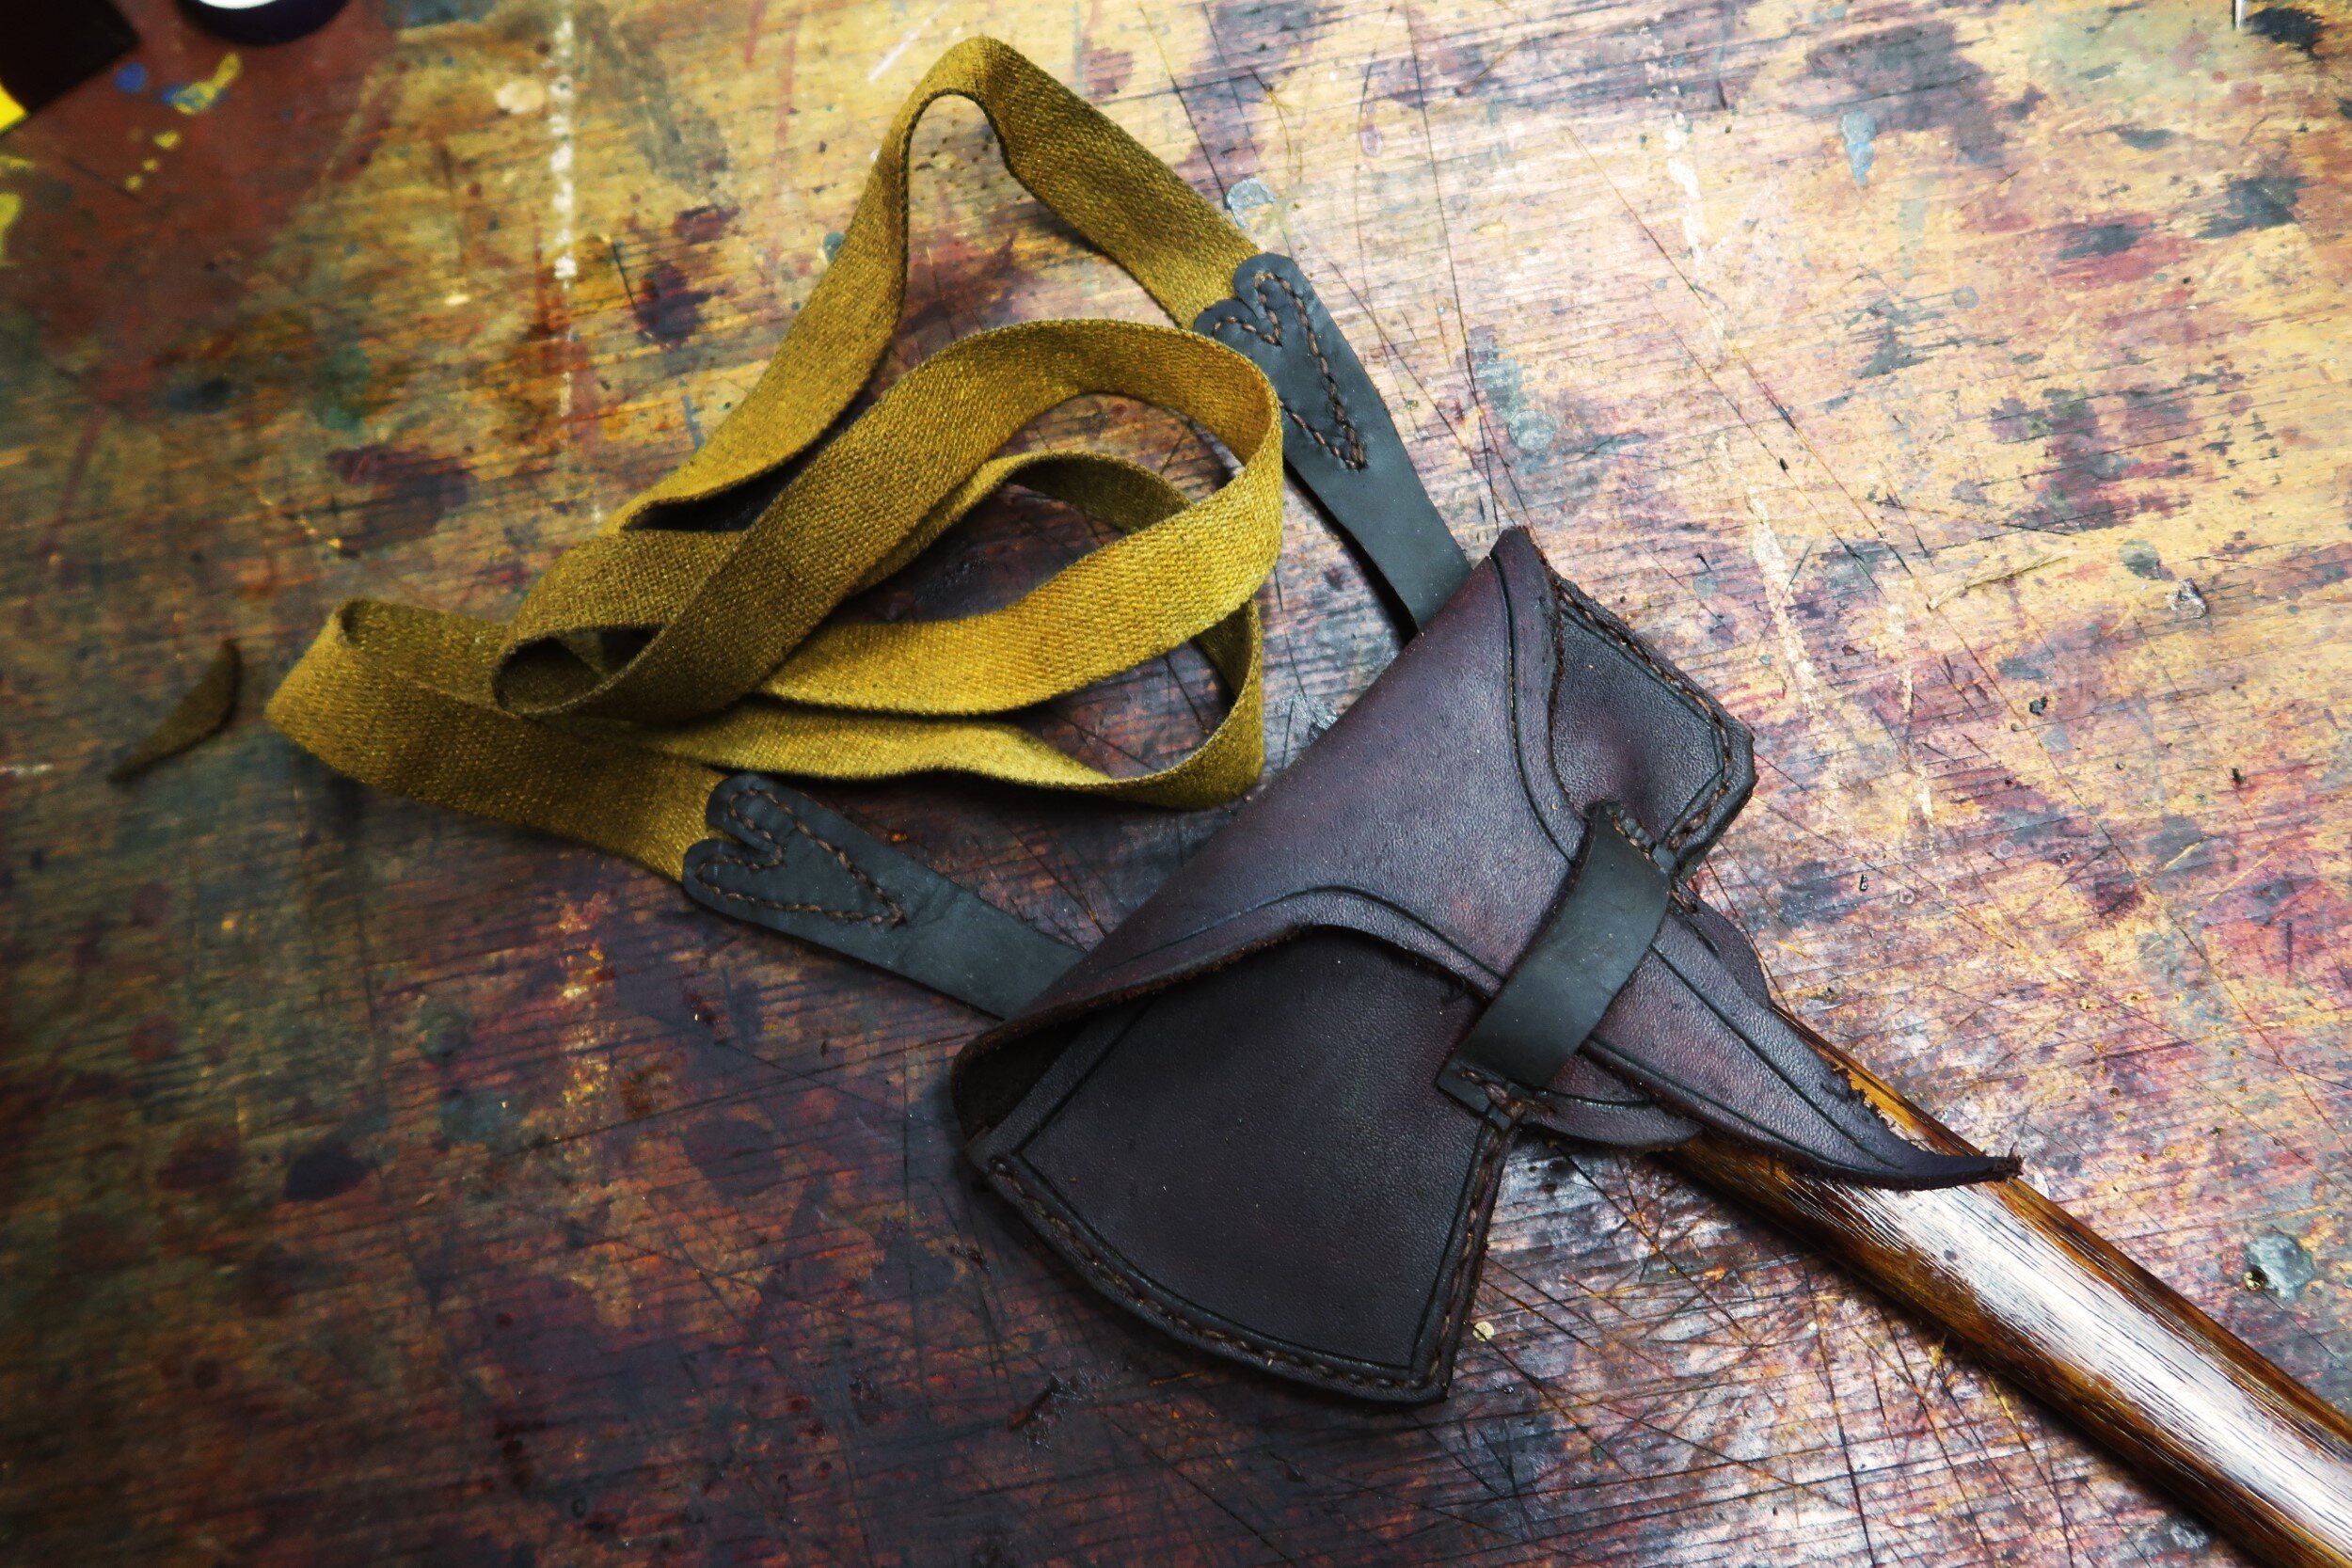
On this week's episode of Craftsman's corner from the NMLRA, we're going to show you how to make this small camp axe sheath based on an original from the 18th century.
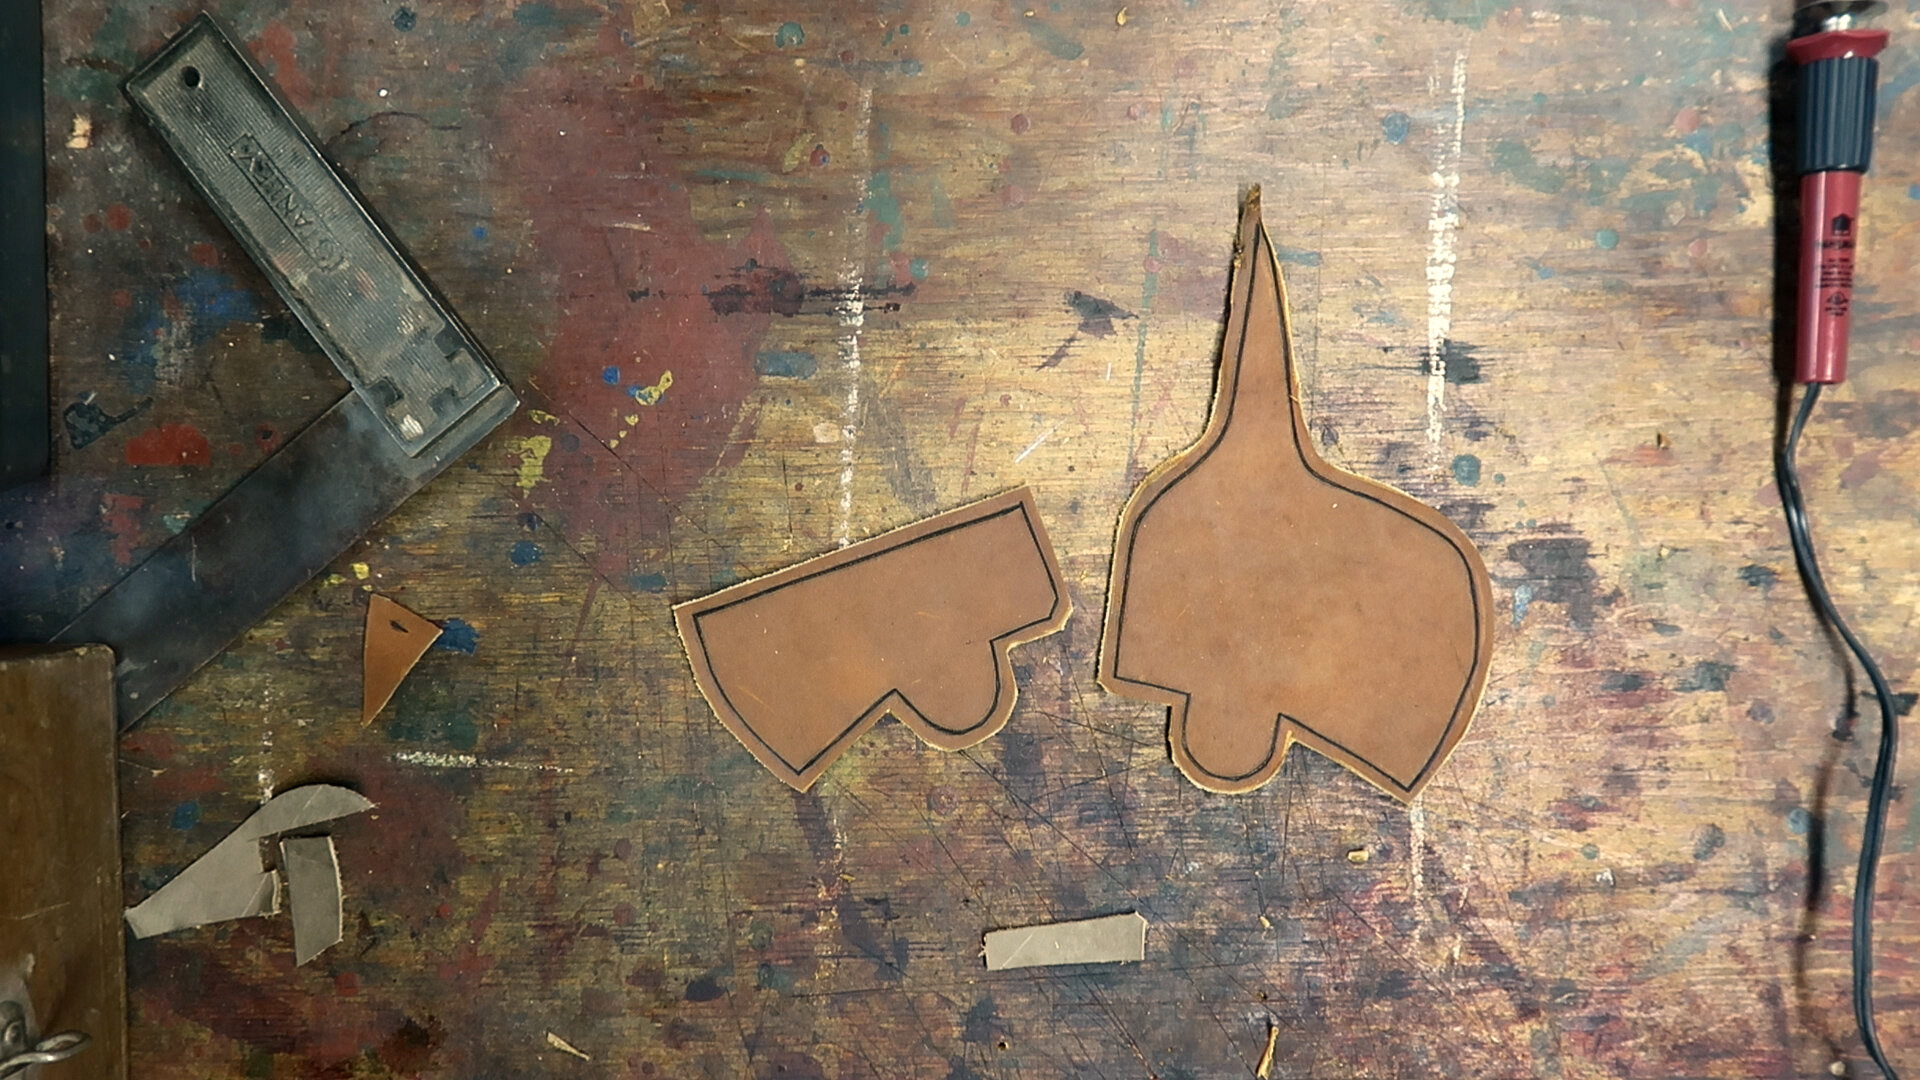
We'll be using this small camp axe as reference to make correct sized sheath. Because I've not made one of these before, I'm going to show you how I like to go through and make a pattern out of an old cereal box. I start out by tracing the head and a little bit of the handle with a number two pencil and then I work on drawing a border around that initial tracing about half an inch out. This is going to give me enough room for the axe to fit in once we stitch everything together.


For leather on this project, I'm using this thick cowhide. It's the same leather that I used on the flintlock lock cover video. I'm tracing it onto the leather with that mark all kind of metalworking pencil that I talked about in the Flint wallet video. This pencil marks on just about everything and I find that it leaves a good mark on leather that isn't permanent. I can kind of rubthis away the same I would with charcoal or lead from a pencil, but it's a little bit brighter.
With everything lined up. We're ready to cut out the small loop that's going to hold our flap tongue down depending on the size of your flap, this loop will be different. What I shoot for is half inch to a three quarter inch wide loop to keep that tongue down.


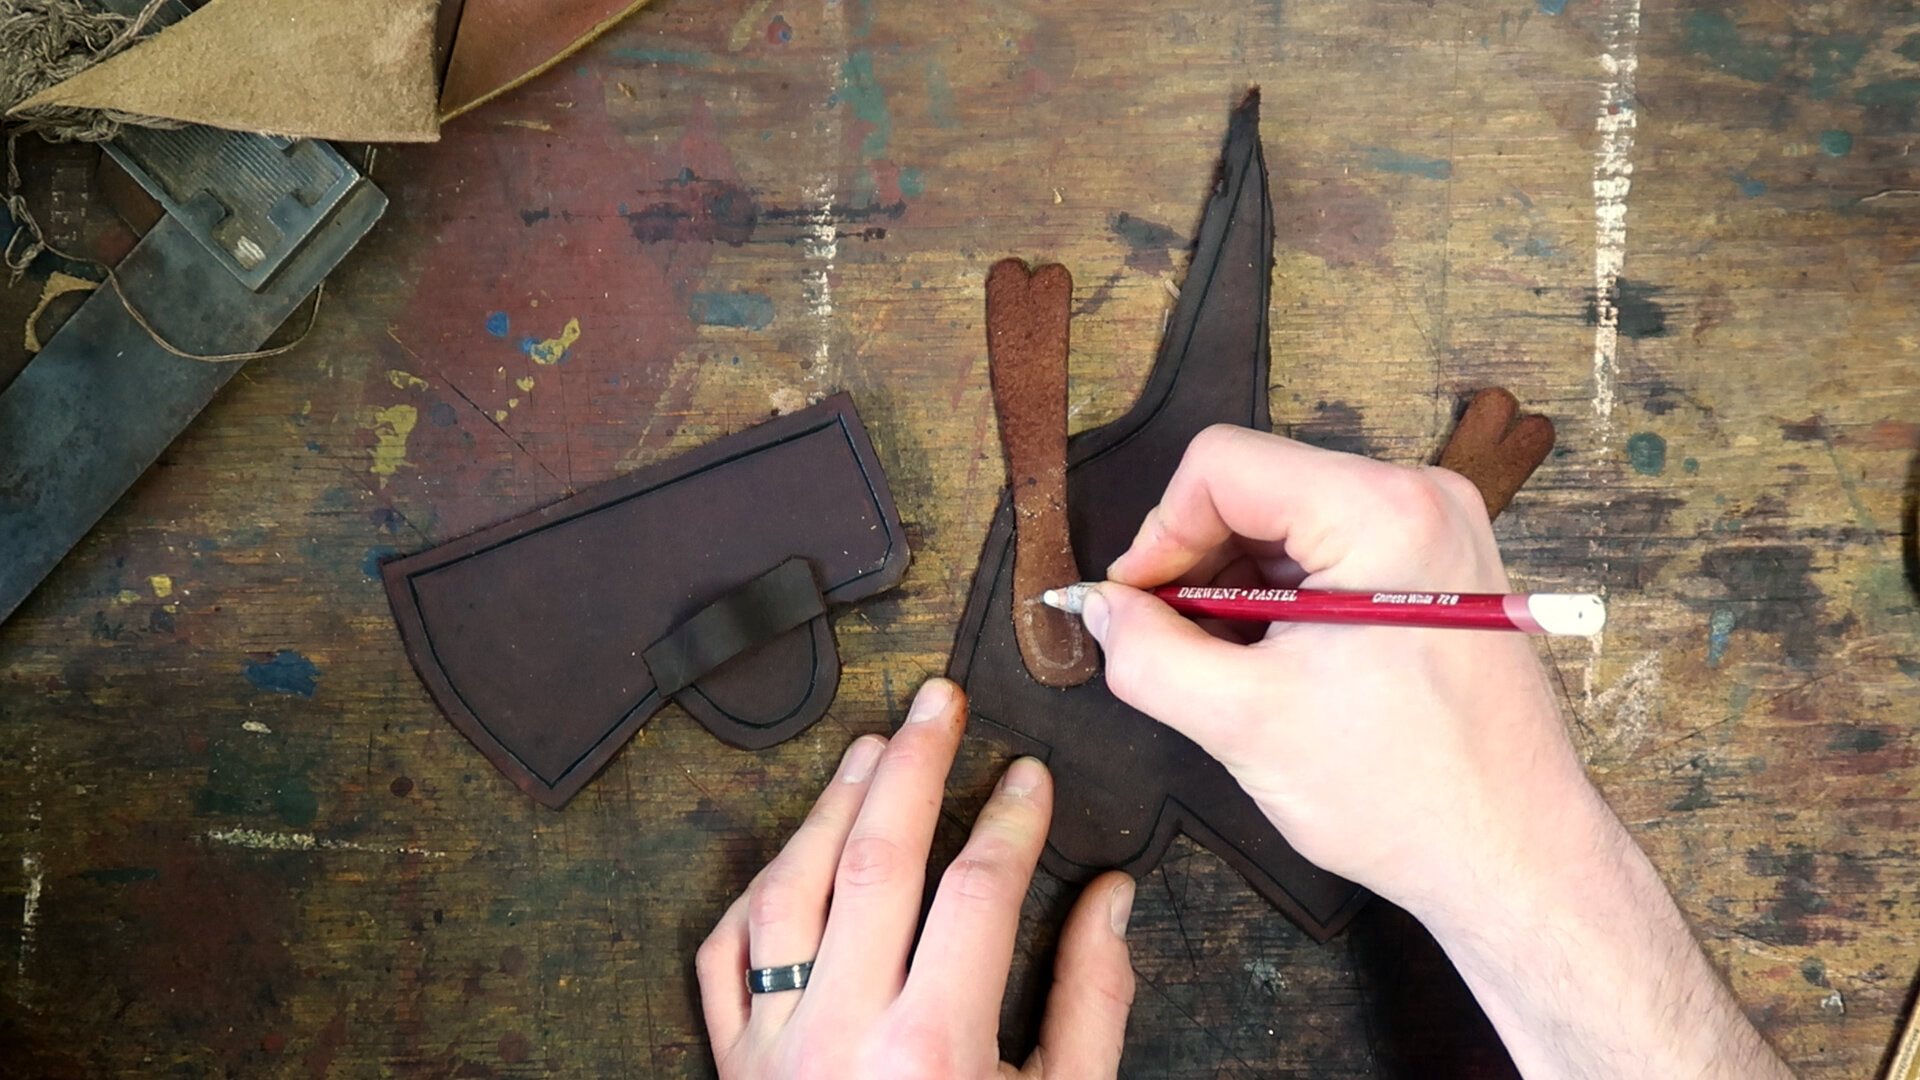
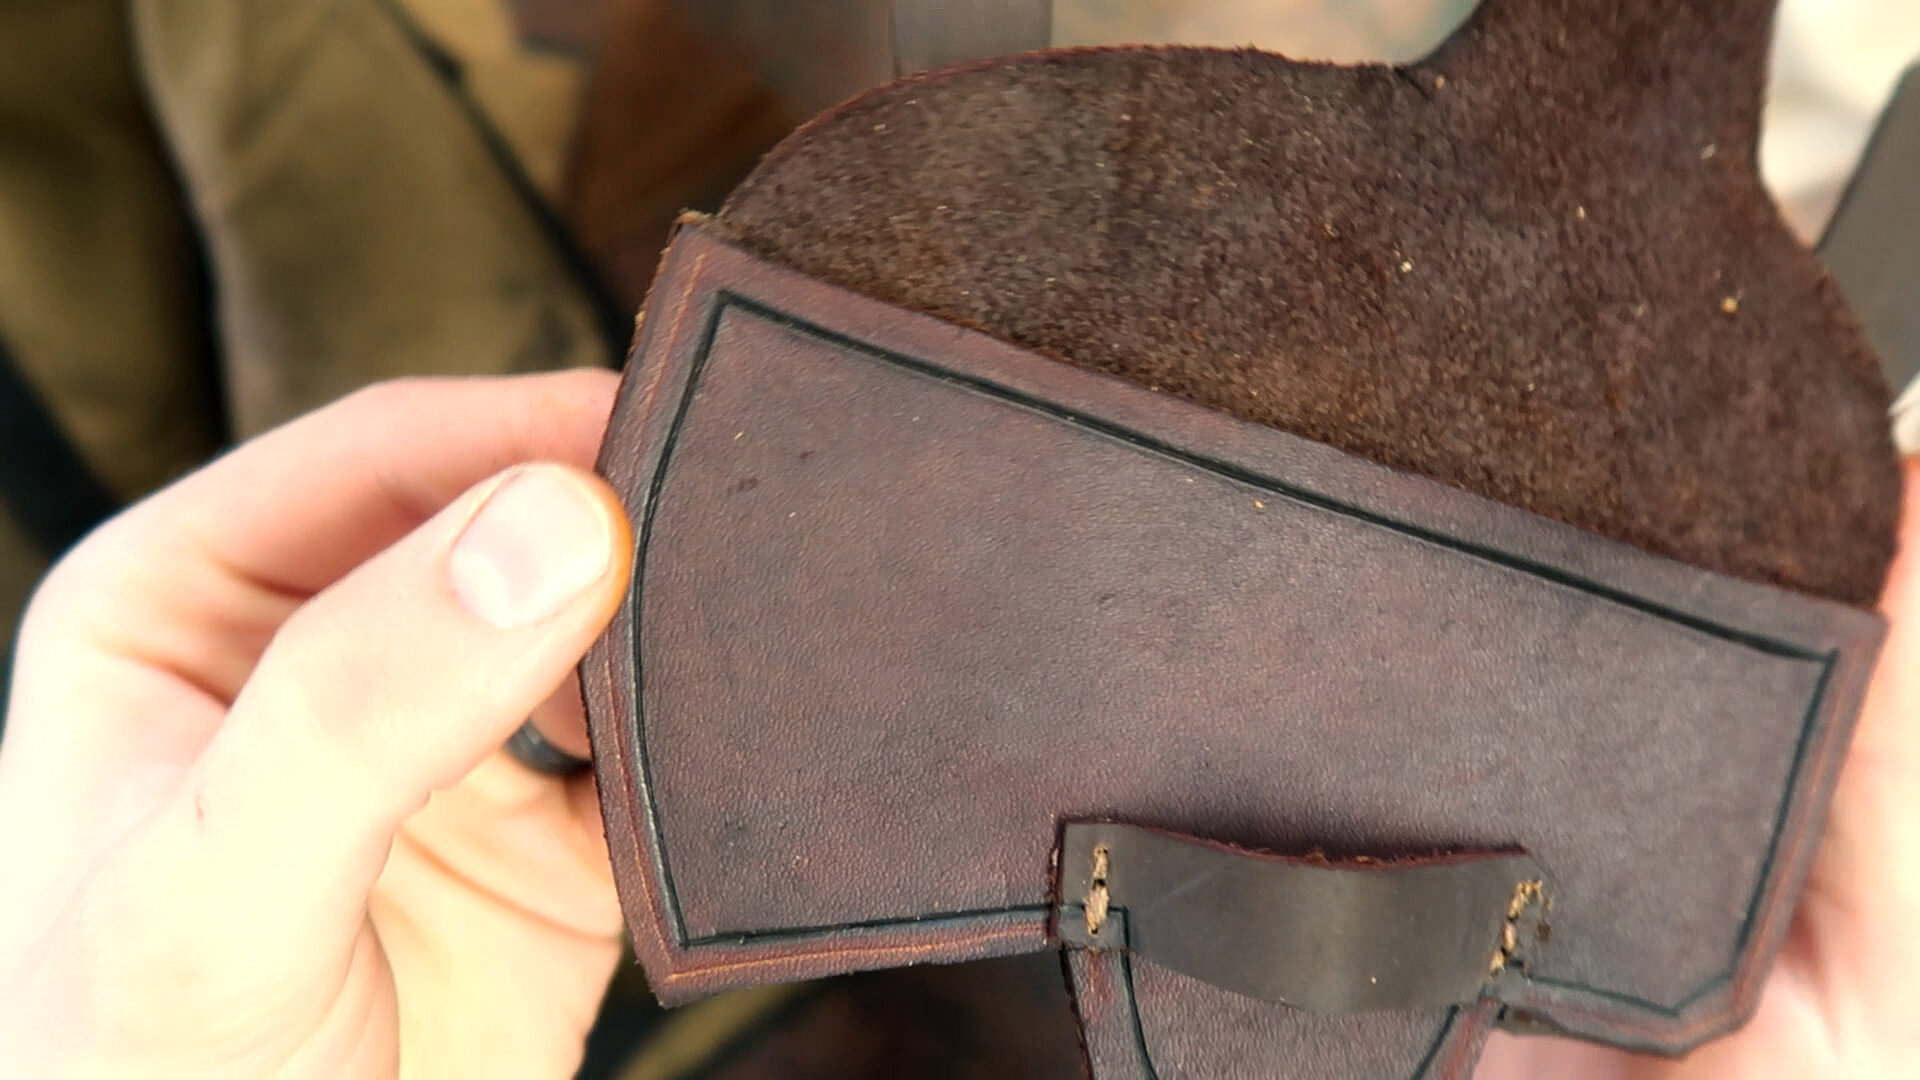
Next I'm getting out my wood burner. The original that I'm basing this off of has a small cut groove about a quarter of an inch all the way around the main flap.


So I'm using a white charcoal pencil here to go around and I'm just kind of eyeballing this, it doesn't need to be perfect.

Before I use a wood burner, I always like to test it with a scrap of the material I'm using just to make sure it's hot enough. If it's too cold, it's really going to stutter and not make a clean line. When doing something like this, I'm always looking for a place where I can pull the line towards me, I find that if I push the line, I don't have enough control.

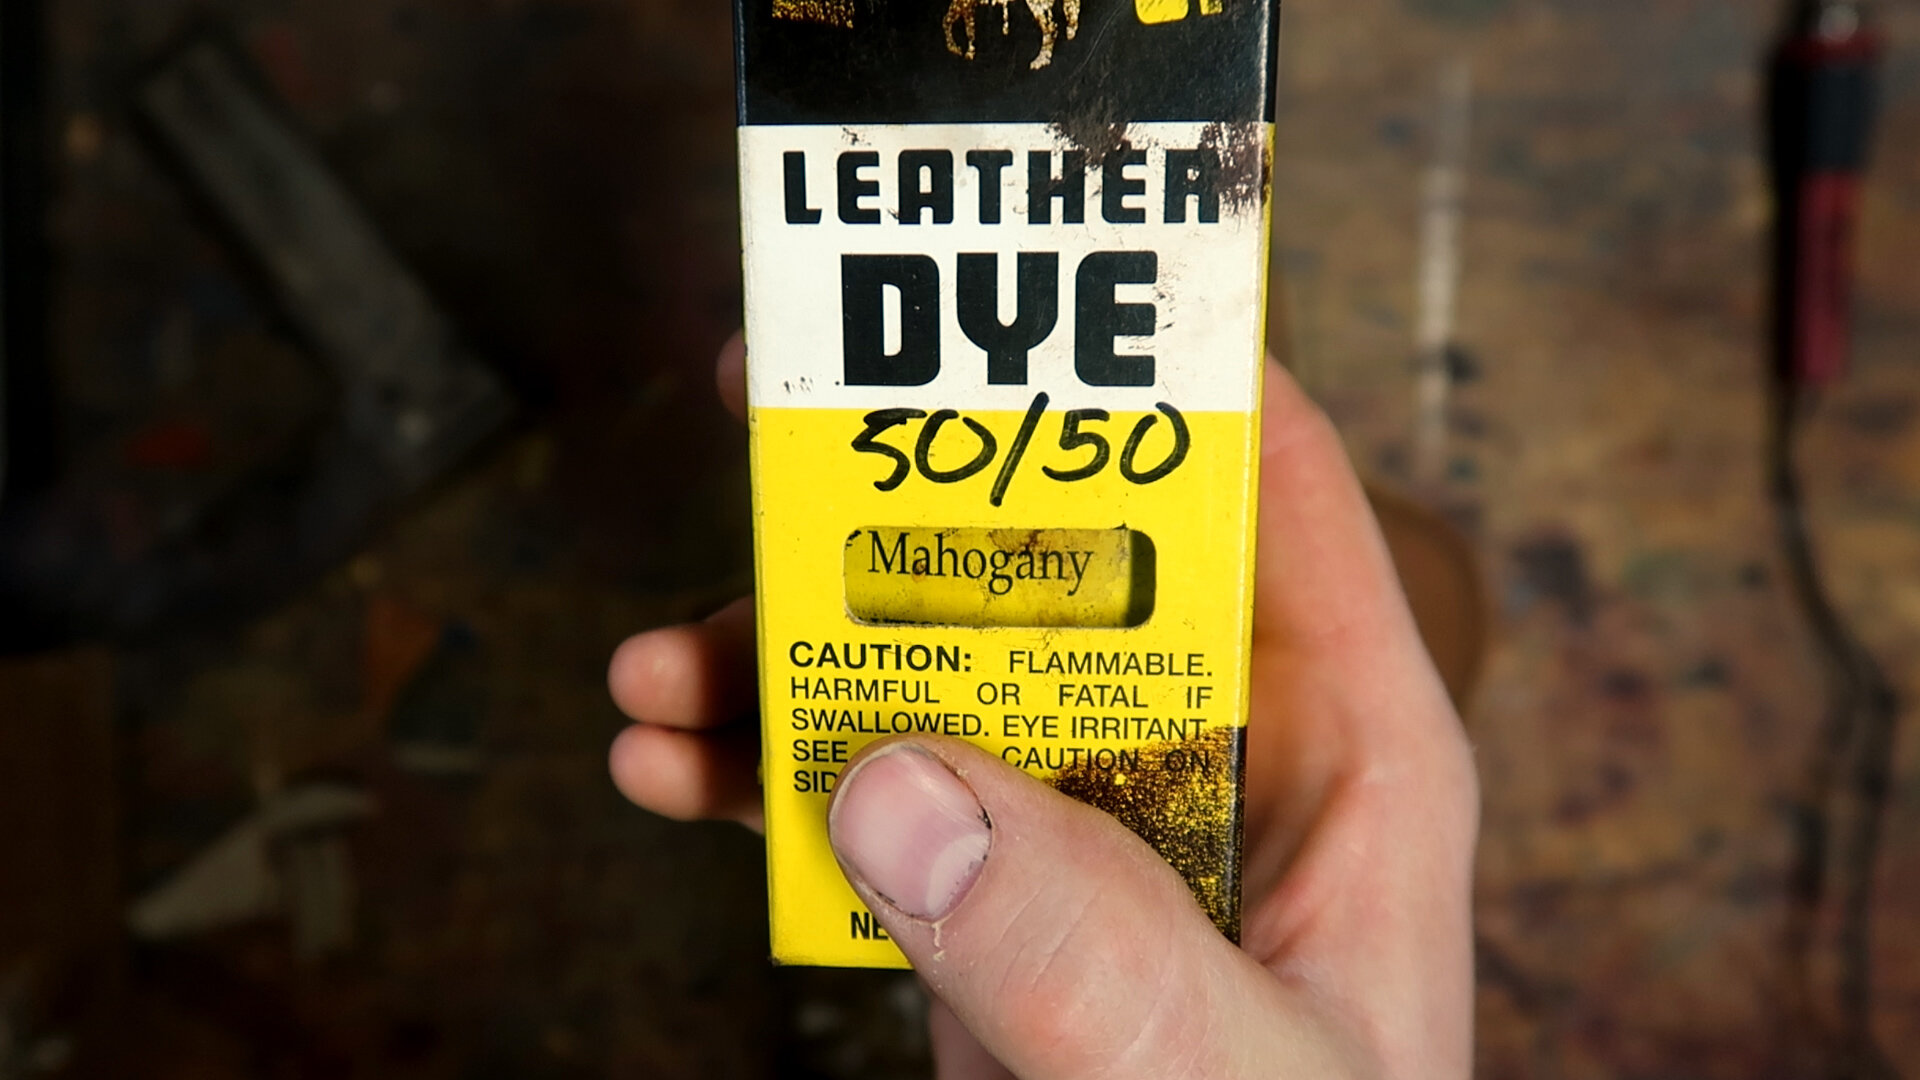
We're ready to move on to dyeing these pieces. I'm going to be using the same 50/50 leather dye rubbing alcohol mix that we talked about in the previous leatherworking videos. This idea comes by way of Jeff Luke who taught me this at his November bag making class at the NMLRA Education Center. Mixing the dye with rubbing alcohol dilutes it a little bit so you get a little more mileage out of your bottle of dye, but it doesn't seem to affect the color at all in any way that I found.


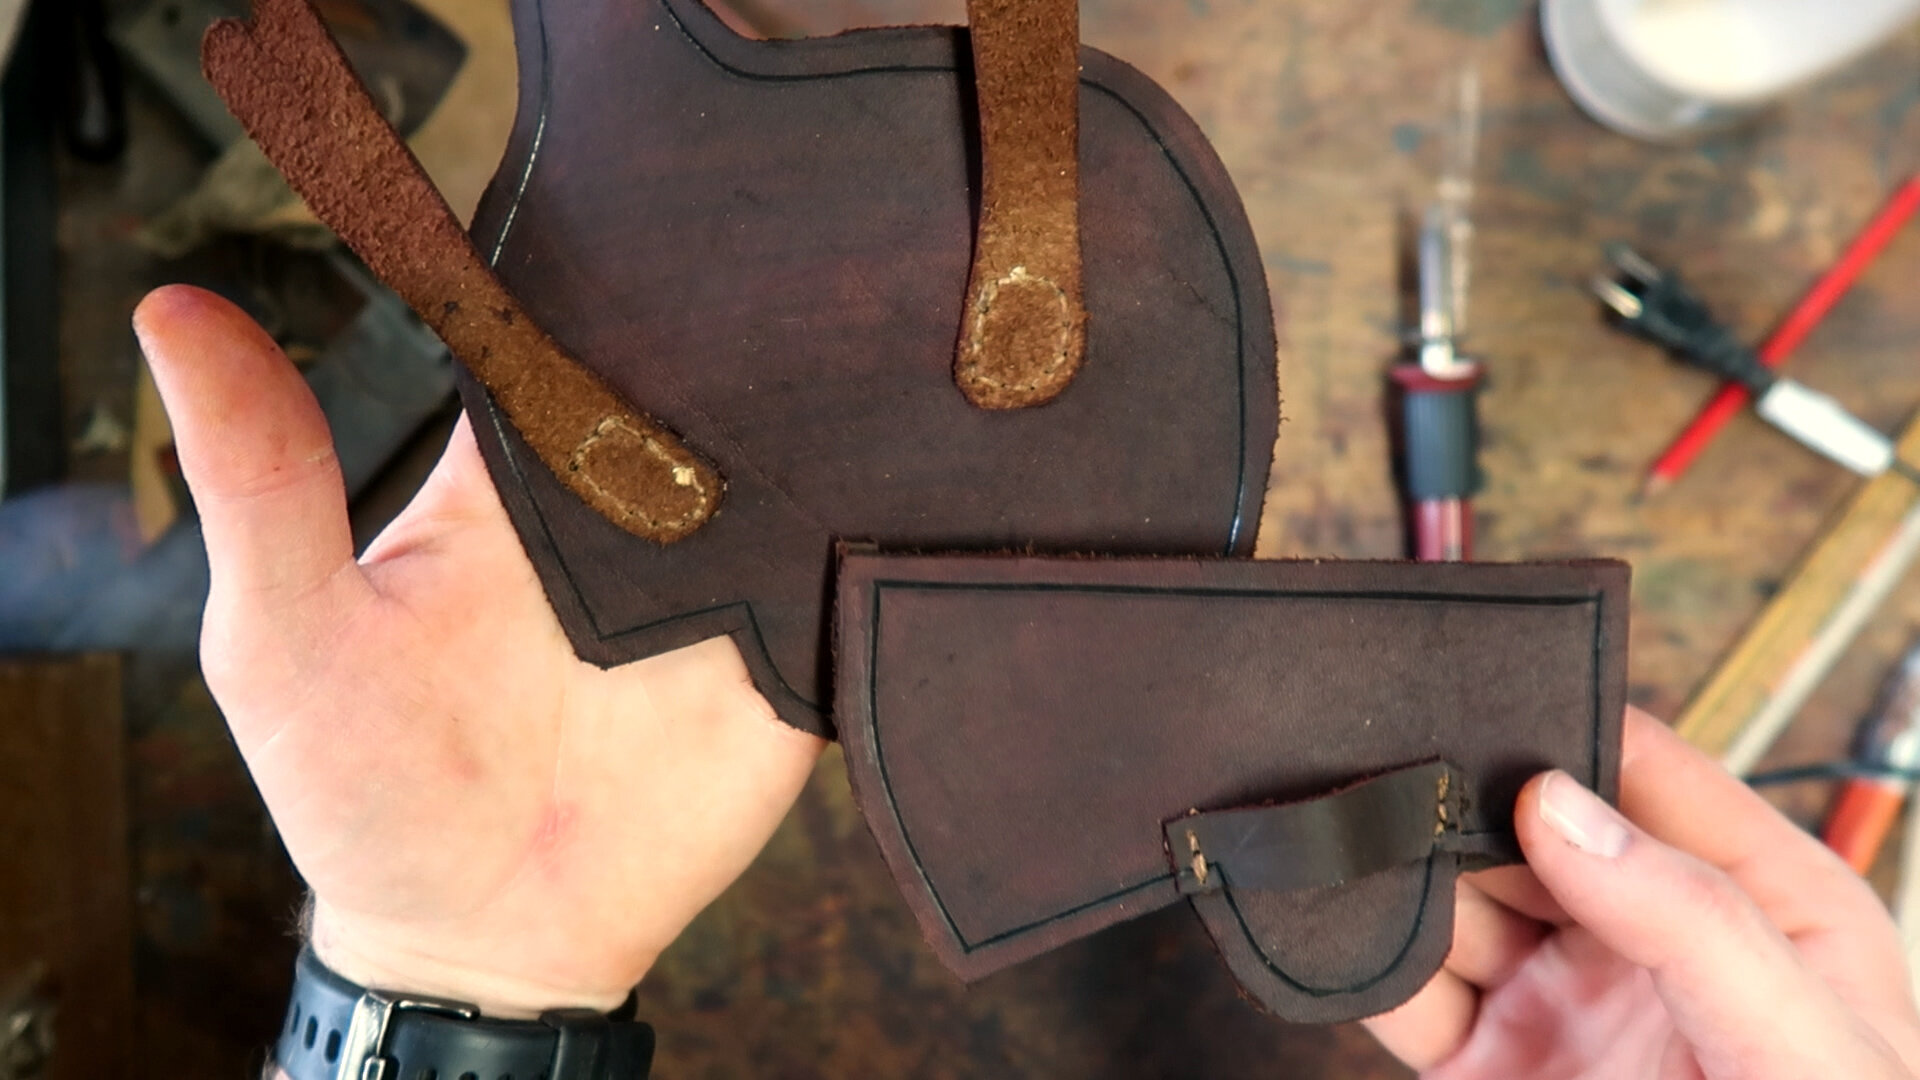
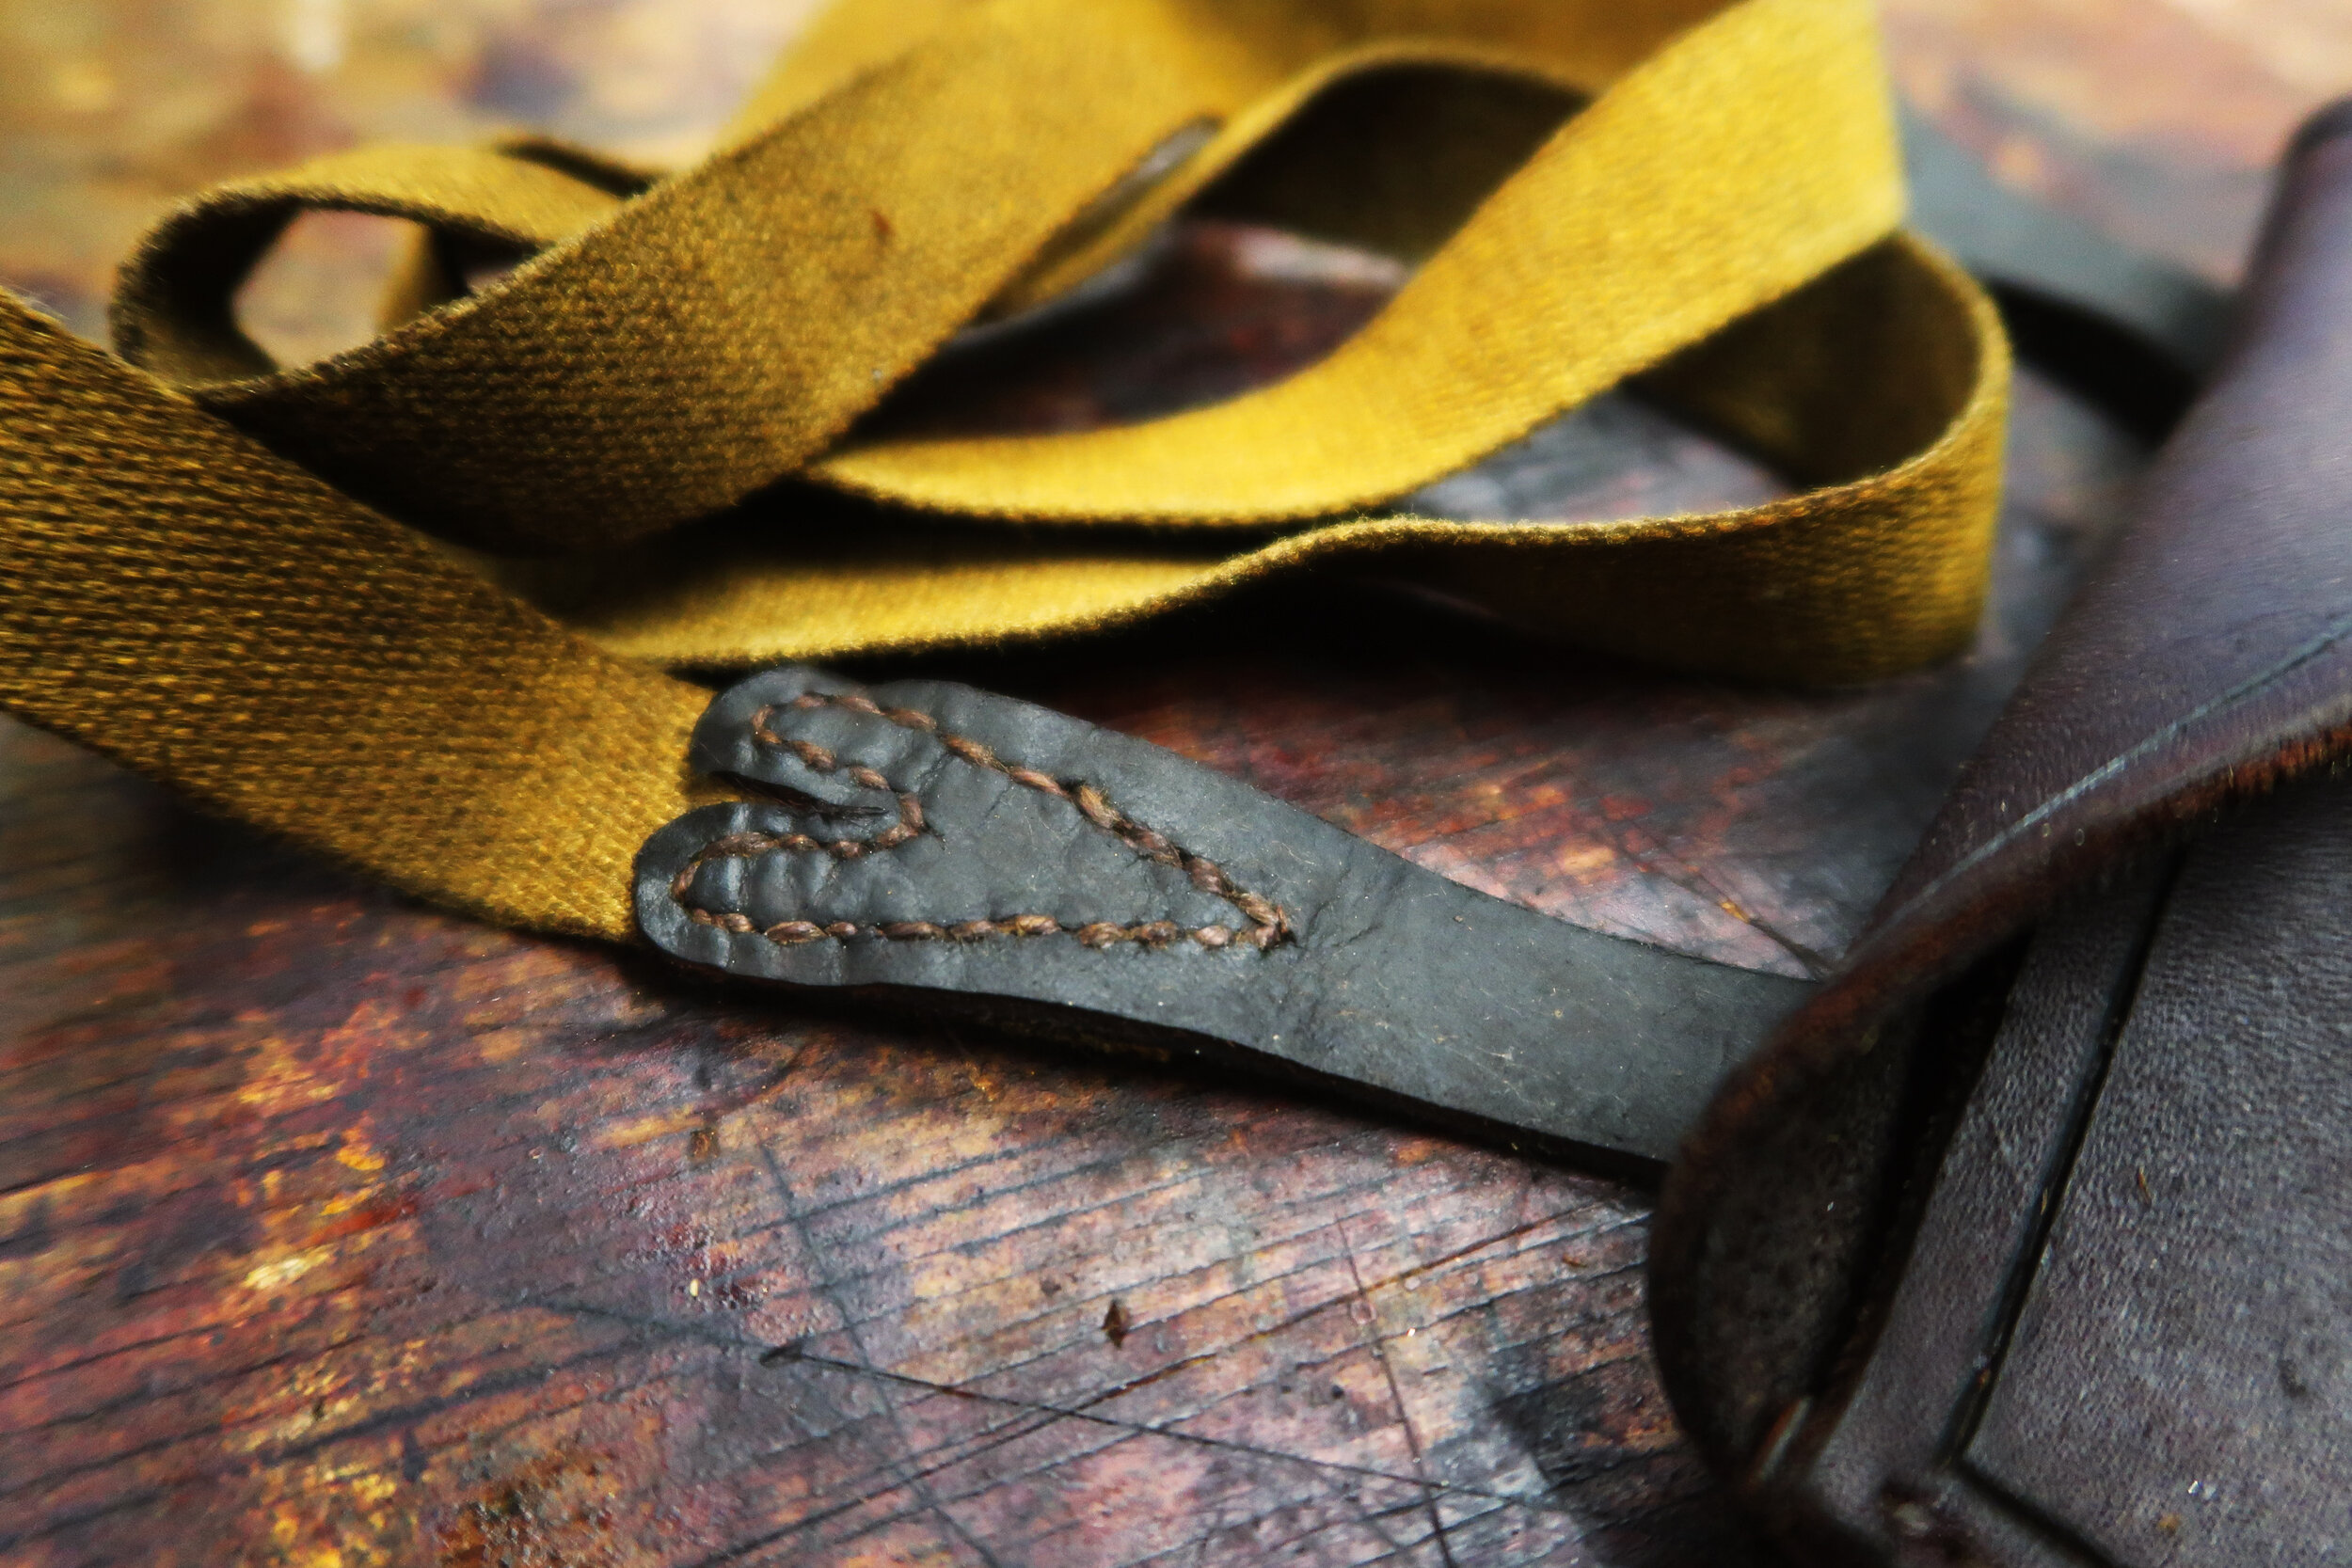
Next, we've got to figure out how we're going to attach a strap to these leather pieces. I'm going to be using this canvas strap it's about an inch wide, it's small, but perfect for a small accoutrement like this. So to design the leather pieces that are going to attach to the sheath and the strap, I'm tracing the thickness of the strap onto another piece of cereal box cardboard, and then I'm drawing out a pattern for the leather piece that I'm going to use to attach a strap to the sheath. To add a little decoration to these pieces. I'm making the top of them a nice heart and this will be more evident when we stitch this together.


The next thing we need are the welts to preserve the stitching in the sheath. To do this, I'm tracing the front half of the sheath onto a thinner piece of leather. This is going to provide the protection we need but be a little thinner and not add bulk to the sheath. With those drawn on there, we're going to cut these out and dye them and being sure to dye the edges. This is just going to make for a nice clean look across the board for the sheath.

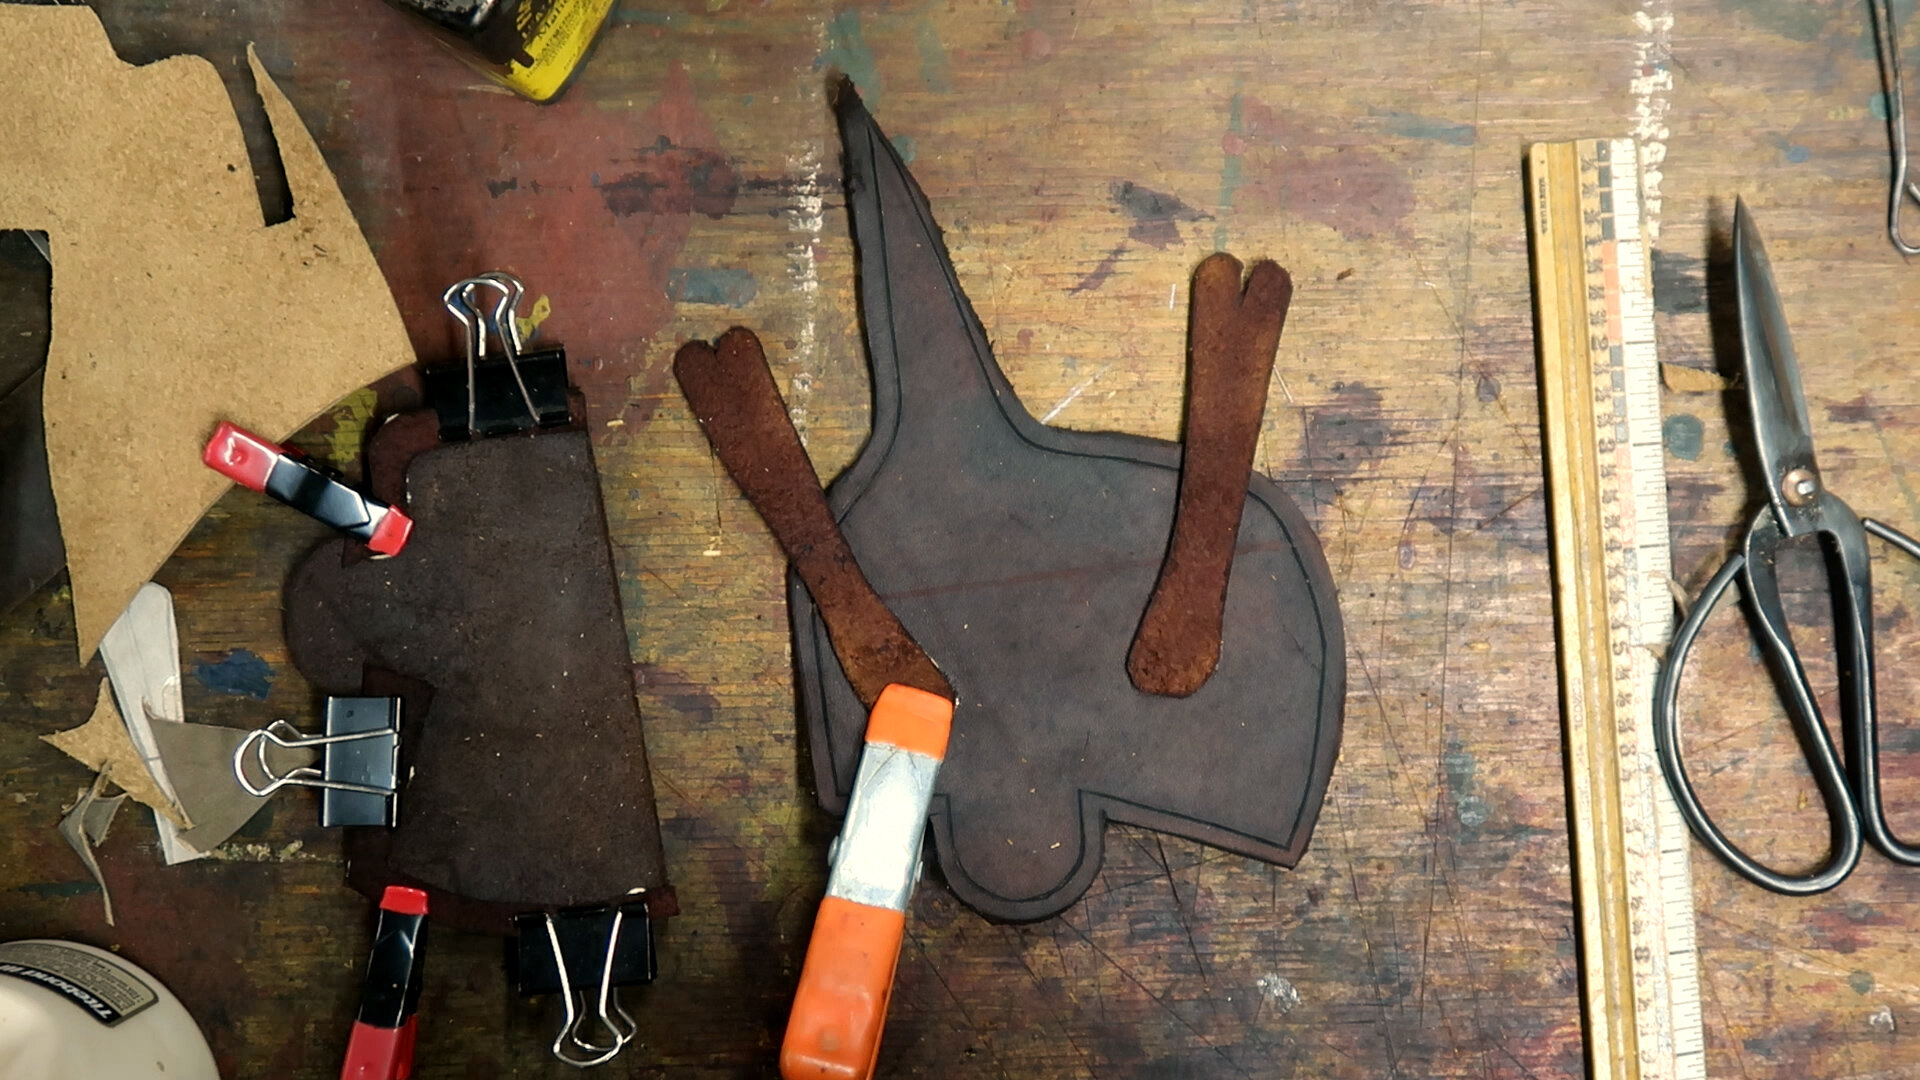
Moving on, we're going to attach the small heart pieces that we made to attach the strap I'm marking the top of our front piece on the back of the sheath just so I know where that sheath is going to lay as it hangs. This is going to inform how I can lay these heart-shaped pieces on here, just so they're not too high or too low and they're kind of balanced on the sheath. Before I set these with glue, I just want to check and make sure that they're in the right spot. You'll notice that I have them kind of angled outward at the top. This is going to let the sheath sit more comfortably at my side as I carry it


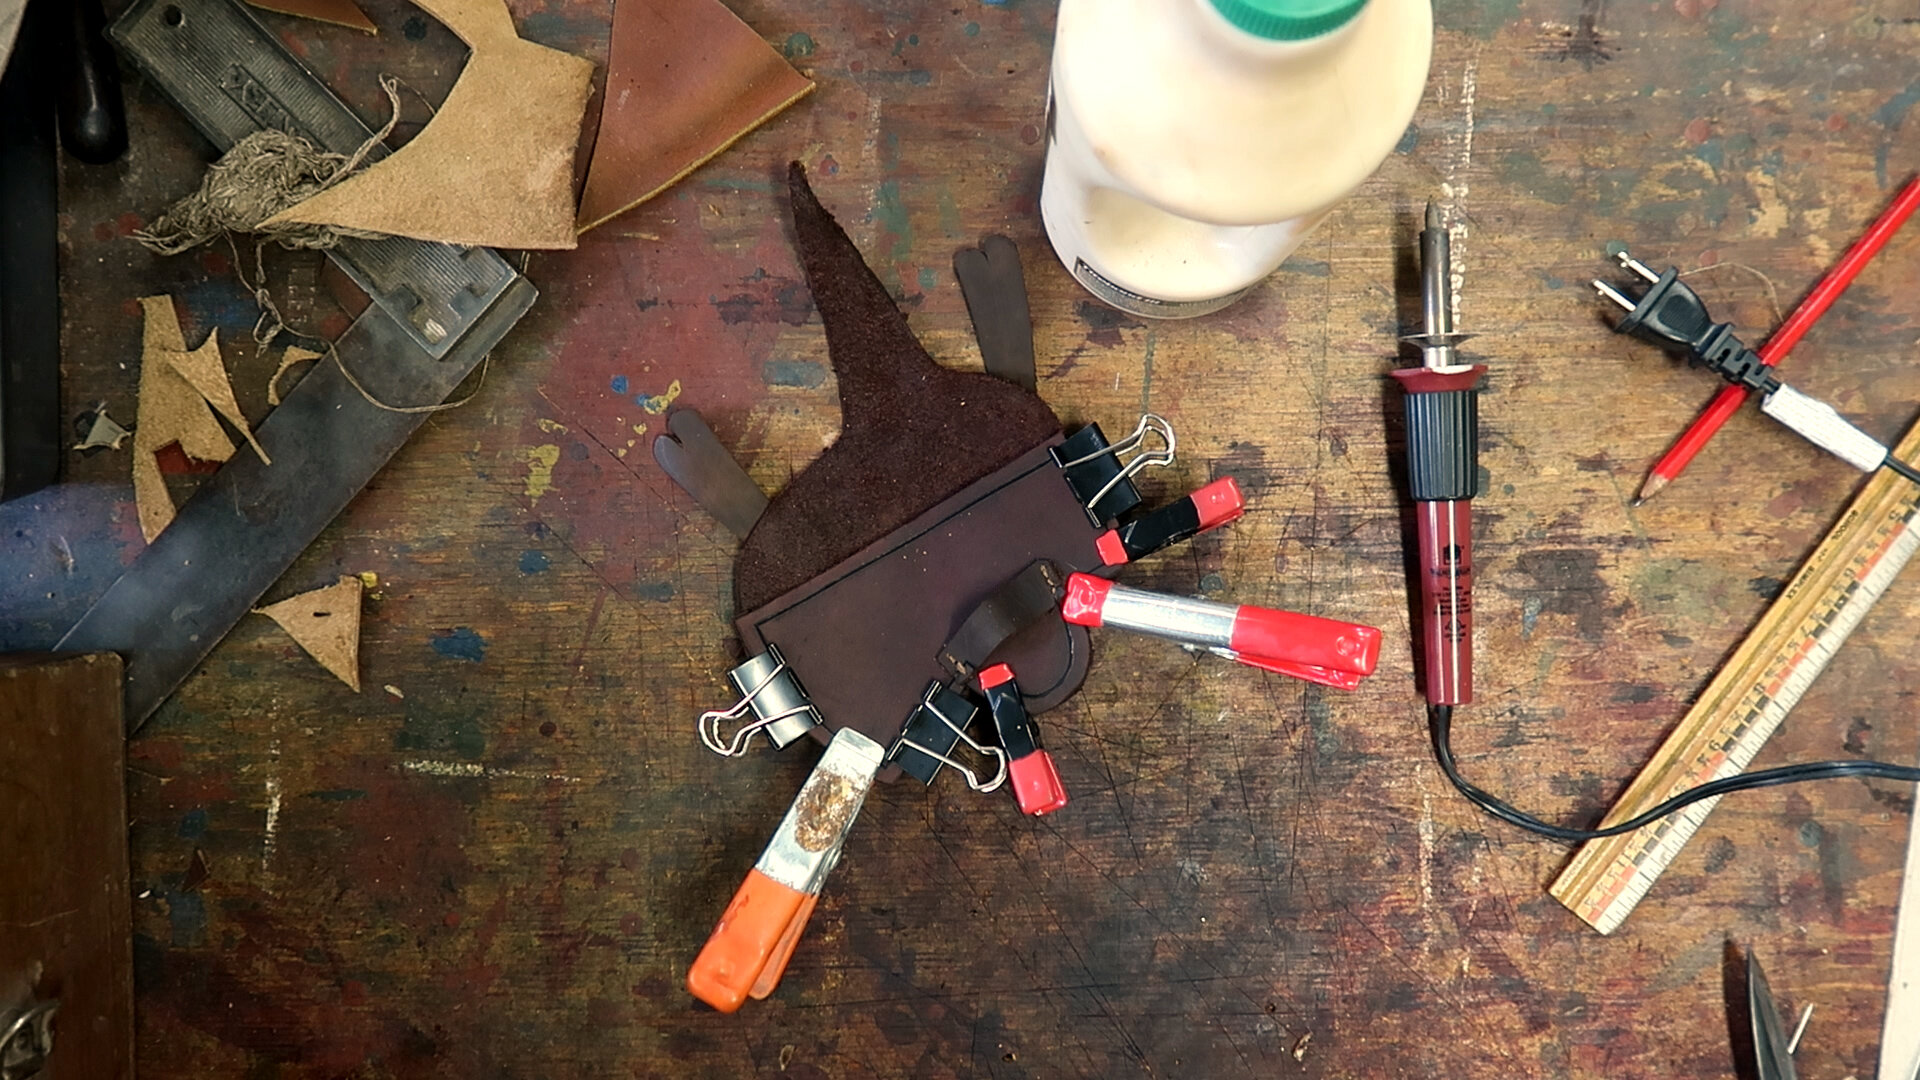
I'm using Tite Bond III wood glue on this. I like using tite bond, I know that it's wood glue, but I find that it's super sticky and gives a nice hold. I'm going to use this for the welts as well. And then I'm going to clamp this all down with some binder clips to ensure that we get a nice bond. This tite bond sets up in about half an hour, but it's a better bet to wait 45 minutes to an hour before you start working with this again.
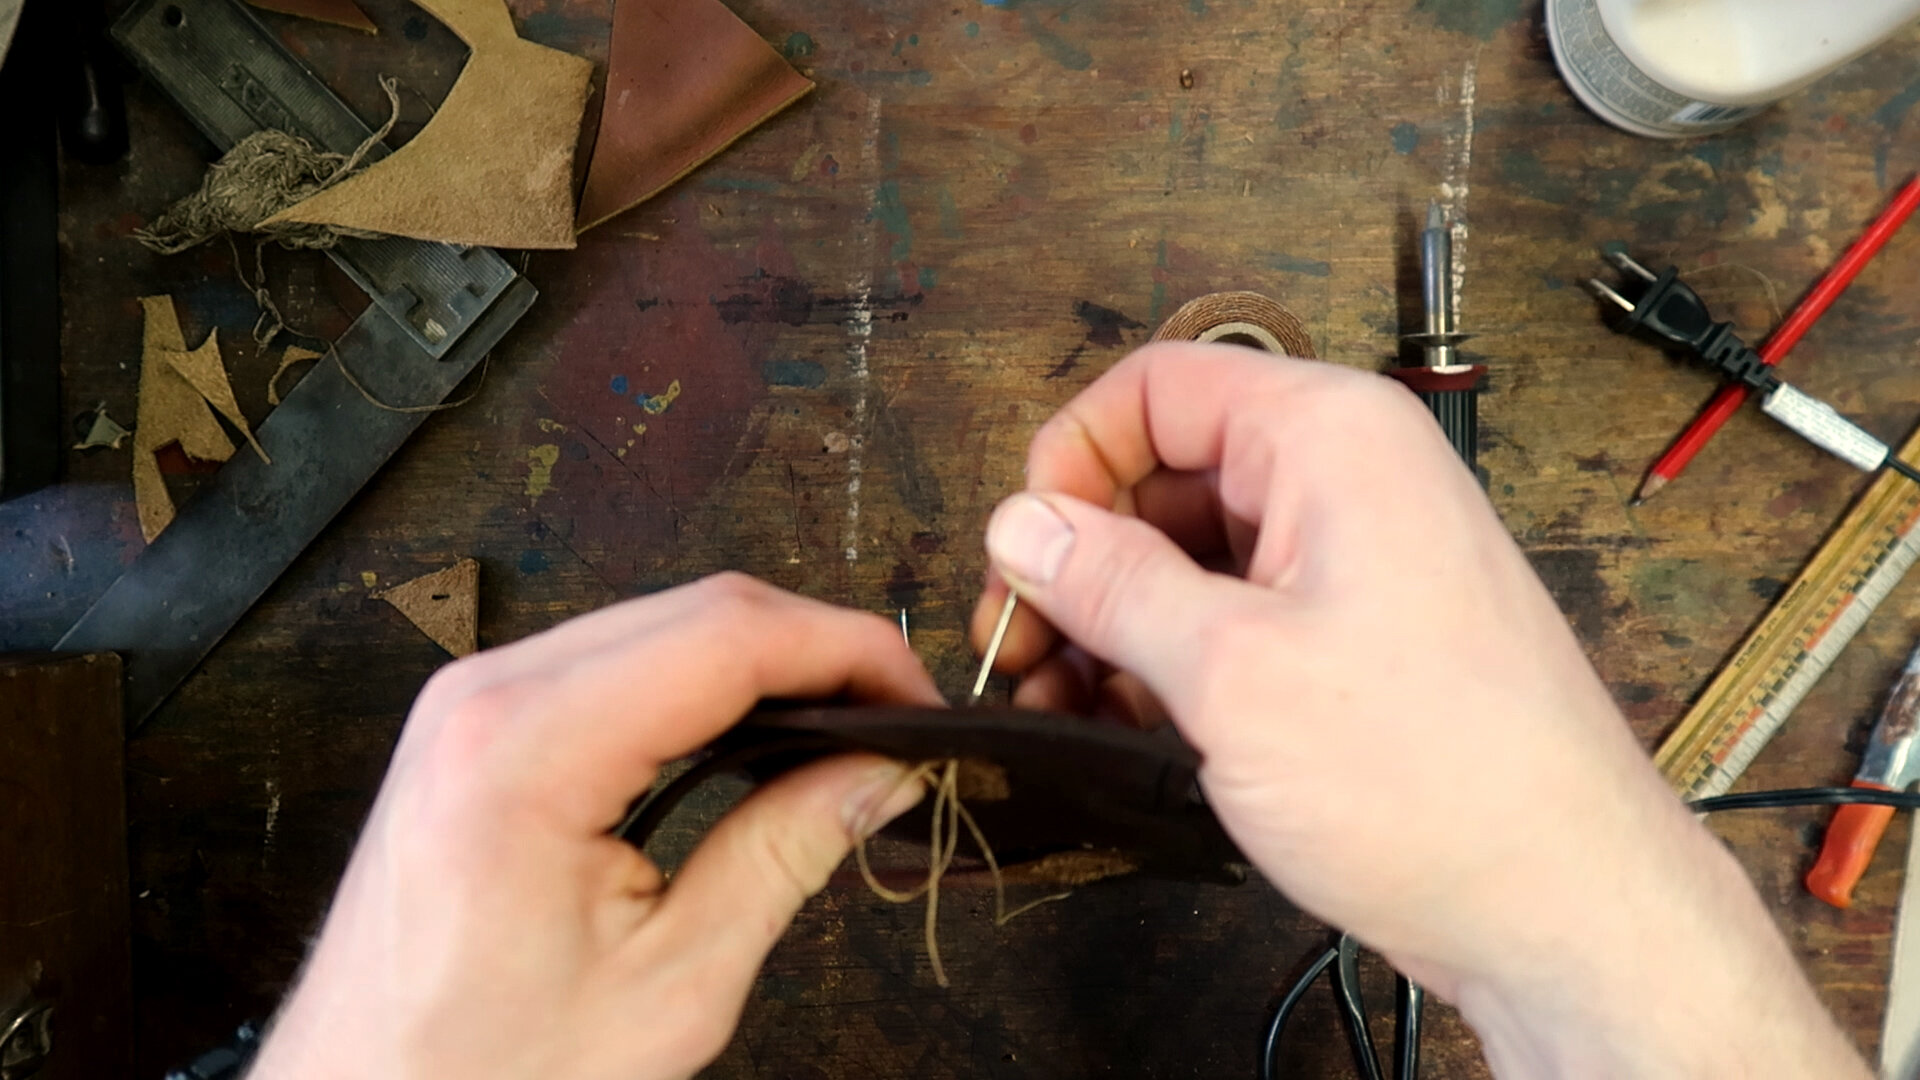

After waiting patiently I'm ready to move on. So I'm going to mark where I'm going to punch the holes for the stitching on both the strap loop and the leather art pieces on the back. They're going to hold everything together. Following Jeff Luke's rule, we're going to cut four to five times the length of the stitching just to make sure we have enough thread I'm using a traditional saddle stitch on all of these leather projects. This is just a period-correct but also a super sturdy way
I highly recommend it if you're doing any leather work and you want the piece that you're working on the last, just take the extra time and do that saddle stitch all the way around and be sure to backstitch three to four stitches at the end just to make sure that nothing comes un done.
With our front and back pieces here ready to go. glued up and ready to dry. We're going to move on and use a pair of dividers to mark off where we're going to punch for the stitch holes that are going to piece all this together.
I use that same saddle stitch that we talked about all the way around, provided a nice finished look for everything.

Moving on to stitching up these straps, I'm going to mark off a heart shape inside of the leather piece, lining it up to make sure that the stitching is going to catch as much of that woven strap as possible for maximum strength. And for this, I'm just using a small all to go around the pencil marks just to make sure I keep everything in line and then I'm going to use a couple of these little clamps to hold everything together as I began stitching around this strap, don't cut corners here, be sure you're still using that saddle stitch all the way around.


Before I stitch that other side up, I'm going to put on the sheath and make sure I get the length correct for where I want this sheath to sit. Now, if you're worried about maybe putting on some extra pounds here for winter, you'll want to make sure that you make this strap adjustable. I'm taking a gamble here, so we're just going to do this all as one piece.

And there we have that stitched heart that adds a nice little detail to an otherwise pretty plain sheath. Now I'm going to trim the edges of that web strap and move on to dyeing all of the stitching and the edges that we've missed early on, just to make sure that we have everything nice and cleaned up.


One of the final things that we're going to do for the leather is cover it in a nice layer of neats foot oil. Now you can find this at just about every farm store out there. It's used to treat saddles from horses, but it's just going to put some oil on the leather make a little stronger, a little tougher, and it's going to put a nice matte finish on it. As far as all of your leather goods go, everything that you make or use, you're going to want to treat with needs for oil every now and then just to extend the life of your leather, especially if you have something that's drying out or starting to crack, you want to be sure to coat it with some neats foot oil.

Overall this project probably took me four or five hours I'll admit it was the first time I've done a sheath like this with the additions of the strap and the wood burning. So it did take some extra time but it's a great little project to add another piece to your kit and kill an afternoon.
If you're enjoying these videos and want to get some hands on learning from professionals check out NMLRA.org/education to see our current class offerings.

Find out more about the National Muzzle Loading Rifle Association at our website - NMLRA.org


