
The Liberty cap was made popular during the American and then the French revolutions. Today on Craftsman's Corner from the NMLRA, we're going to show you how to make your own.

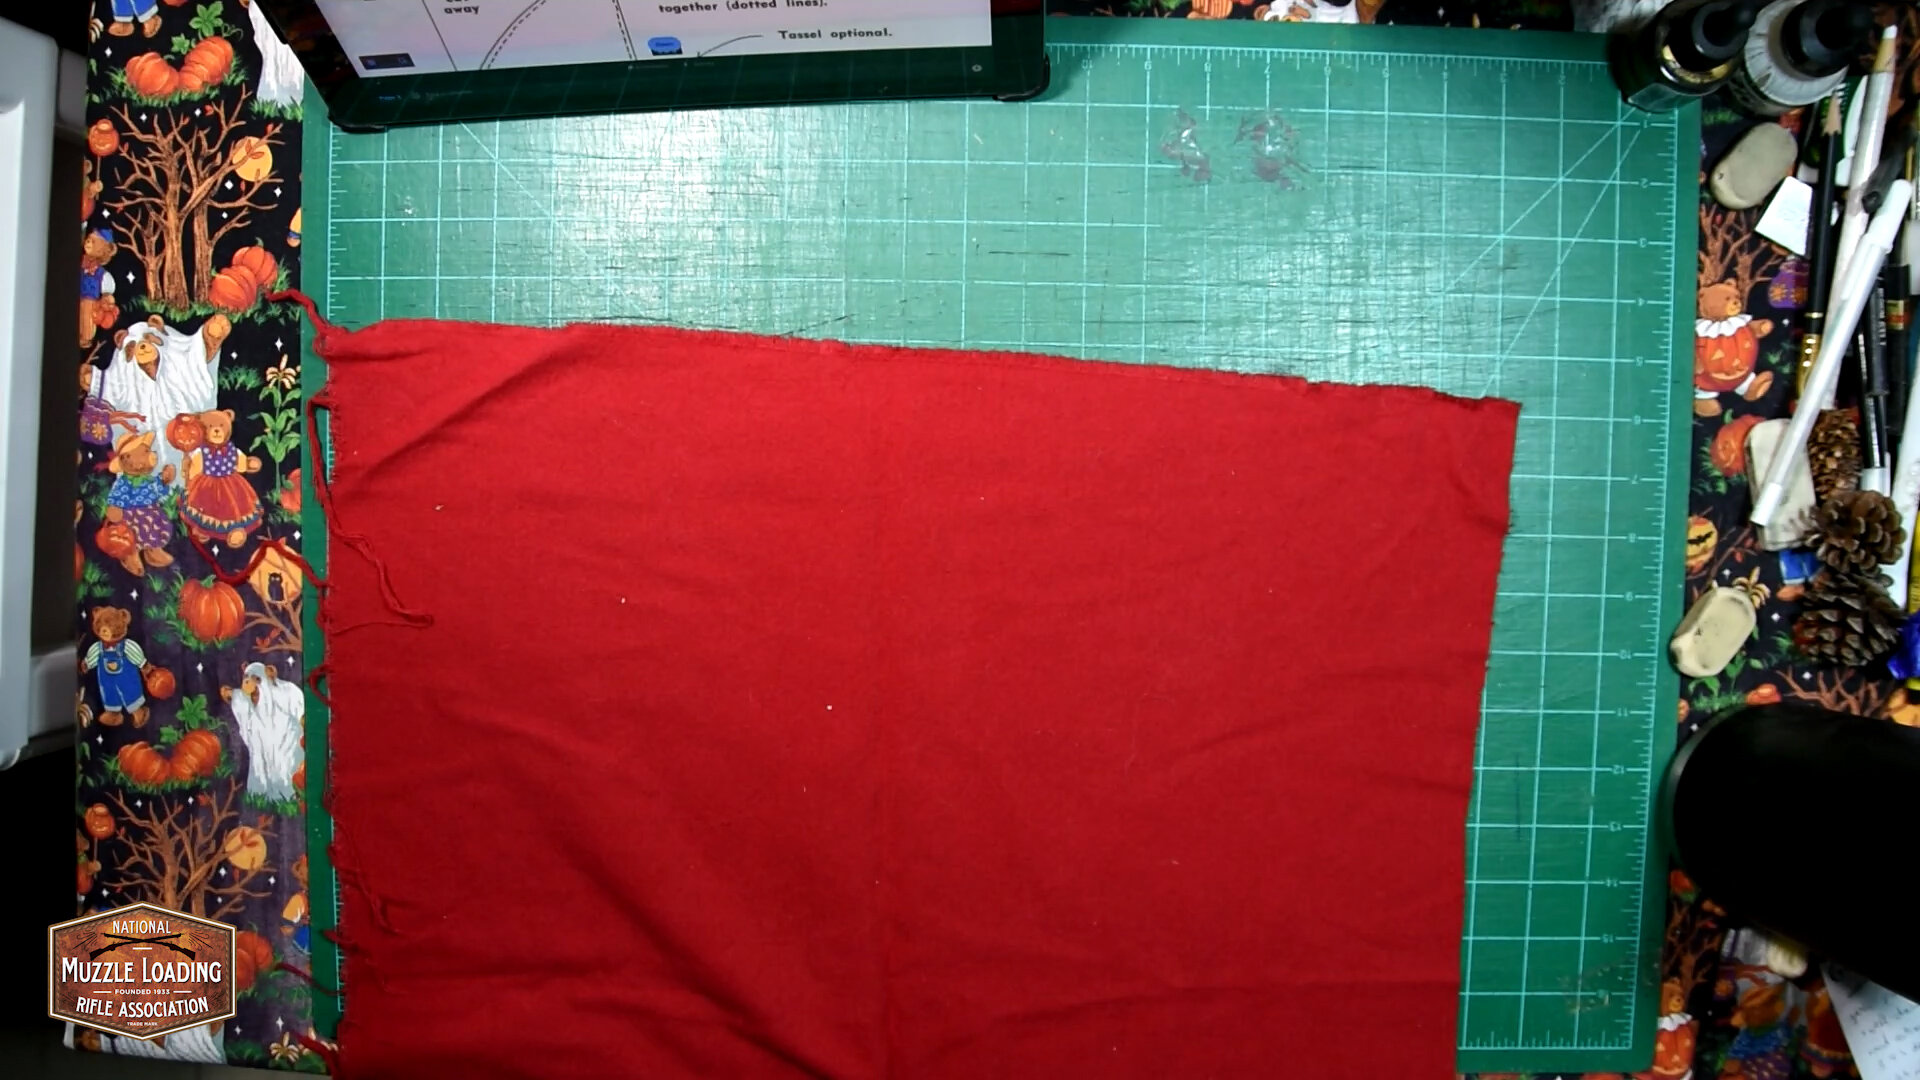
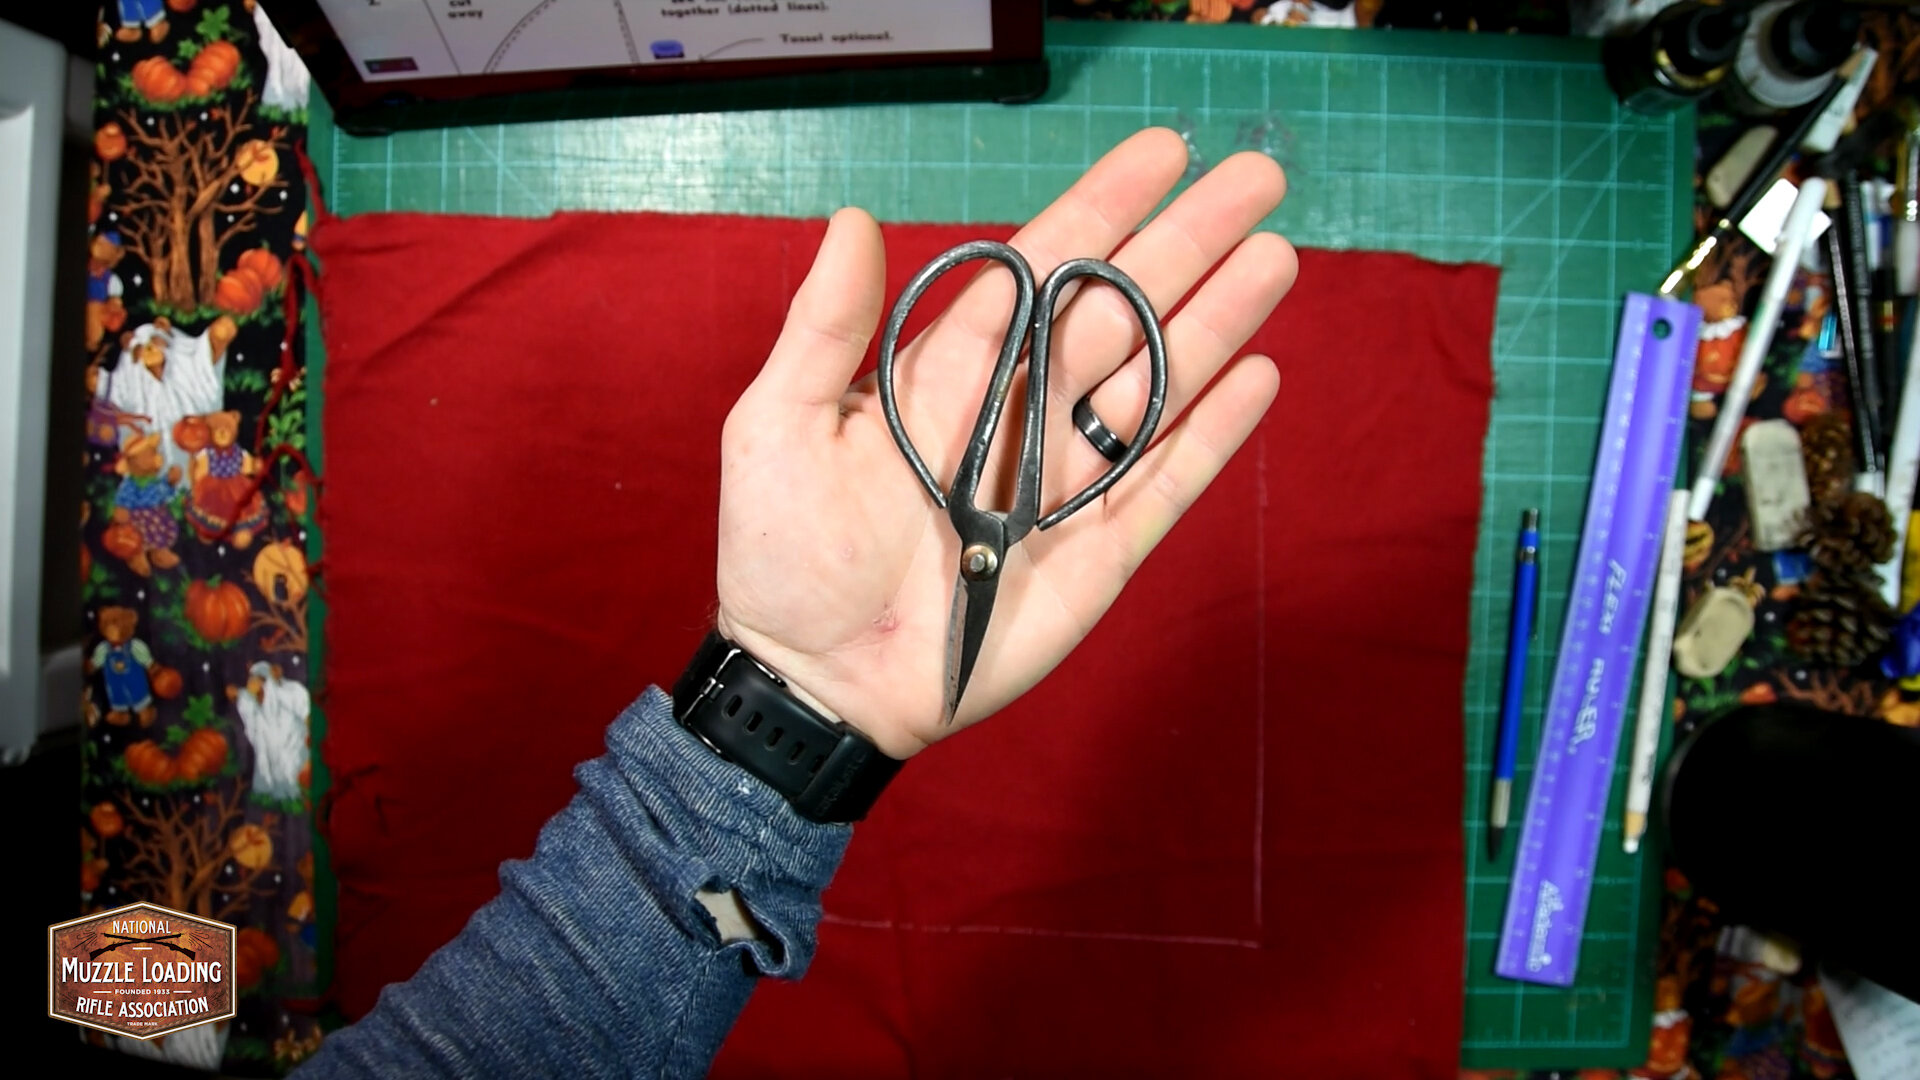
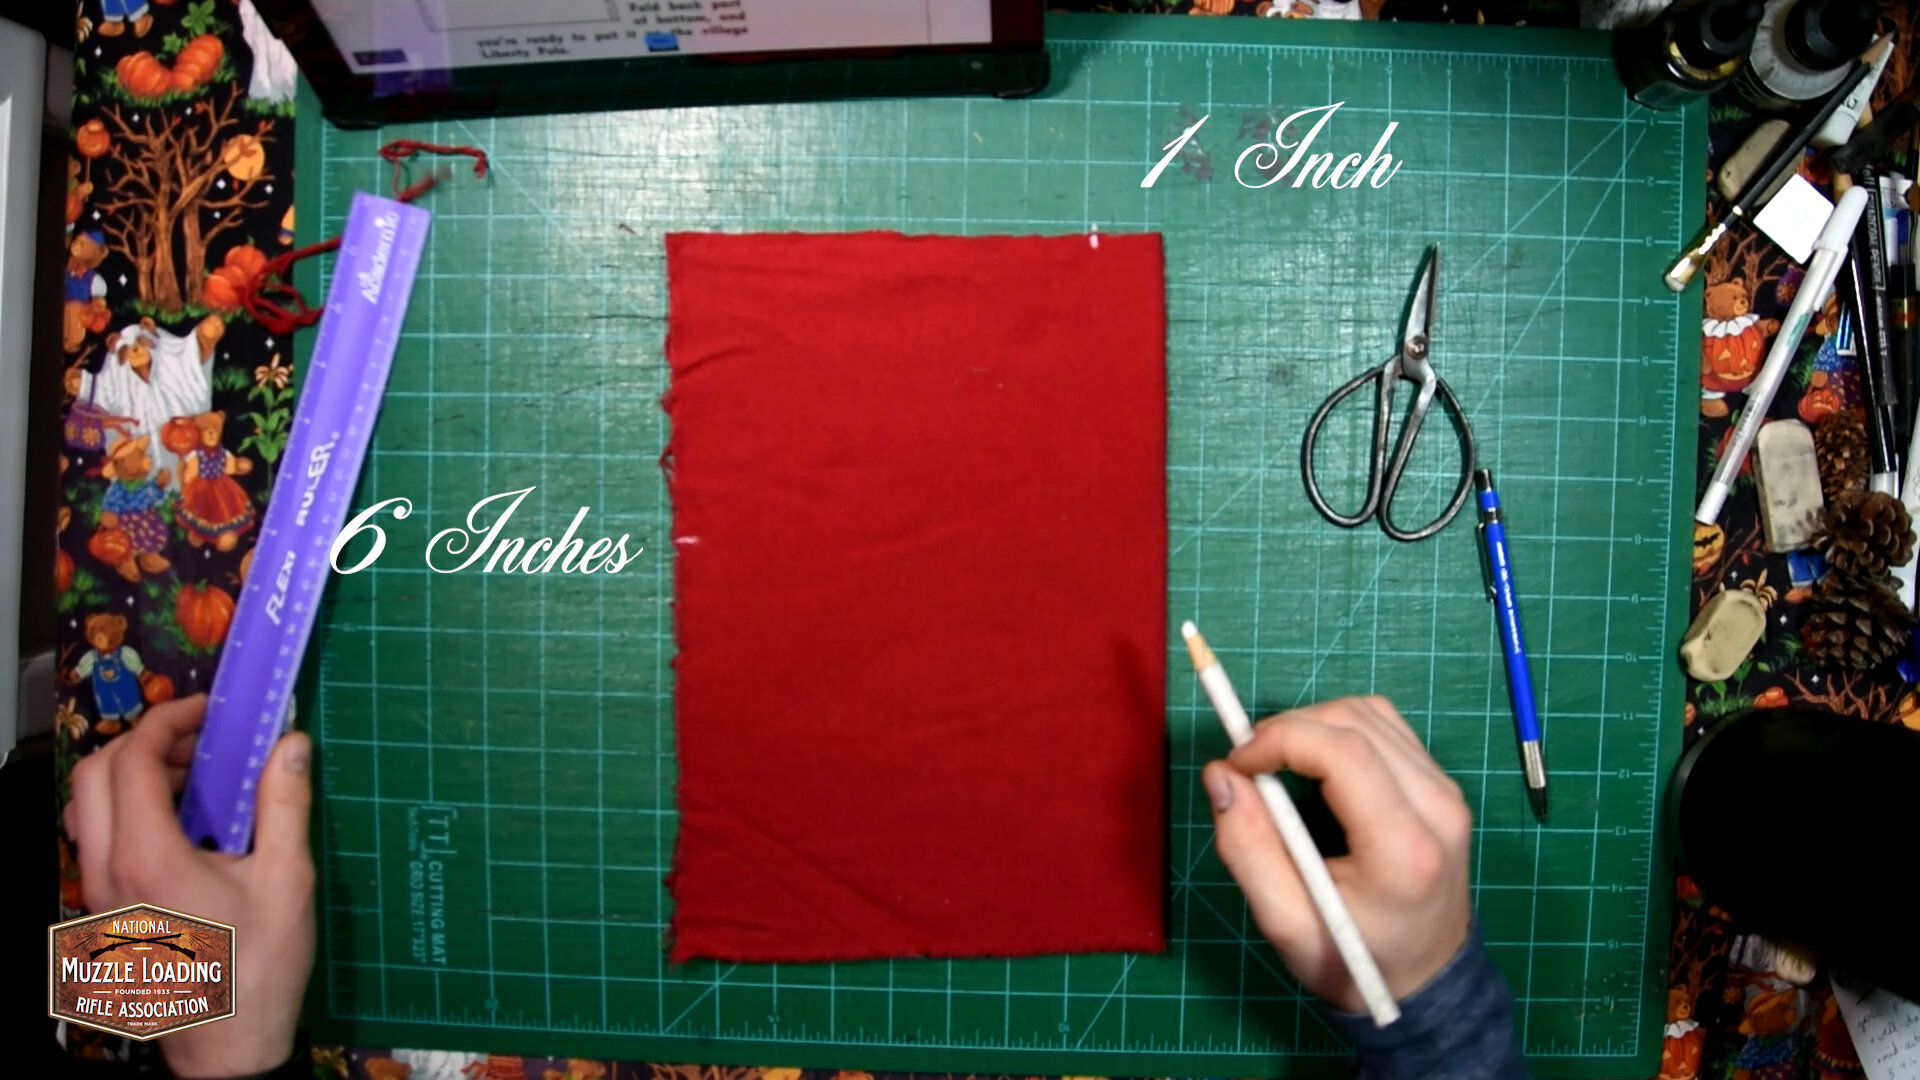
We're using just some plain red woven fabric here today. The pattern that I'm working from is actually a little bit small. If you're looking to use this for an adult-sized hat, I've made some adjustments to it. We're going to start by cutting out a large rectangle and then fold it in half. This is going to save us an entire side of stitching and when it comes to hand stitching, being able to save a little bit always helps. I'm using my standard small leather shears these can be picked up at just about any living history event.


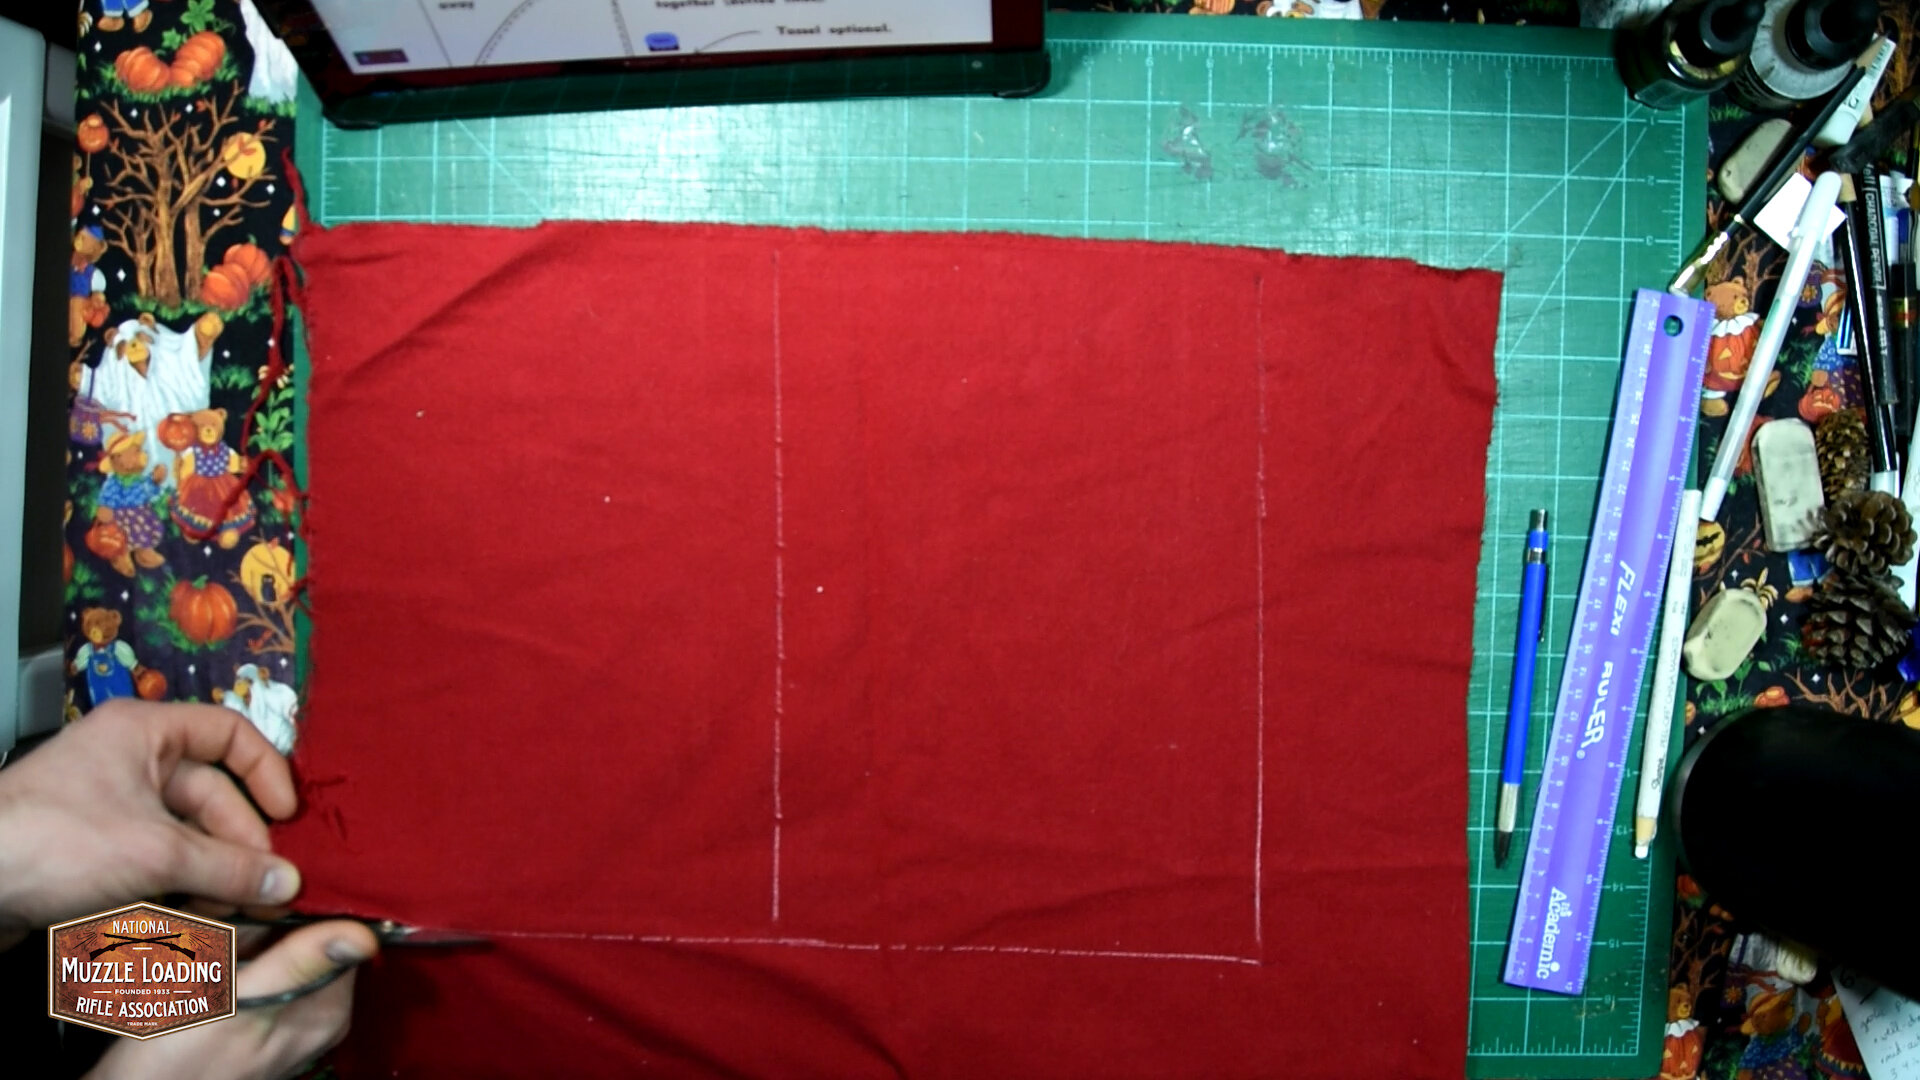

After folding it over, we're going to measure along the long side at about six inches that's going to be about halfway up for this smaller pattern and then an inch away from the right-hand side there with those lines marked, I'm going to draw a semicircle or an arc between those two points. This is going to help give us the definition The Liberty cap as it kind of folds back or to the side of your head.

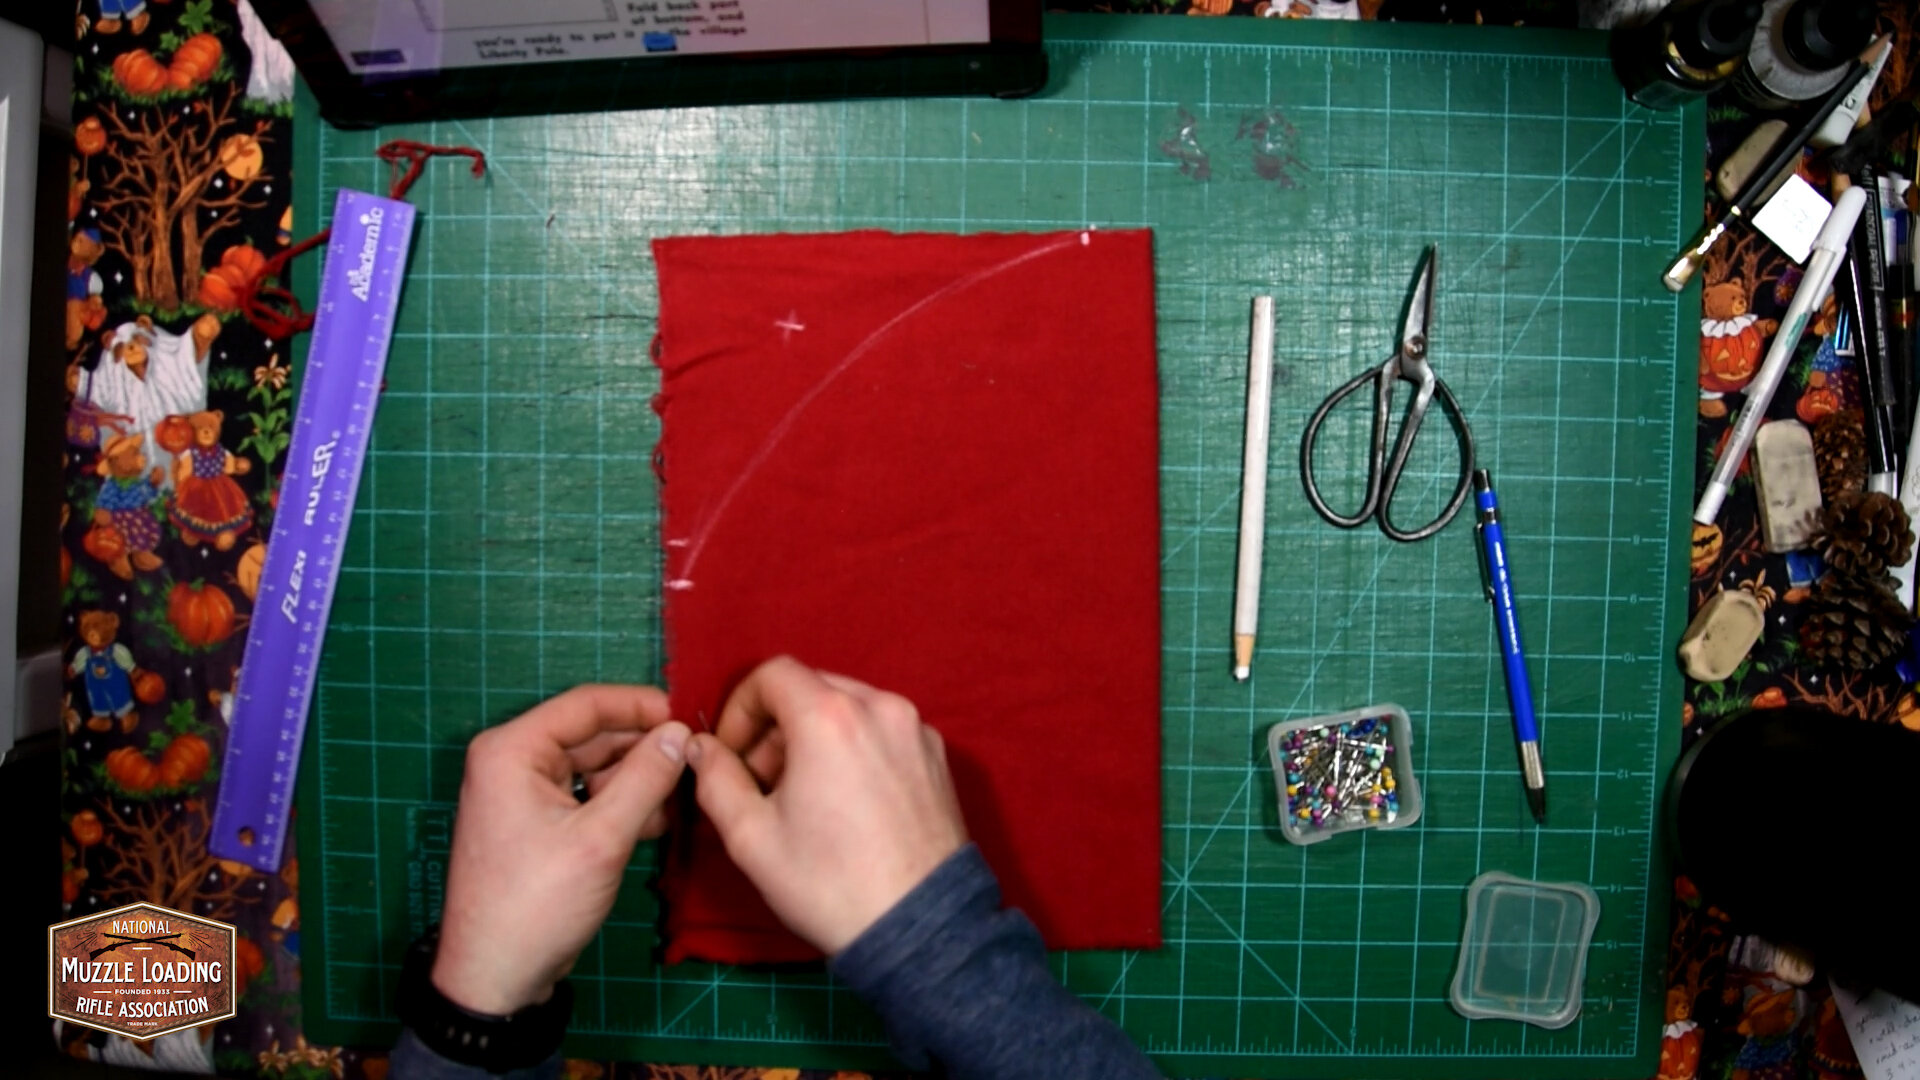
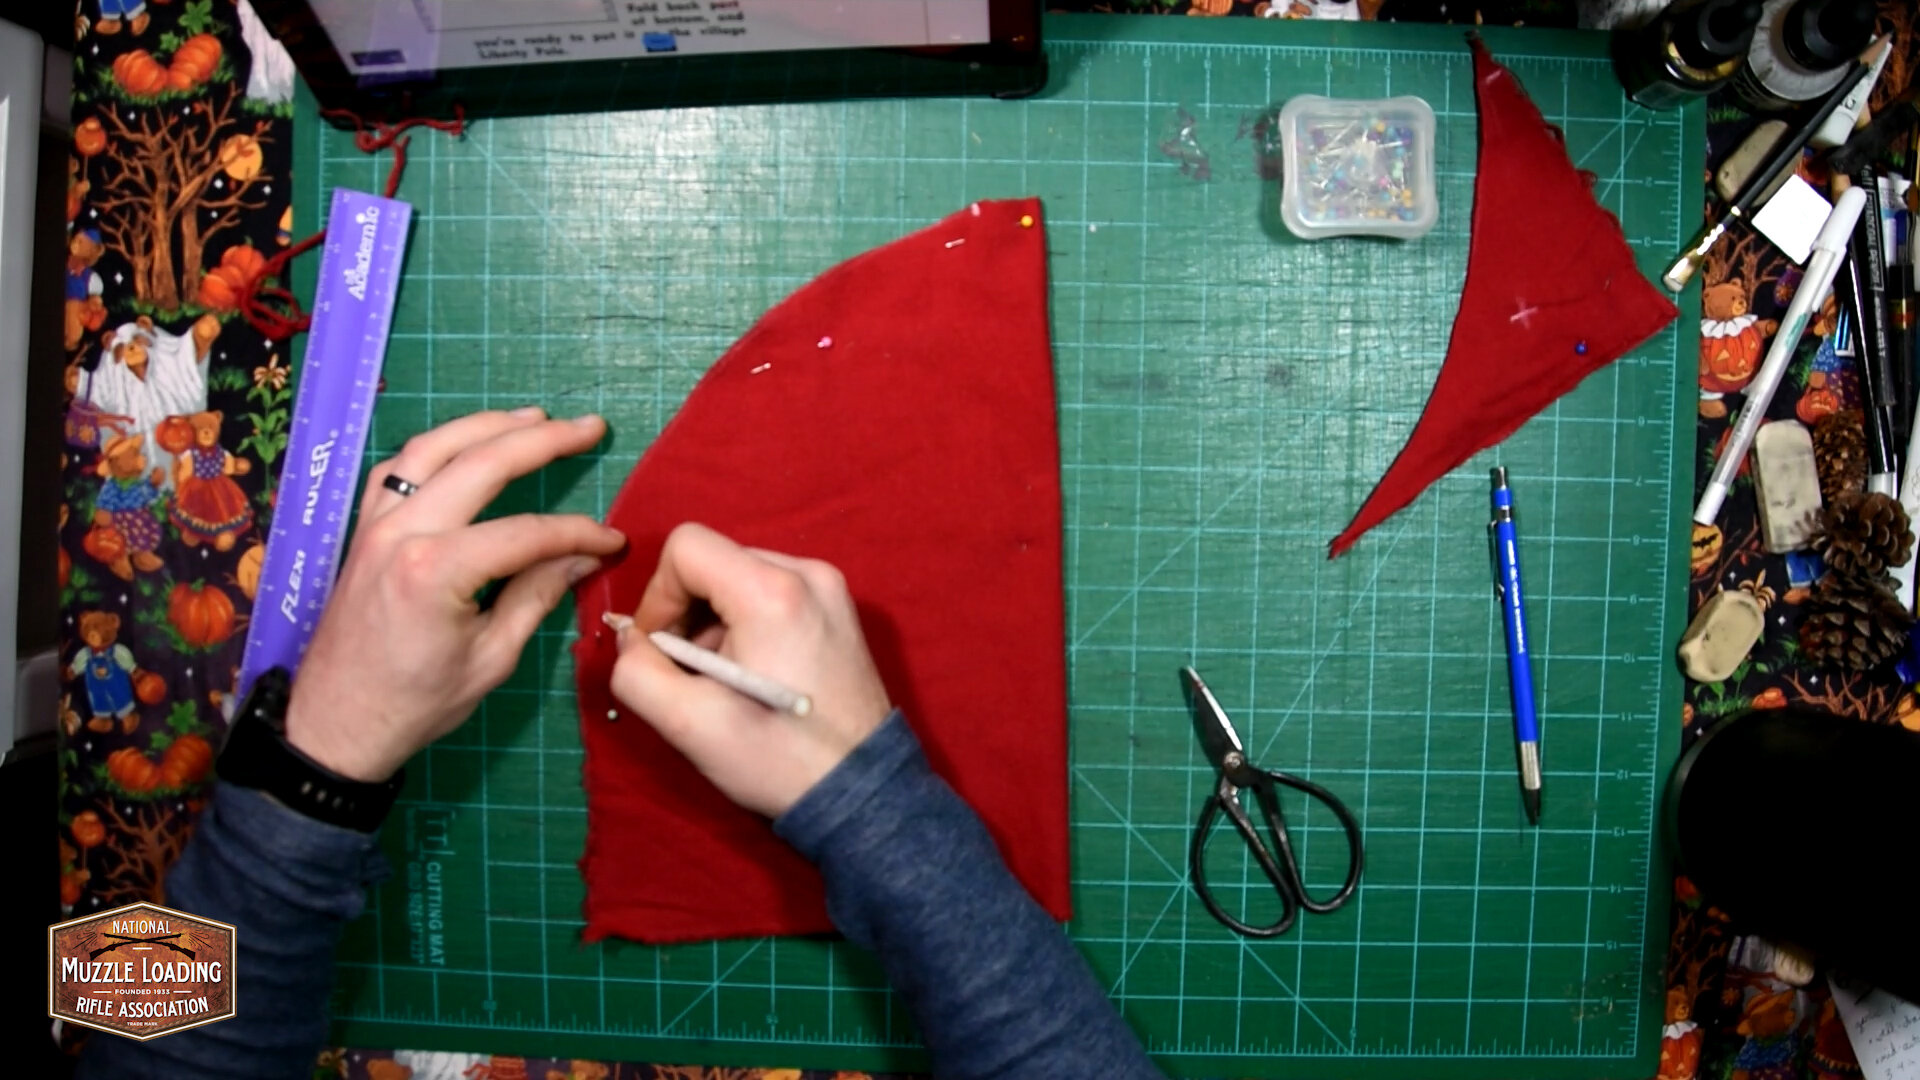
To make cutting out this arc a little bit easier, we're going to take some pins and pin both halves of our fabric together. This is going to prevent the fabric from moving and misaligning. As we cut it out, I'm using quite a few pins here, you could probably get away with a little bit less but I was a little nervous. With the shape of our hat cut out, I like to go through now and mark the sides that I'm going to be stitching just so I don't start stitching where I shouldn't be. I know that seems like a really simple thing to do. But when you're in the midst of making something it's really easy to kind of get lost in the process of it. I'm just using my charcoal pencil here and marking those stitch lines.
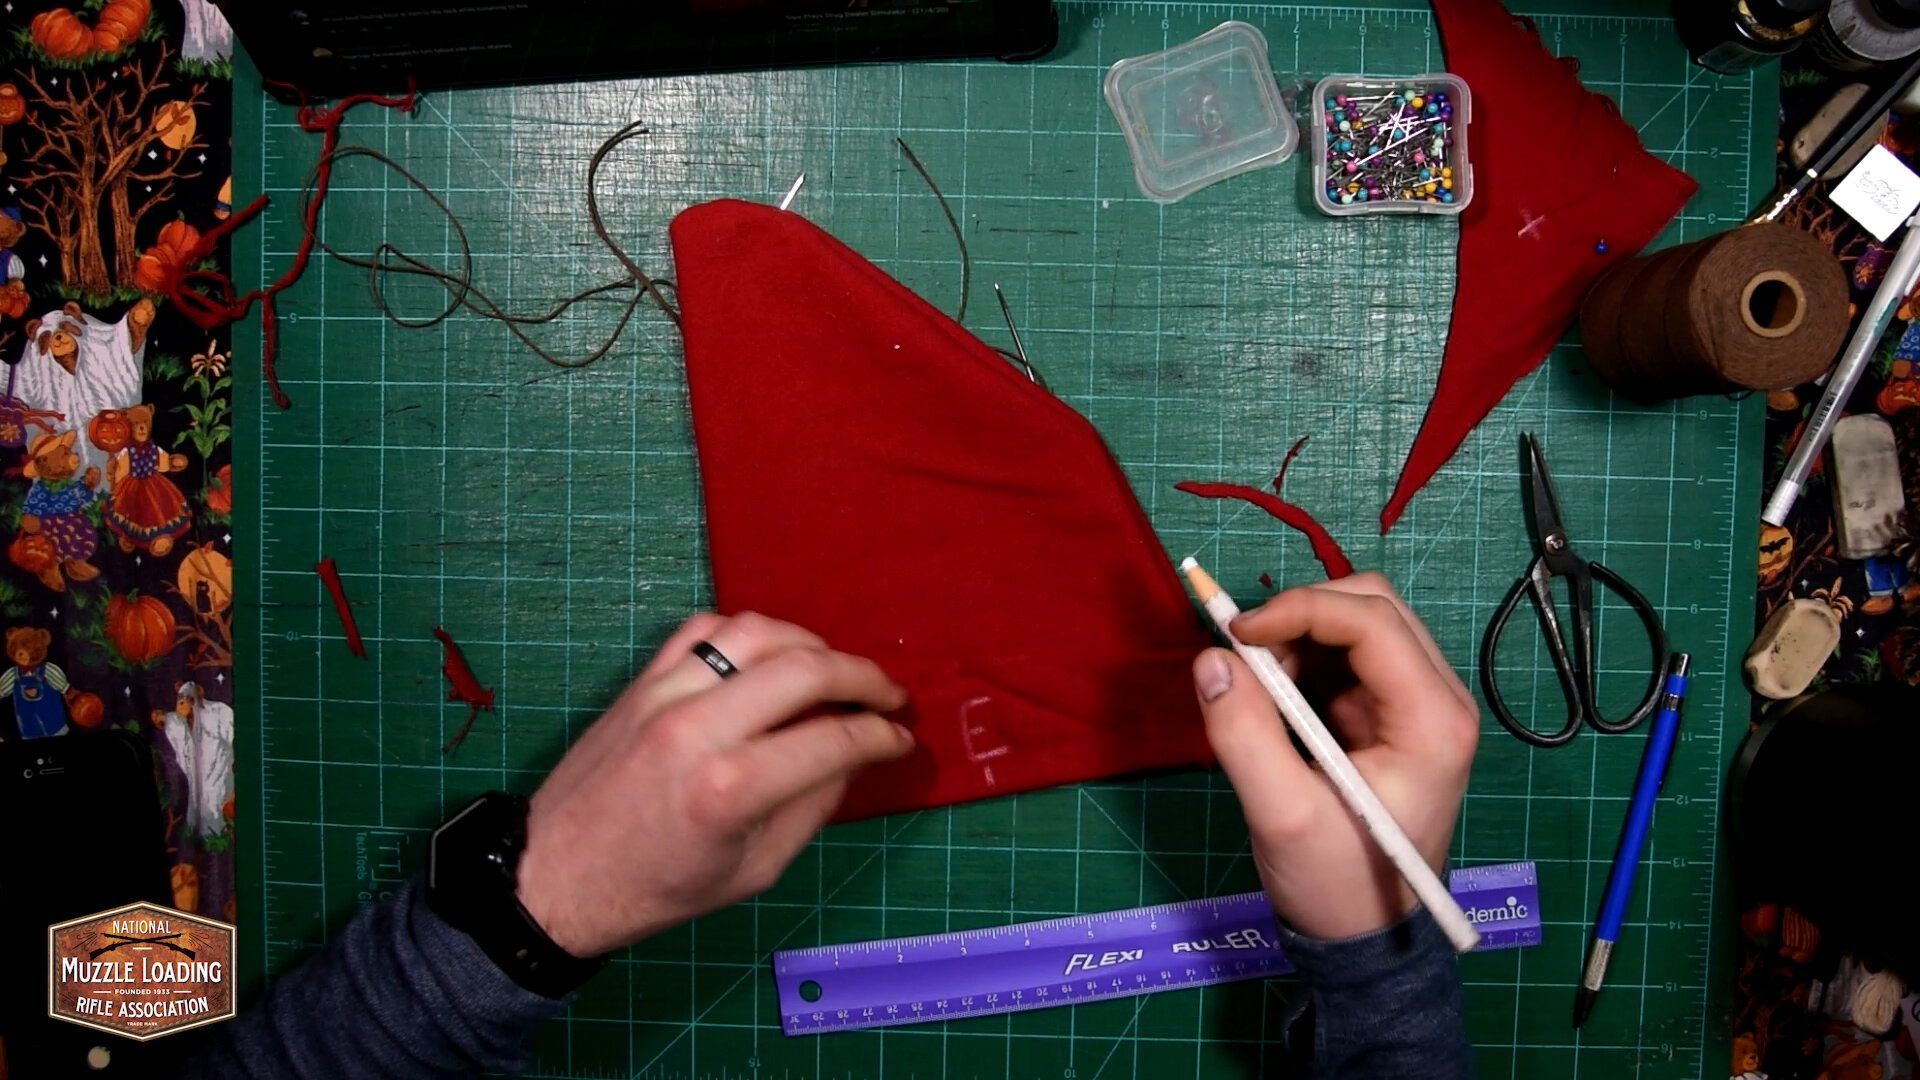
Next, I'm going to bring out my thread and a couple of needles. Just like the leather projects that we've done in the past. I'm just going to be using a standard saddle stitch. It's probably a little bit overkill on a hat like this. But when we're speaking about durability and things I like to use the saddle stitch it holds up really nicely and for something like this, it gives you a nice traditional look.
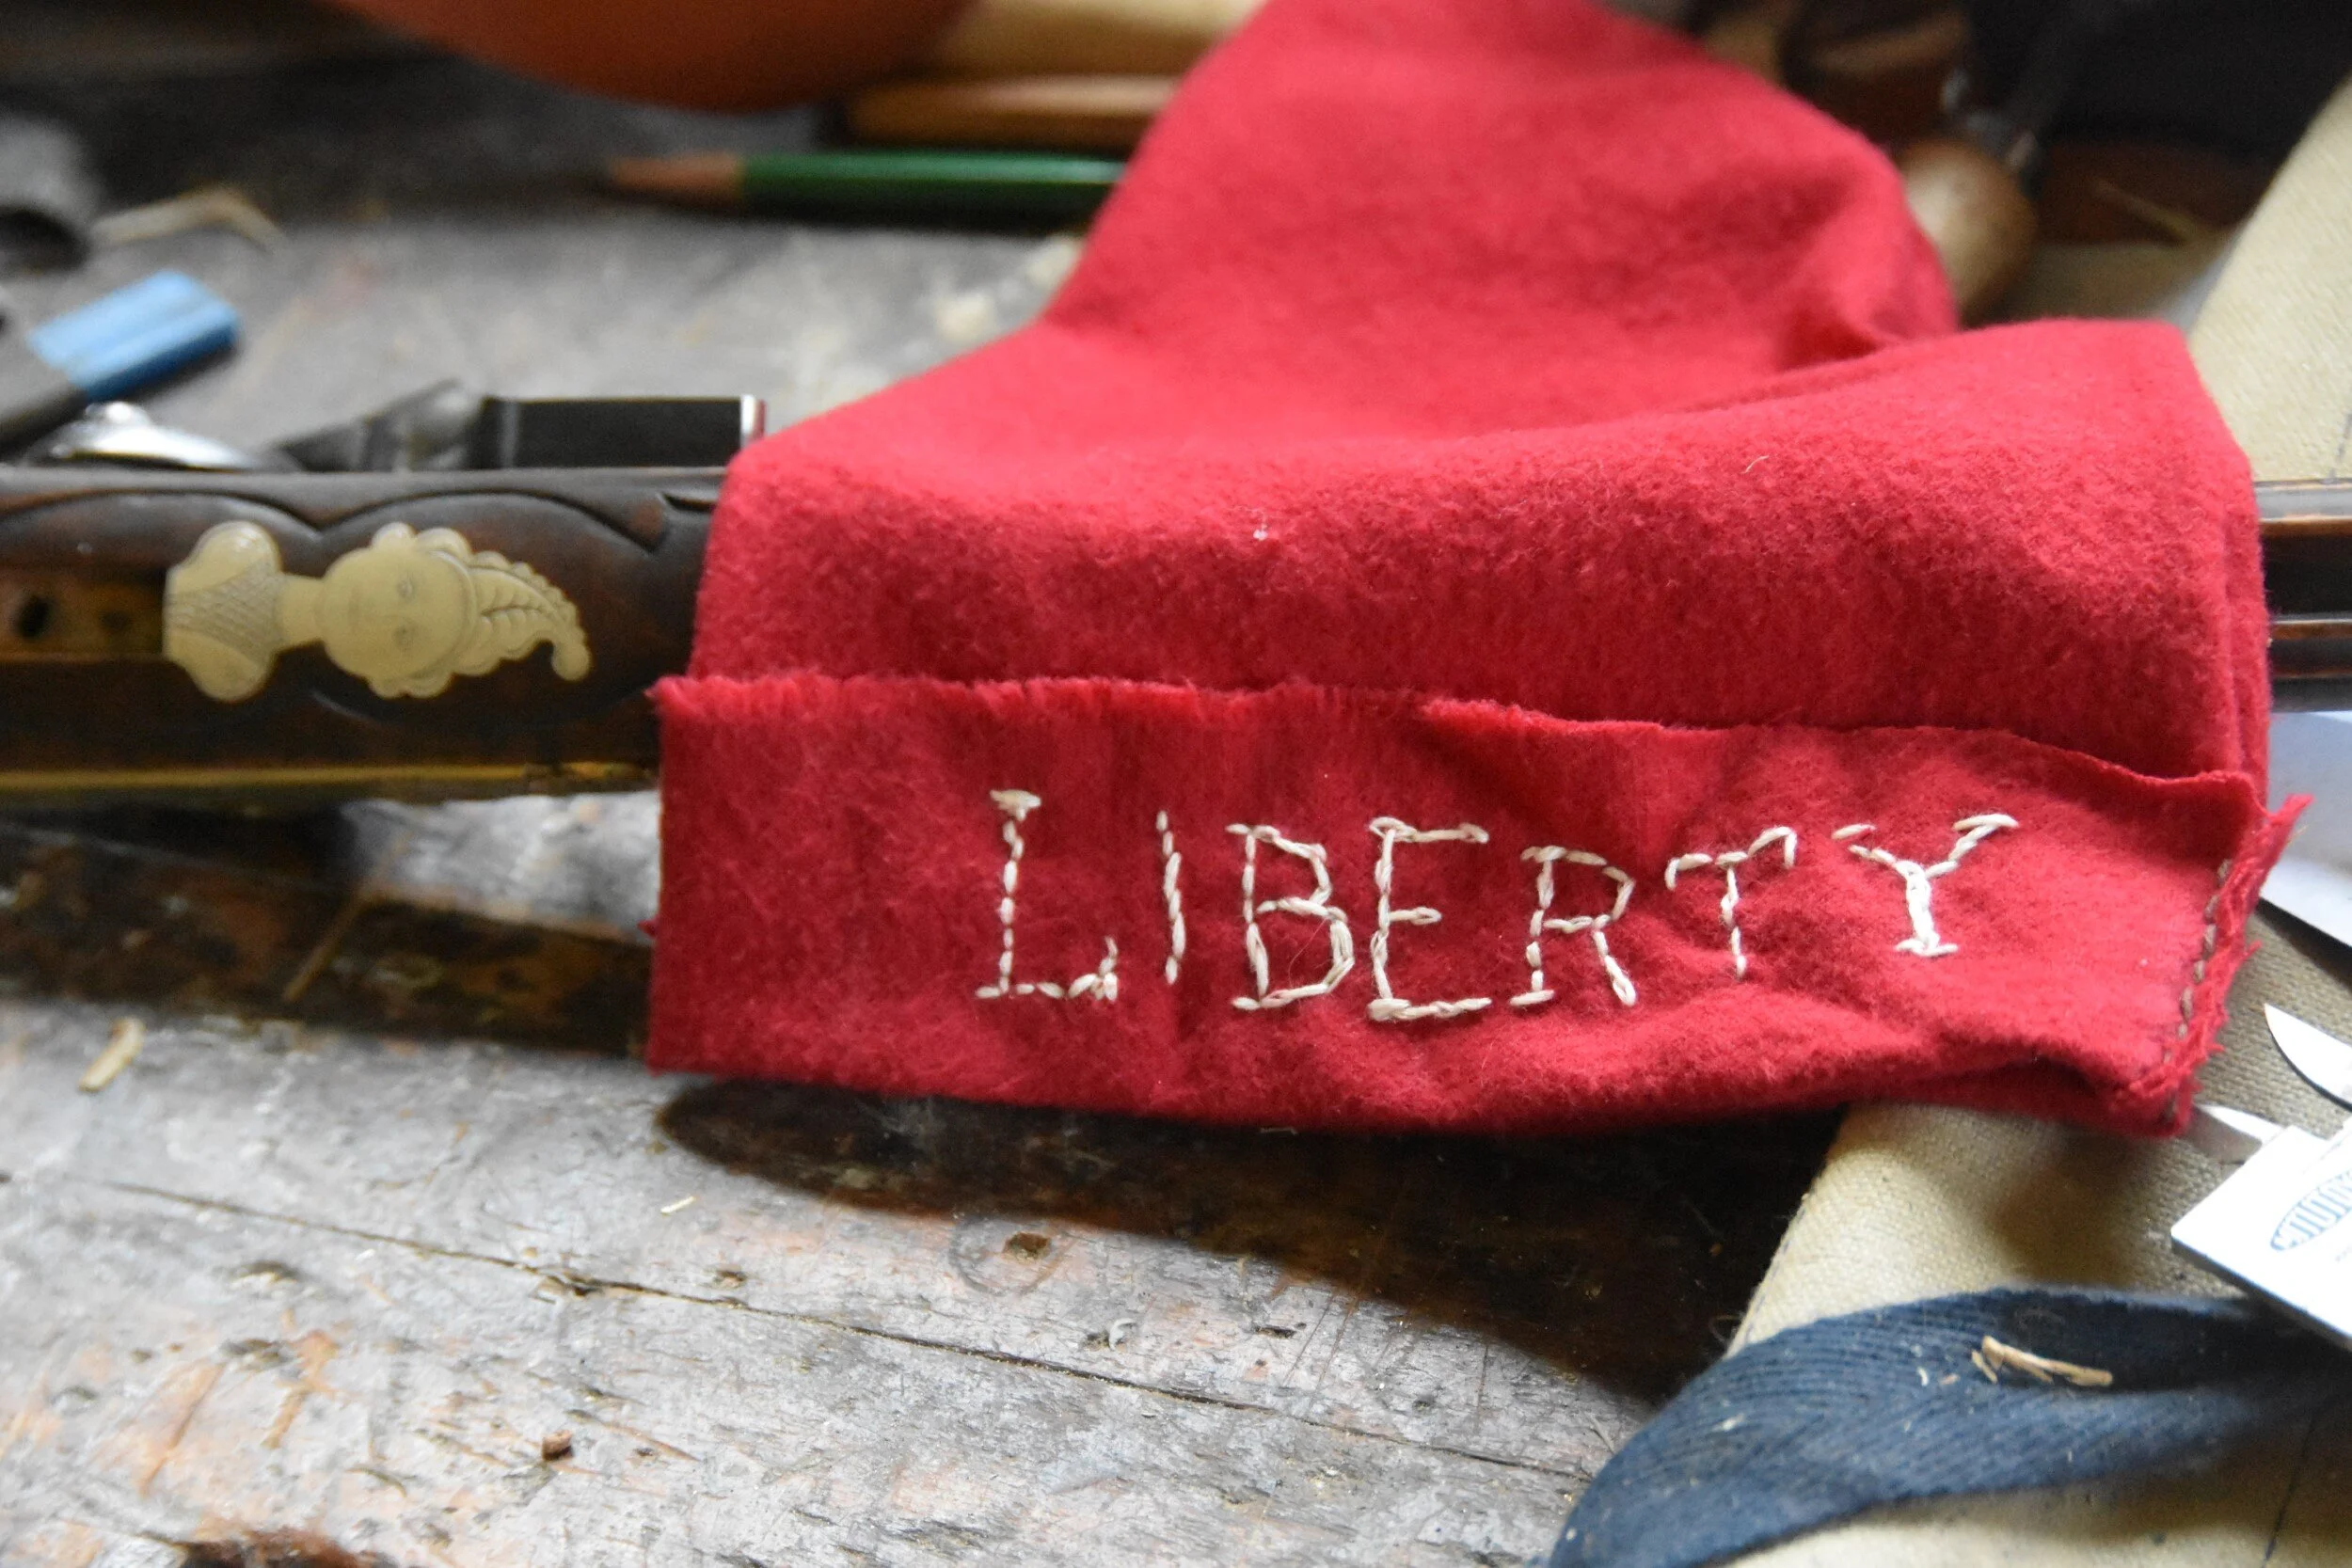
With the stitching wrapped up, we're ready to invert the hat to hide that stitching and start working on the fun part of the brim to leave enough room for the embroidery, I roll up about a two-inch cuff at the bottom of the hat. Now you don't need to be this specific, but I wanted to get things kind of centered. So I find a center mark with my ruler and begin laying out the letters from the center outward.


So when we're spelling liberty, we're gonna be starting with the E. And then to layout each letter and then alternate between the right and left side of that center e just to keep everything kind of inline in balanced on the cuff of the hat. historical documents describe the hats as being red with a contrast in color for the embroidered lettering. So I'm going to be using some off white embroidery floss for my lettering. Now I've never done any embroidery before. So this was kind of a trial and error for me. I think if I were to make a second one I could do it a little bit better but for the most part, Just saddle stitching all the way across here.


Now, I advise you if you want to make it look nice to look up some videos on embroidery, but in the end, I'm pretty happy with my results. If you enjoy hand stitching your own leather projects, I really encourage you to give something like this a try. The fabric is really easy to stitch through so it's even easier on your hands and stitching leather and makes for a nice end of the day or evening and watching the TV Do It Yourself project.
Check out this week's muzzle blast podcast. We're going to be going into some of the histories of this cap, including where it came from and why it started to be used in the American and then the French revolutions.