

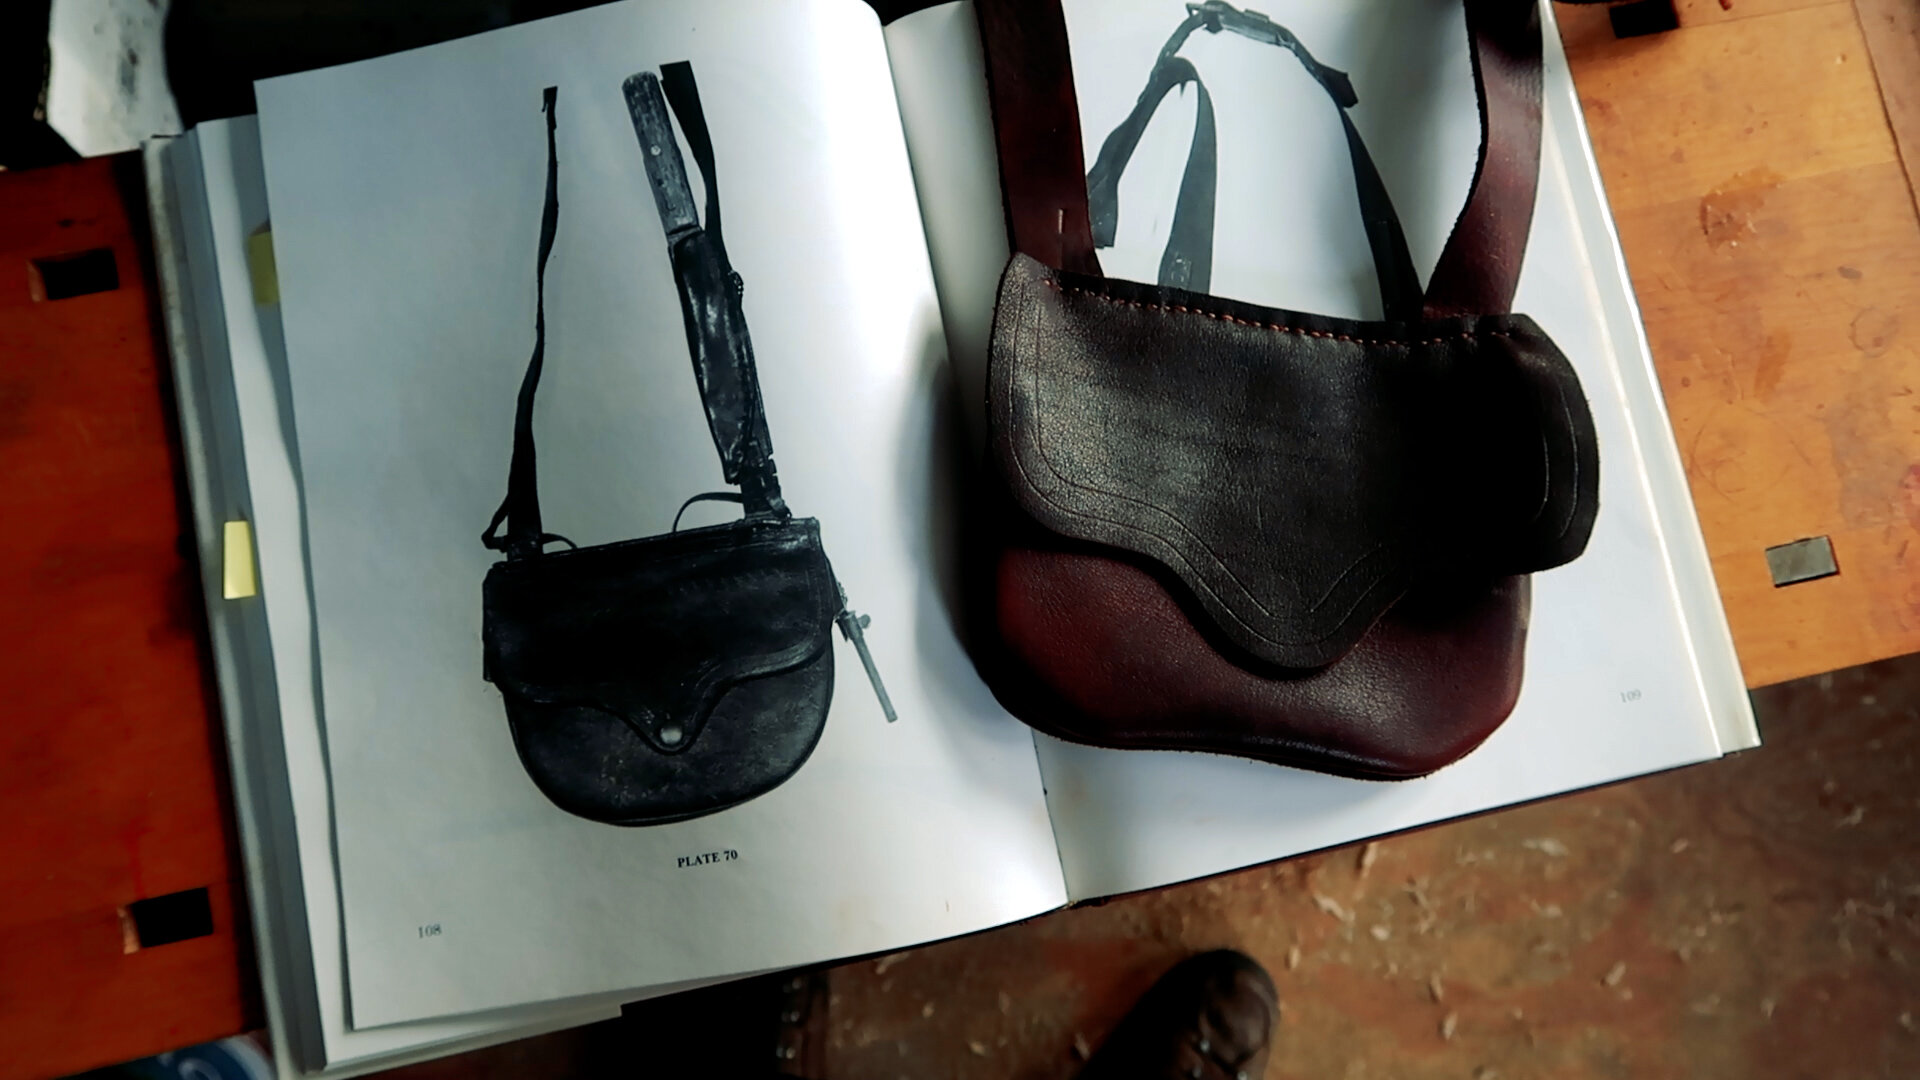
On this week's episode of Craftsman's corner from the NMLRA, we're going to show you how to make this “Hawken Era” hunting pouch, inspired by Madison Grants, “The Kentucky Rifle Hunting Pouch”.
Featured on Plate no. 70 in the book, this pouch is described as follows

The original bag pictured with the author’s recreation
“Circa 1845-1855. Well made commercial pouch of heavy black cowhide. The outstanding feature is the shaped flap which is bound on the edge and has coinciding patterns of impressed tool work. Above the brass button closure is a sunburst design topped by diagonal hash marks.
The scabbard, being hand made, is probably a later addition by the owner. The knife is of the kitchen variety with a homemade wooden grip. A variable iron powder measure is suspended by a chain”
This won’t be an exact copy of the pouch described above, if you follow these directions, you should get “pretty close”. From there, you can personalize the pouch into something of your creation, or follow the description and make a more direct copy of the original. For this tutorial, I’ve left out the pouch flap edge binding, the brass button, and the knife sheath, (which can be added at a later date, just as the original was).
To get started, I’m using some 8 oz vegetable tanned hide that is colored a light brown. If you don’t know how to find the weight of your leather, check out this link for a handy guide


The tools I’m using on this project are
Tape measure/Ruler
Artificial sinew
4 prong stitching chisel
Awl
White pencil
2 Blunt needles
Binder Clips
A Pair of Dividers
Heavy scissors
Chisels, one flat, one slightly curved
Knife
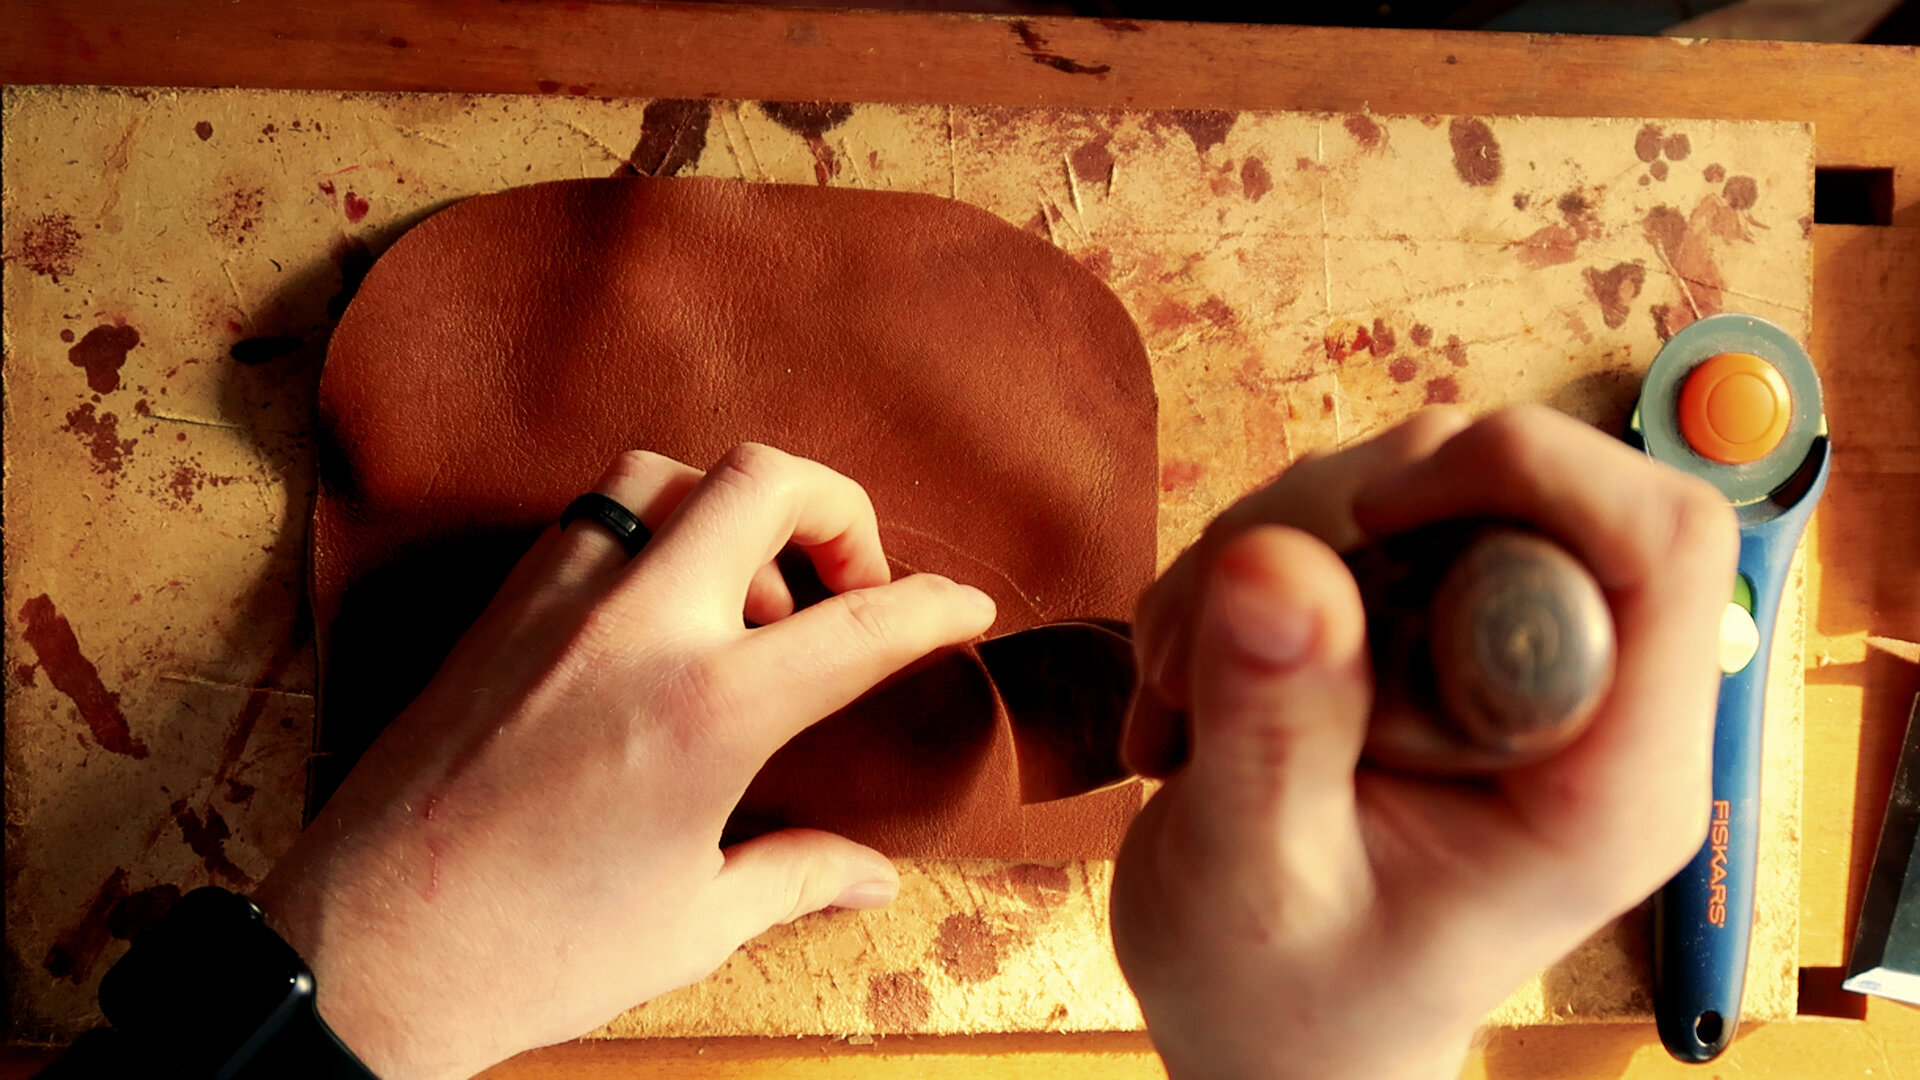
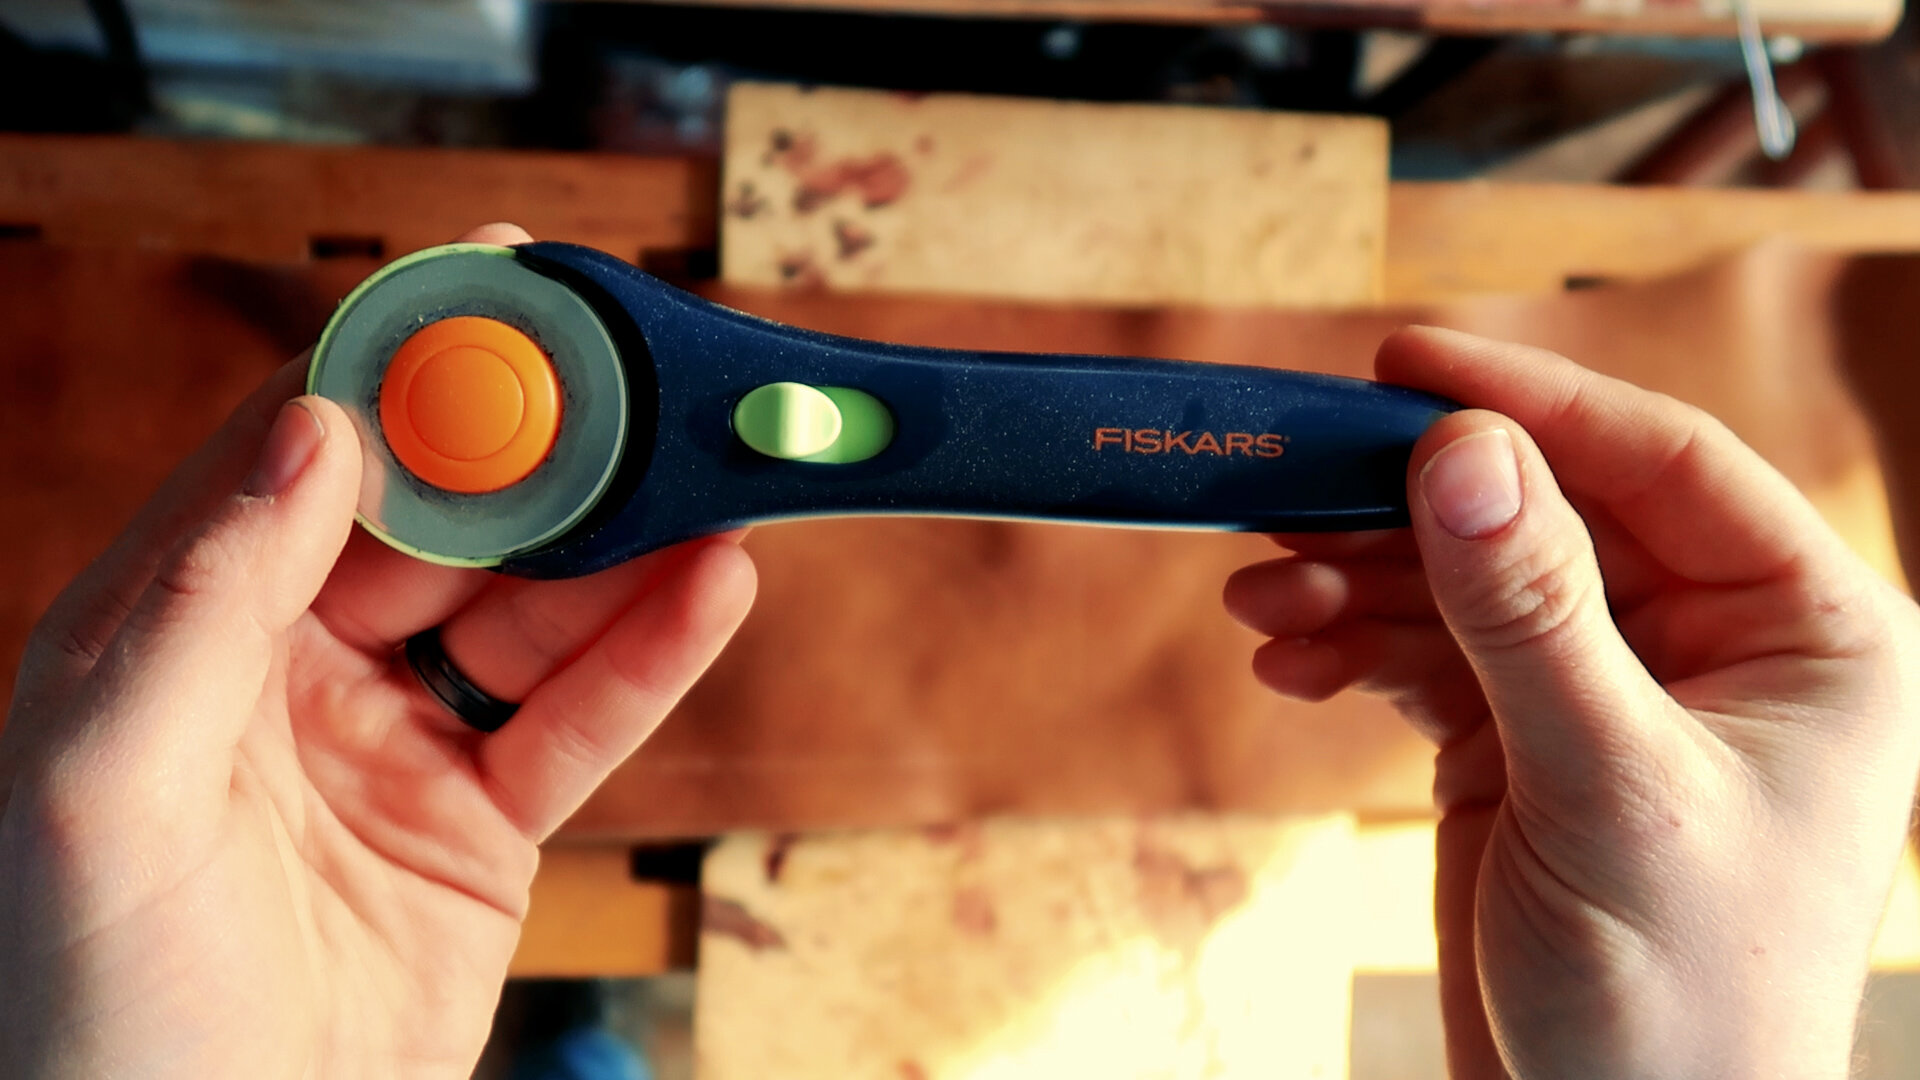
Rotary cutter
Leather dye
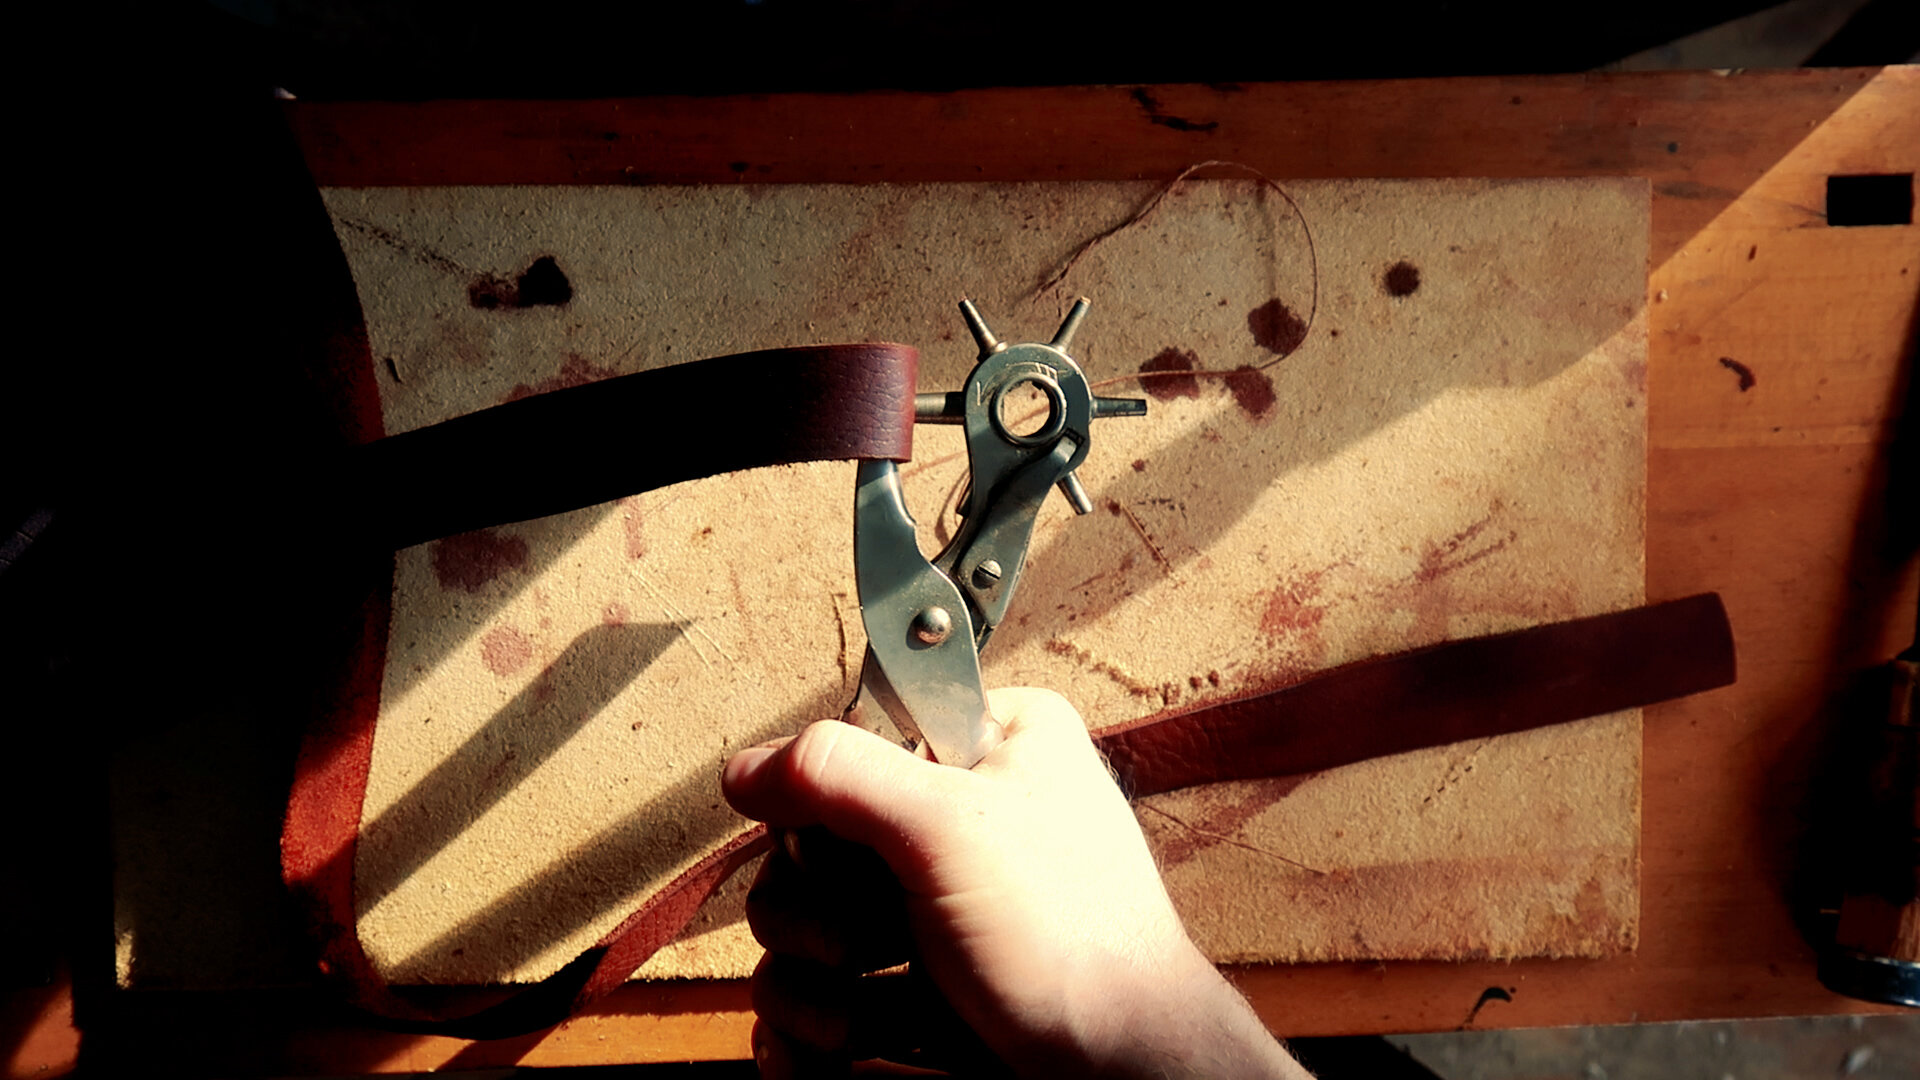
Leather hole punch
You don’t need all these tools, all of the cutting can be done with a knife or scissors.


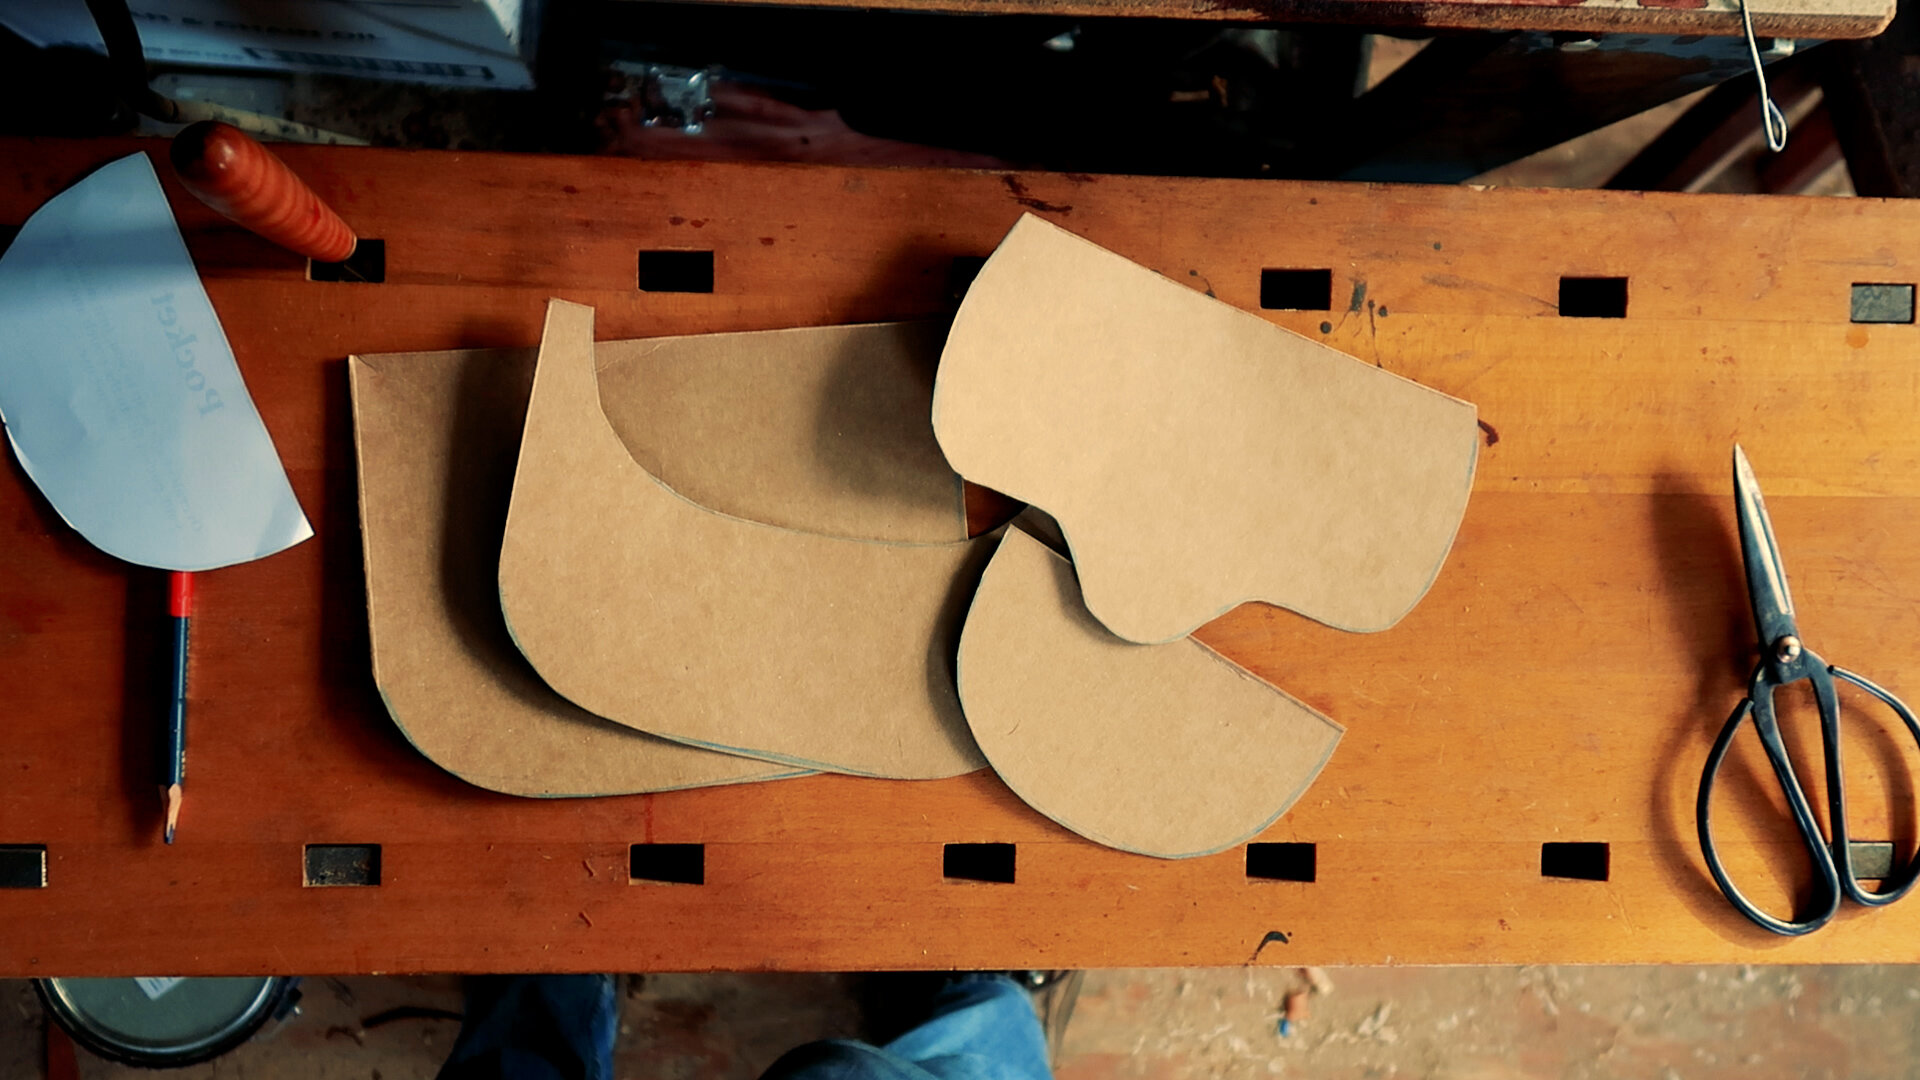
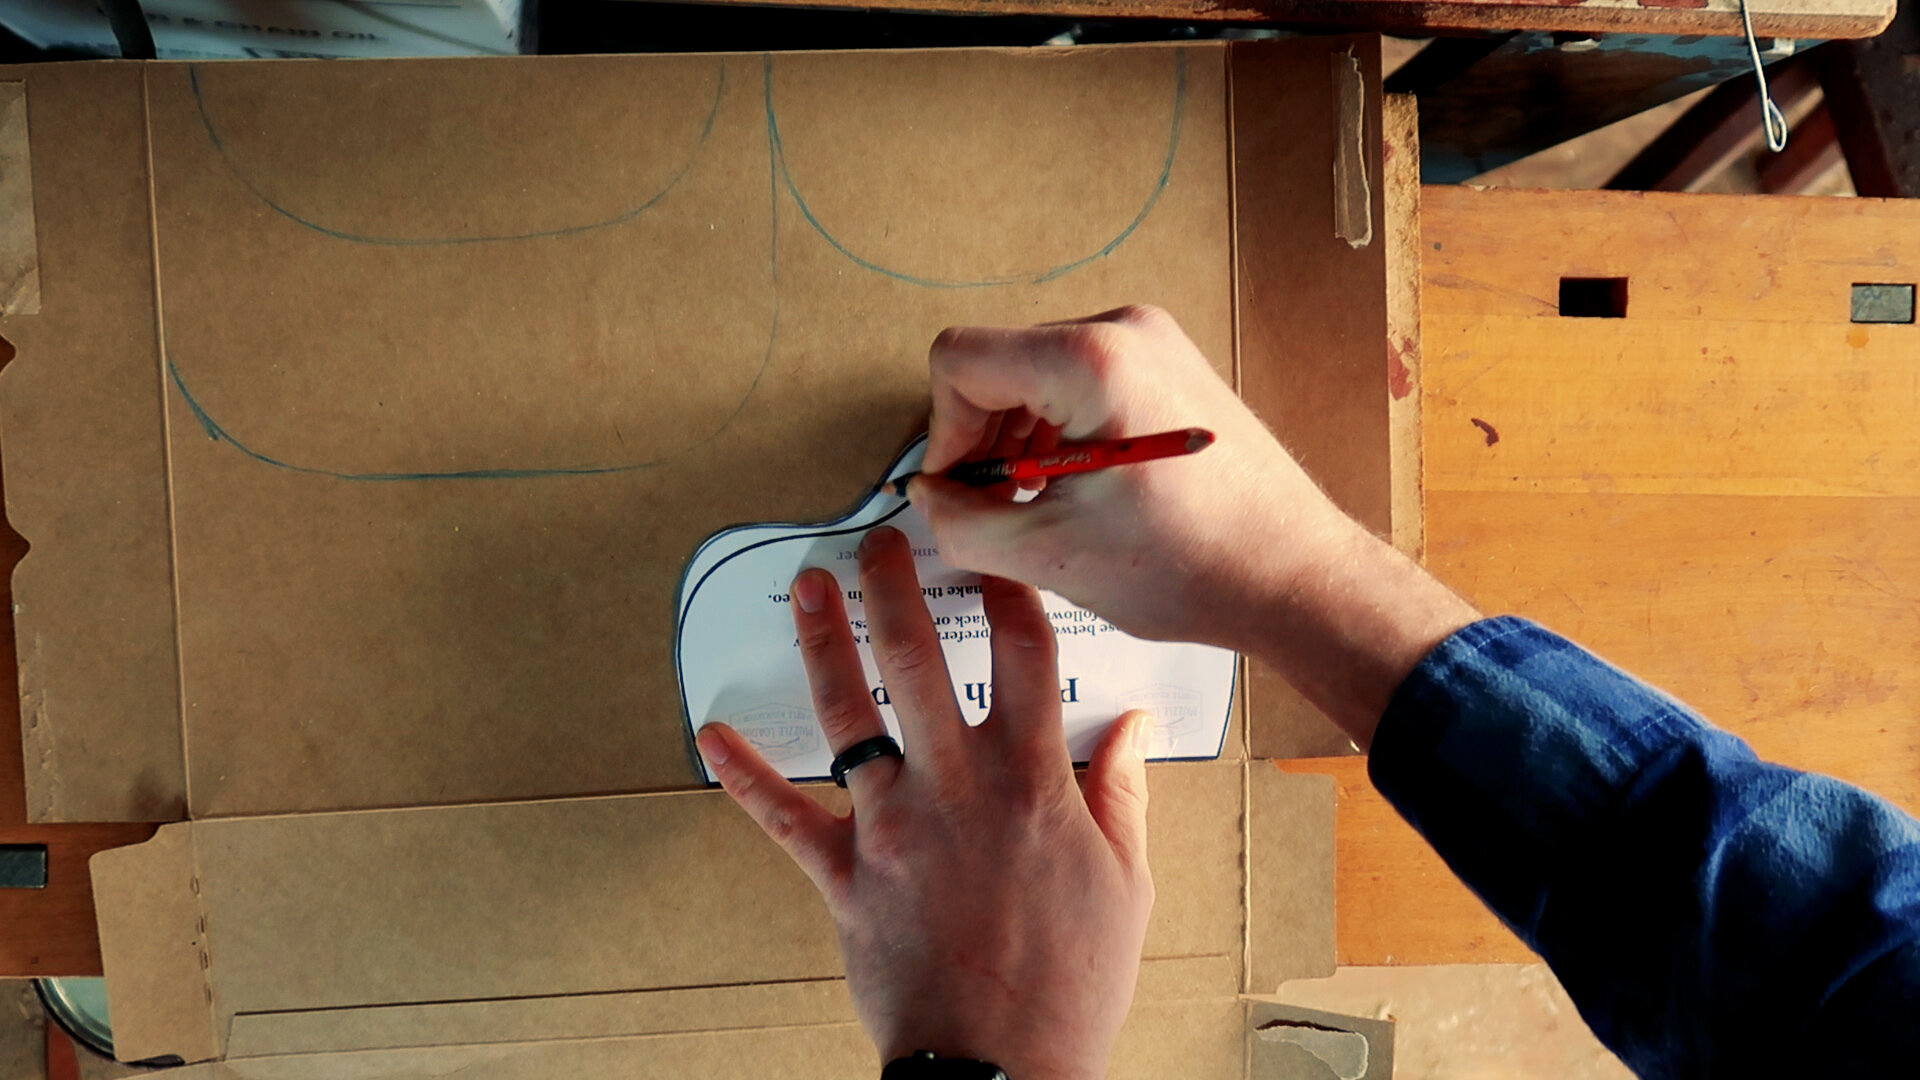
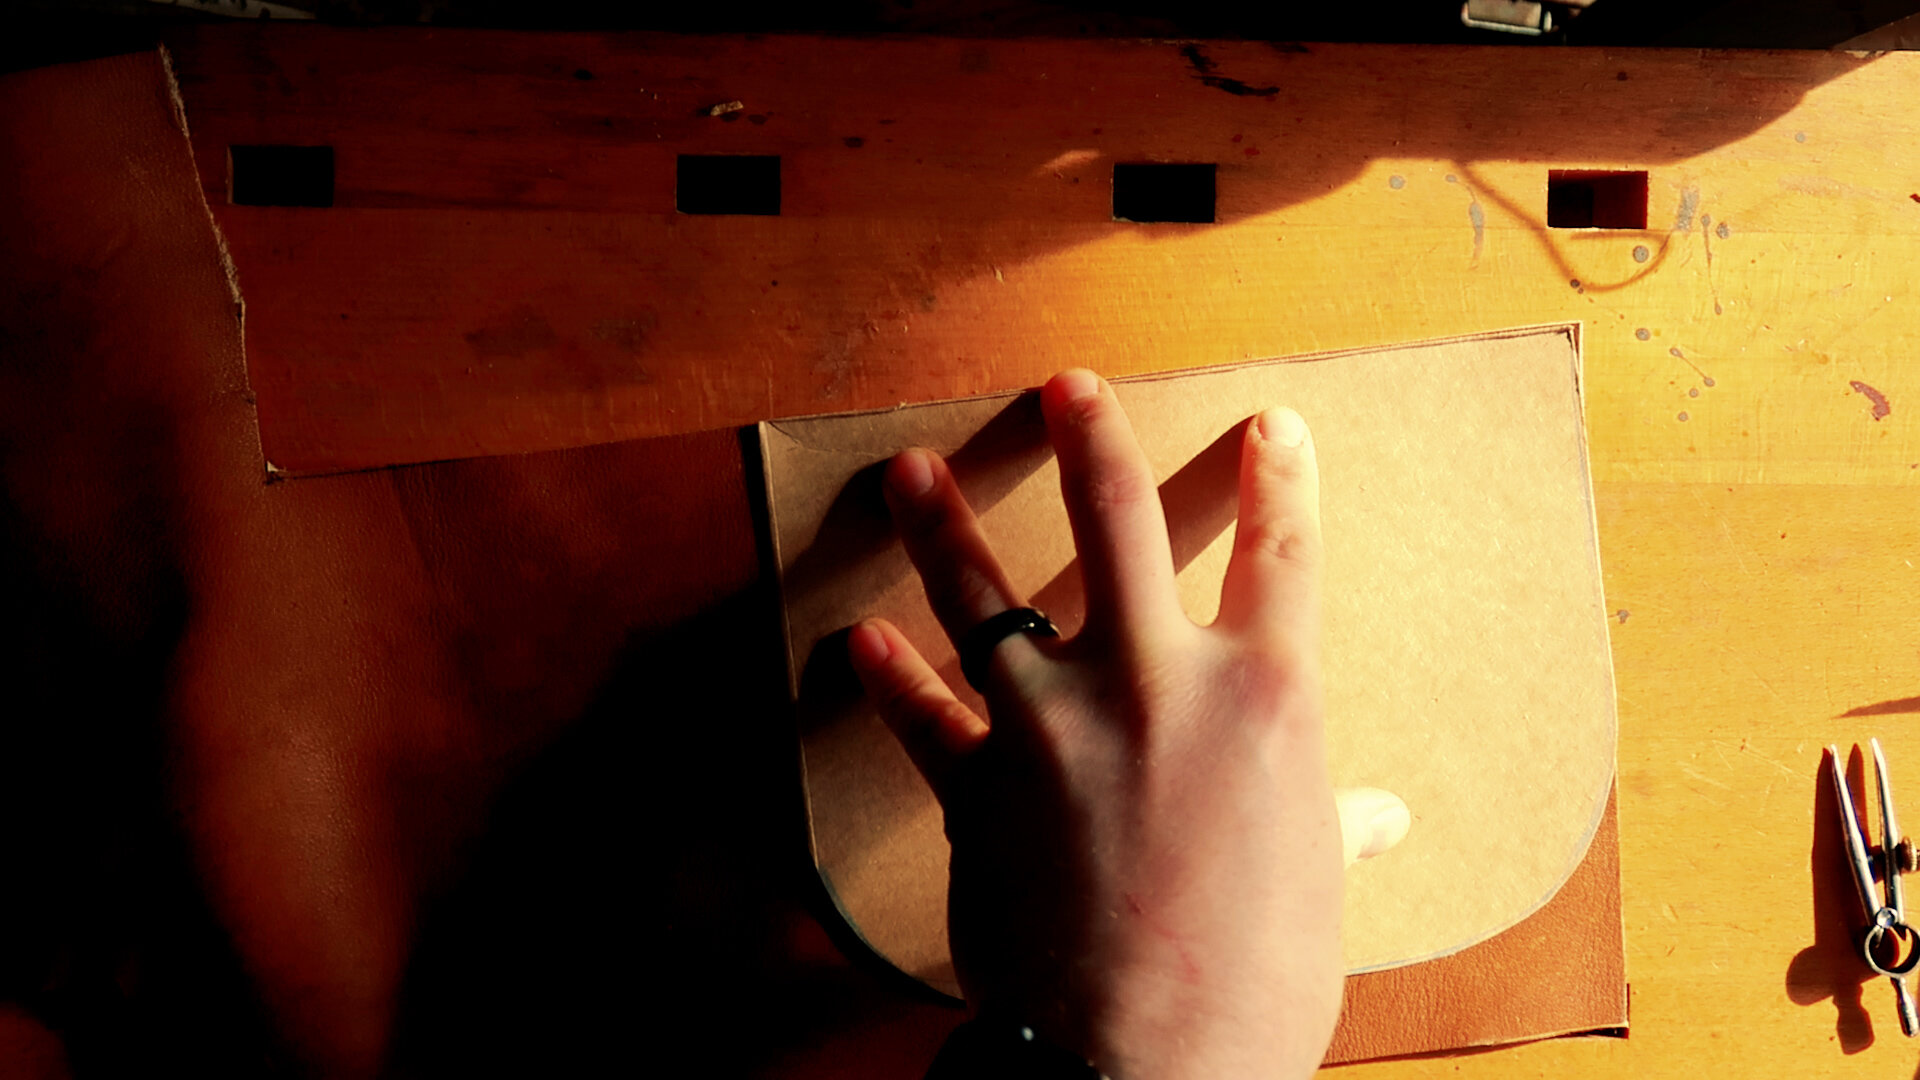
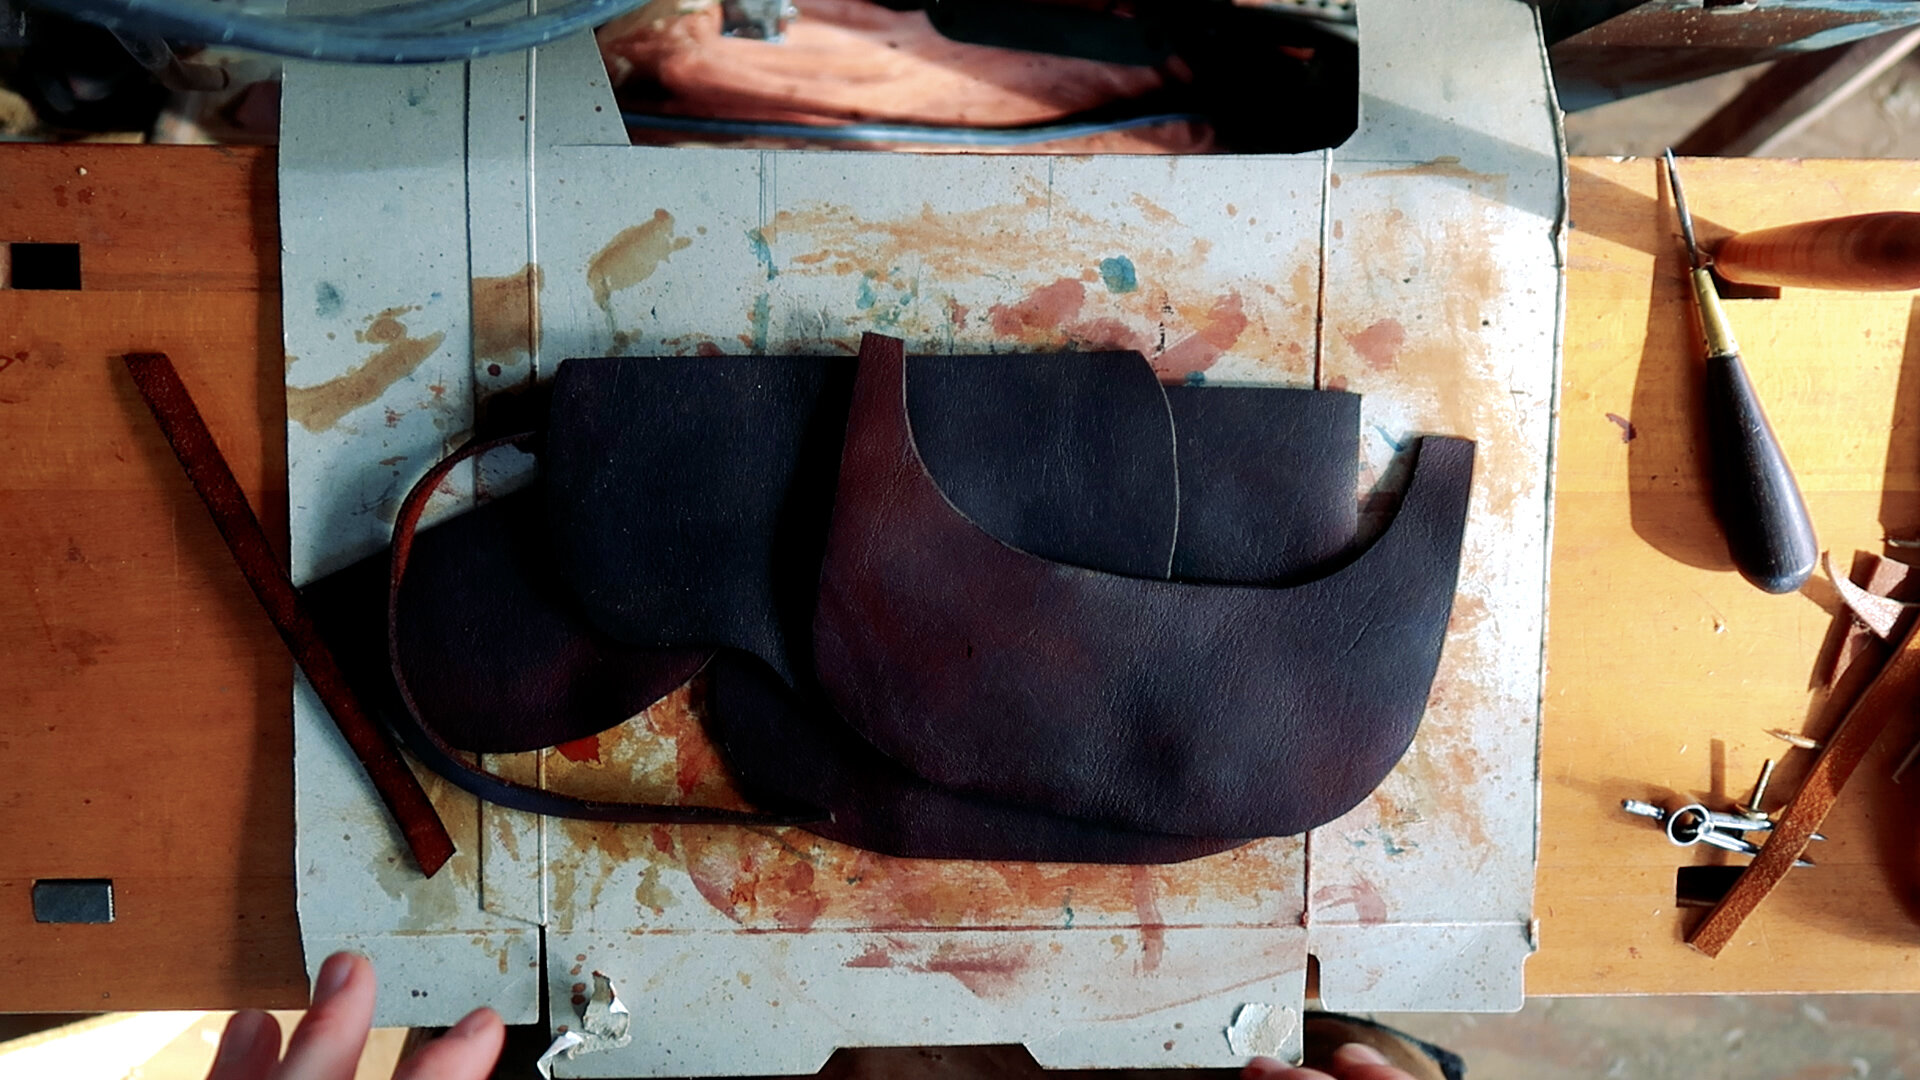
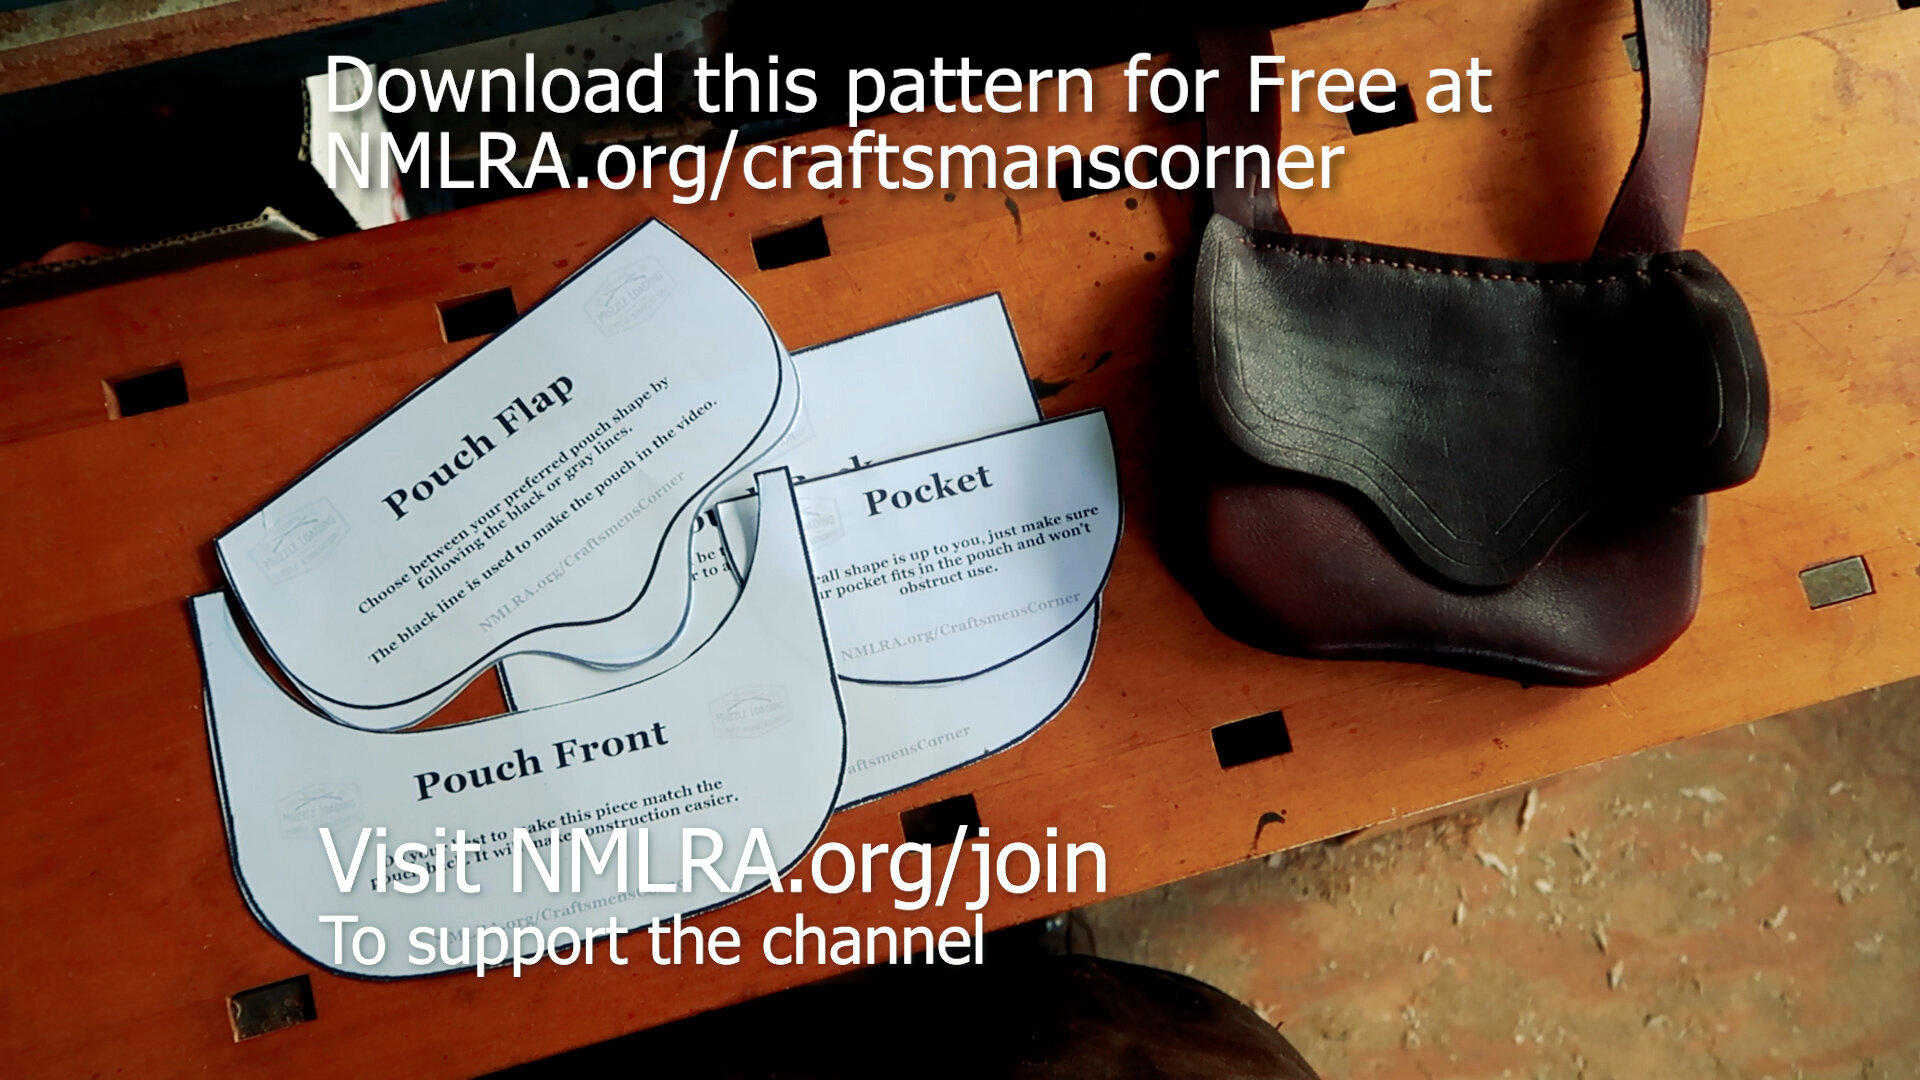
Start by printing out the free pattern included with this article, cut along the outside of the heavy black lines, or the grey lines depending on your choice of personalization, and then trace the paper pattern cut-outs onto some cereal box cardboard, or other thin cardboard you have around your workspace. Thin cardboard like this is a great way to keep a durable set of patterns handy for any future projects you might have.
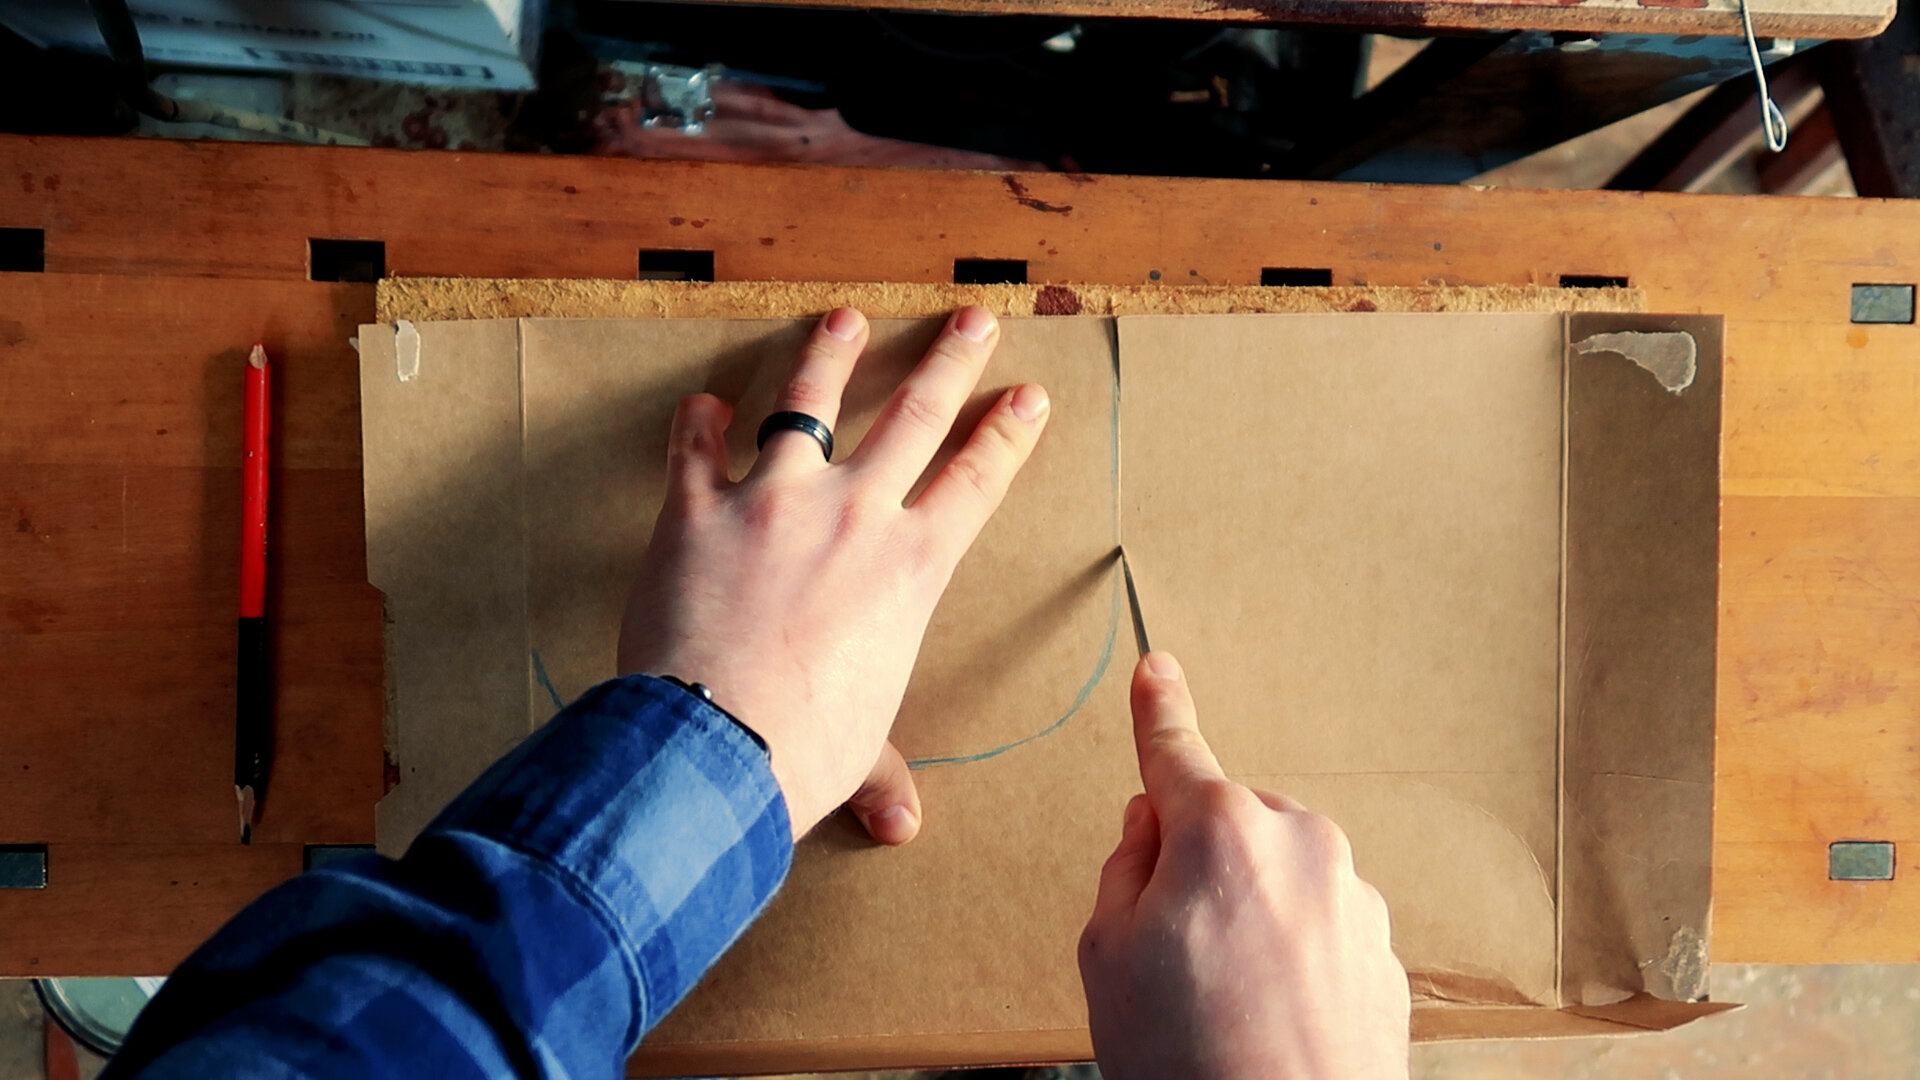

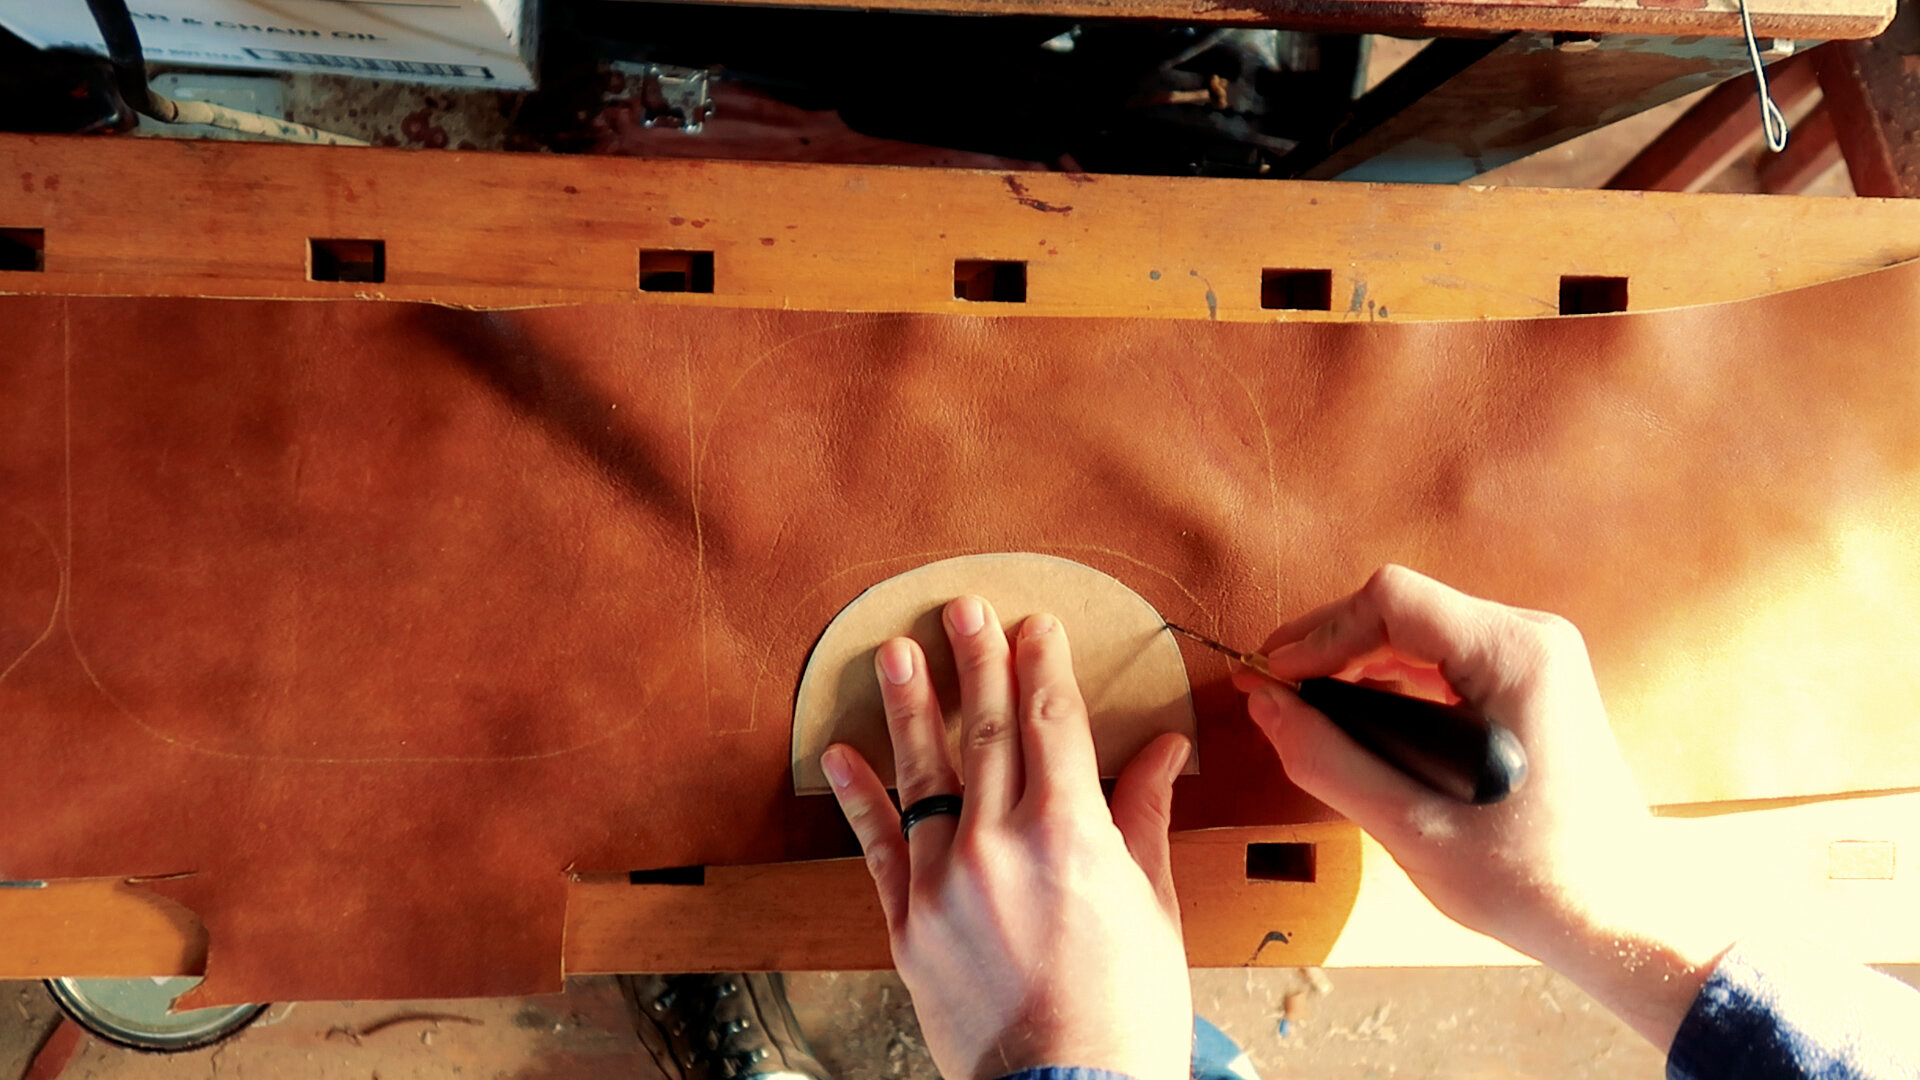
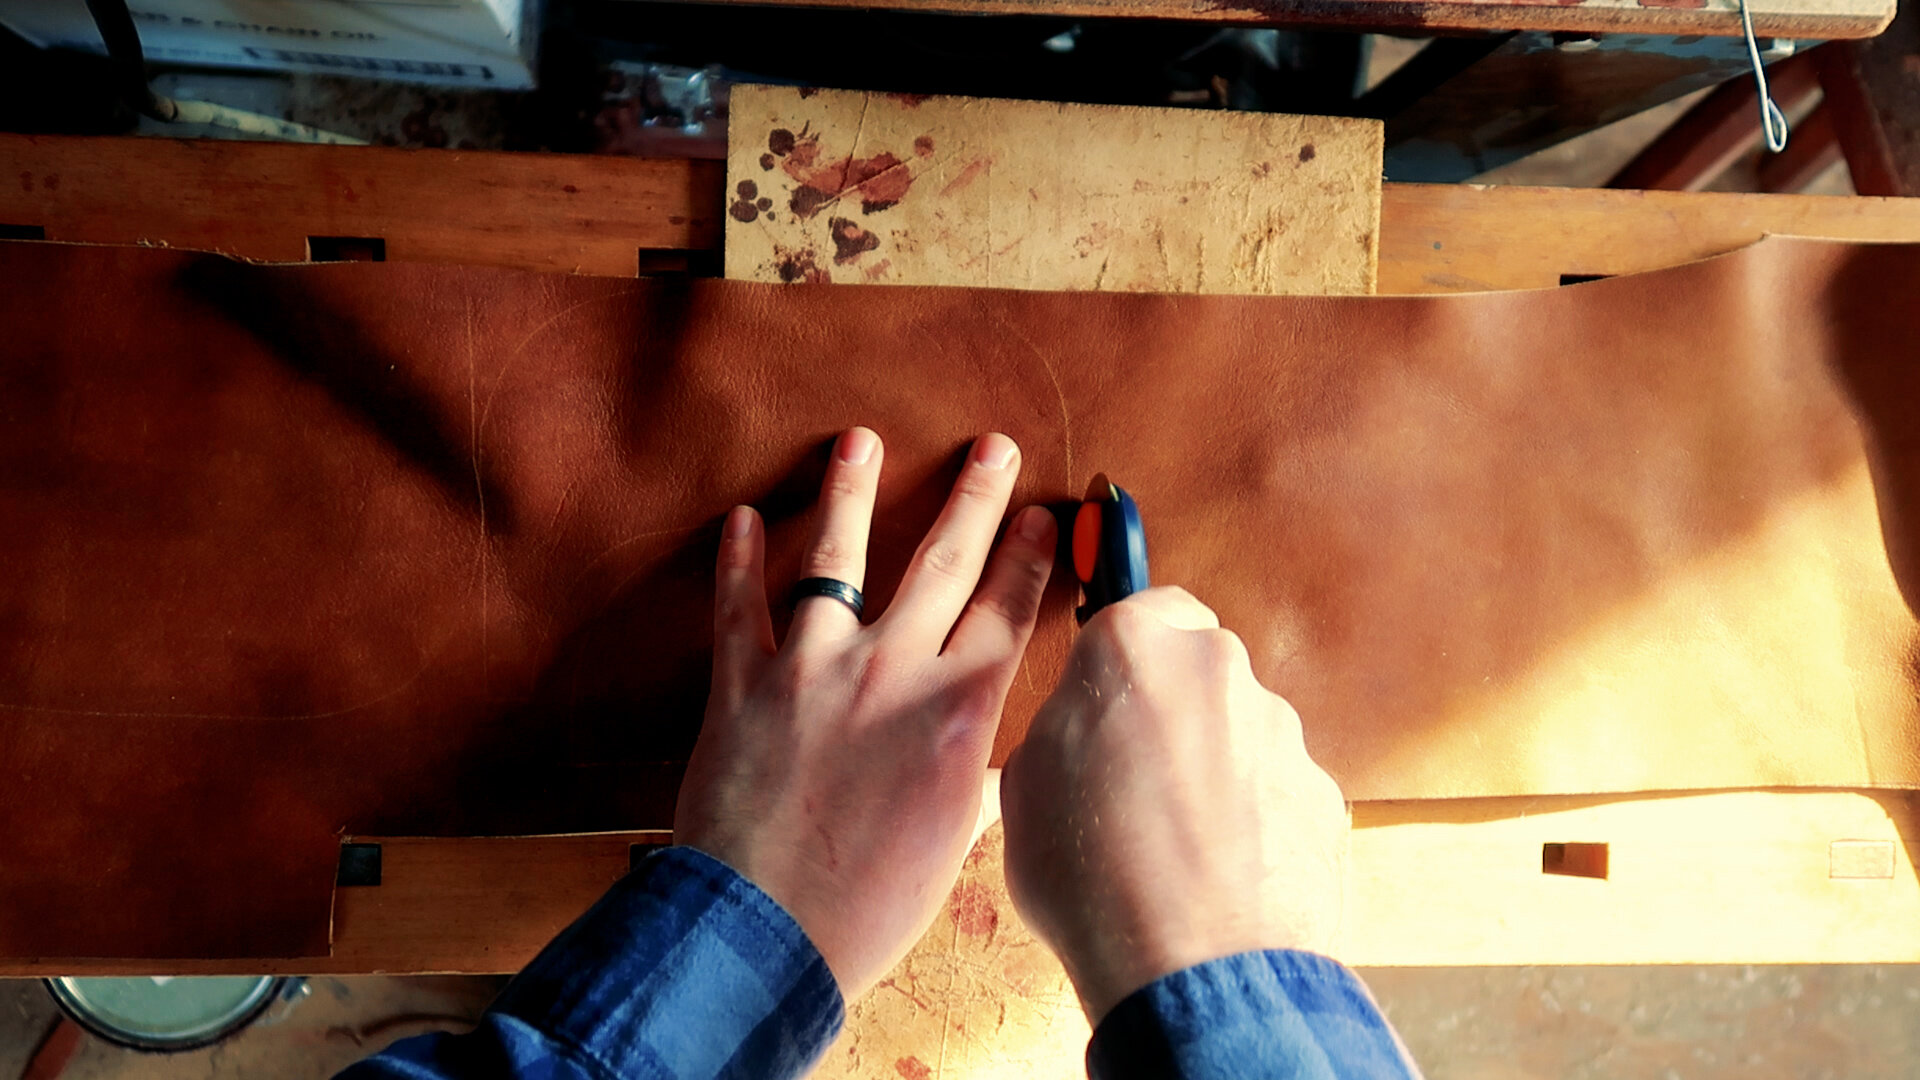
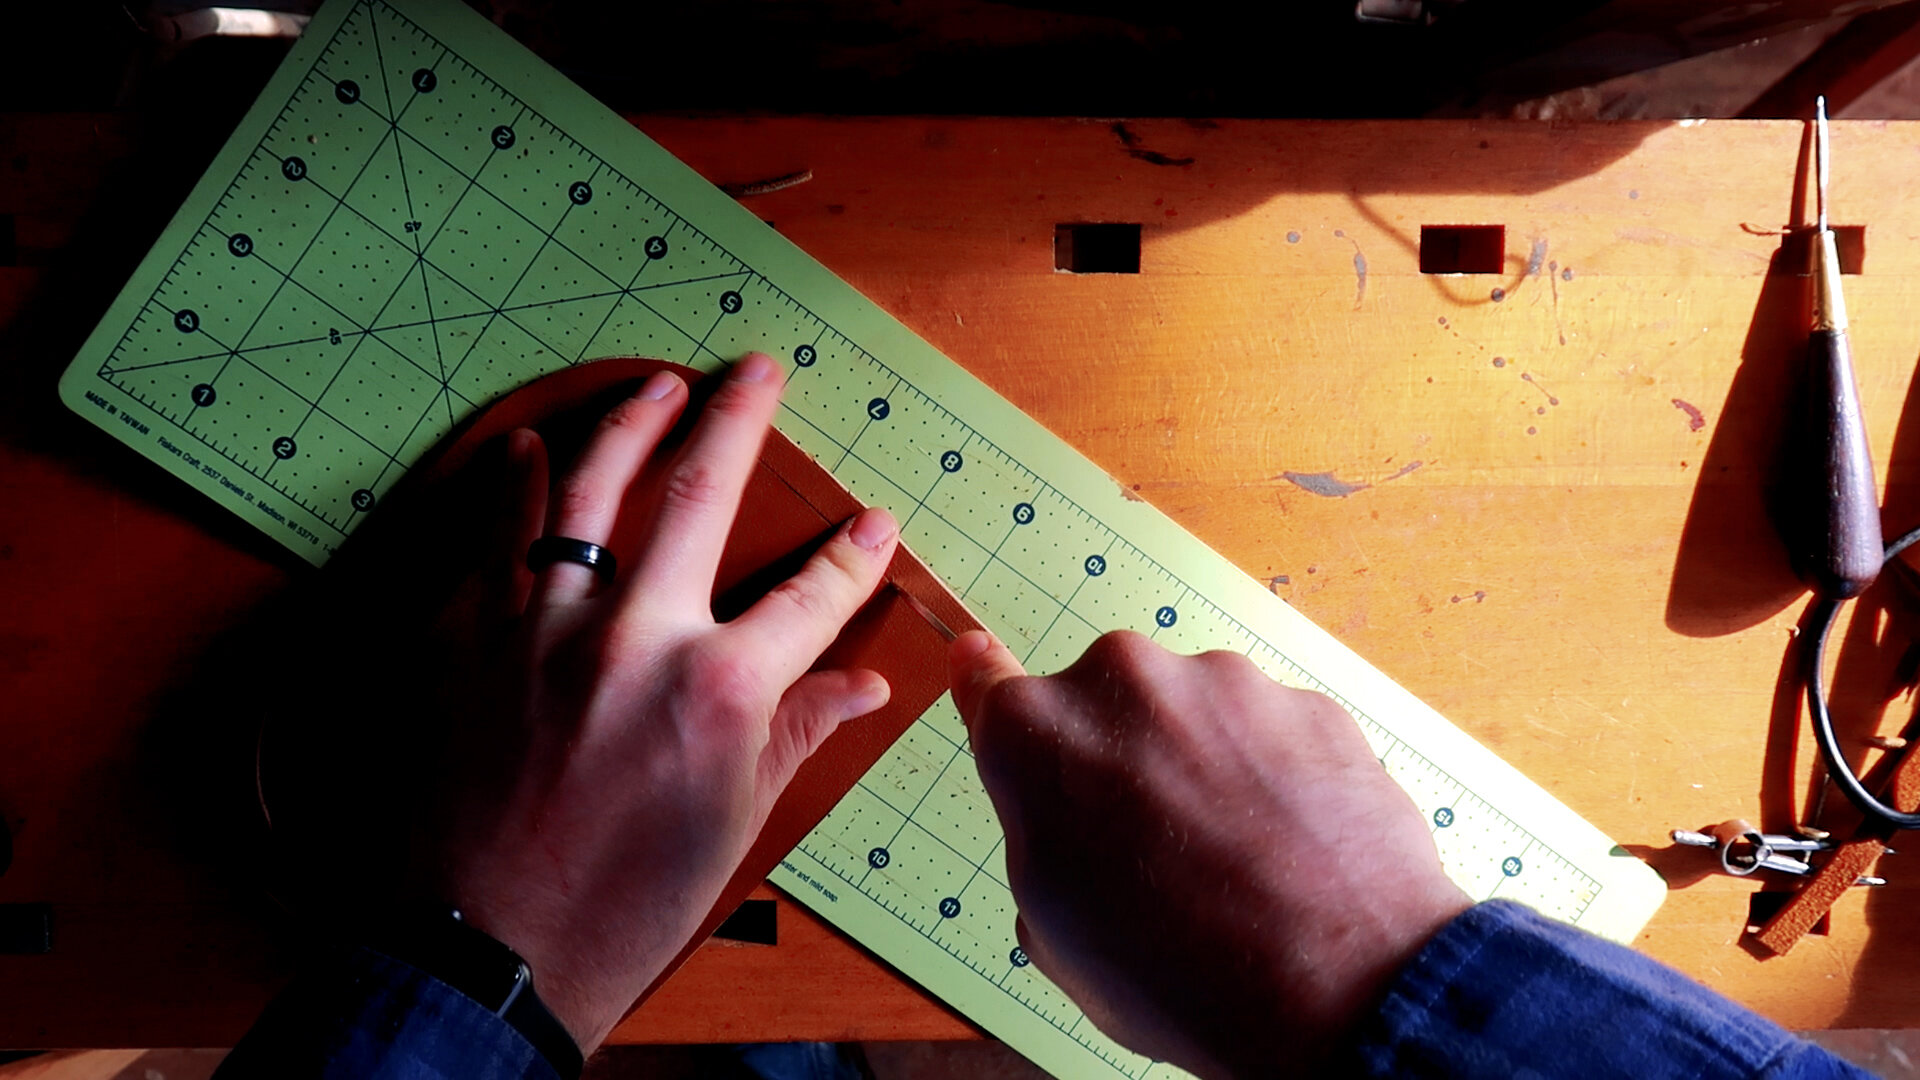
With that done, I can go ahead and get my leather out and start transferring the cardboard pattern onto my leather pieces. In the past, I’ve used a pencil, a pen, and a marker to layout patterns, but for this project, I’m going to use my awl. The awl has a thin, sharp point that makes for a very accurate transfer, and apart from scratching the leather where I want it to cut, it doesn’t cause any damage or stains to the project. It is important to be economical with your pattern layout, do your best to keep unusable scrap leather to a minimum by keeping your pattern pieces as close together as you are comfortable with.
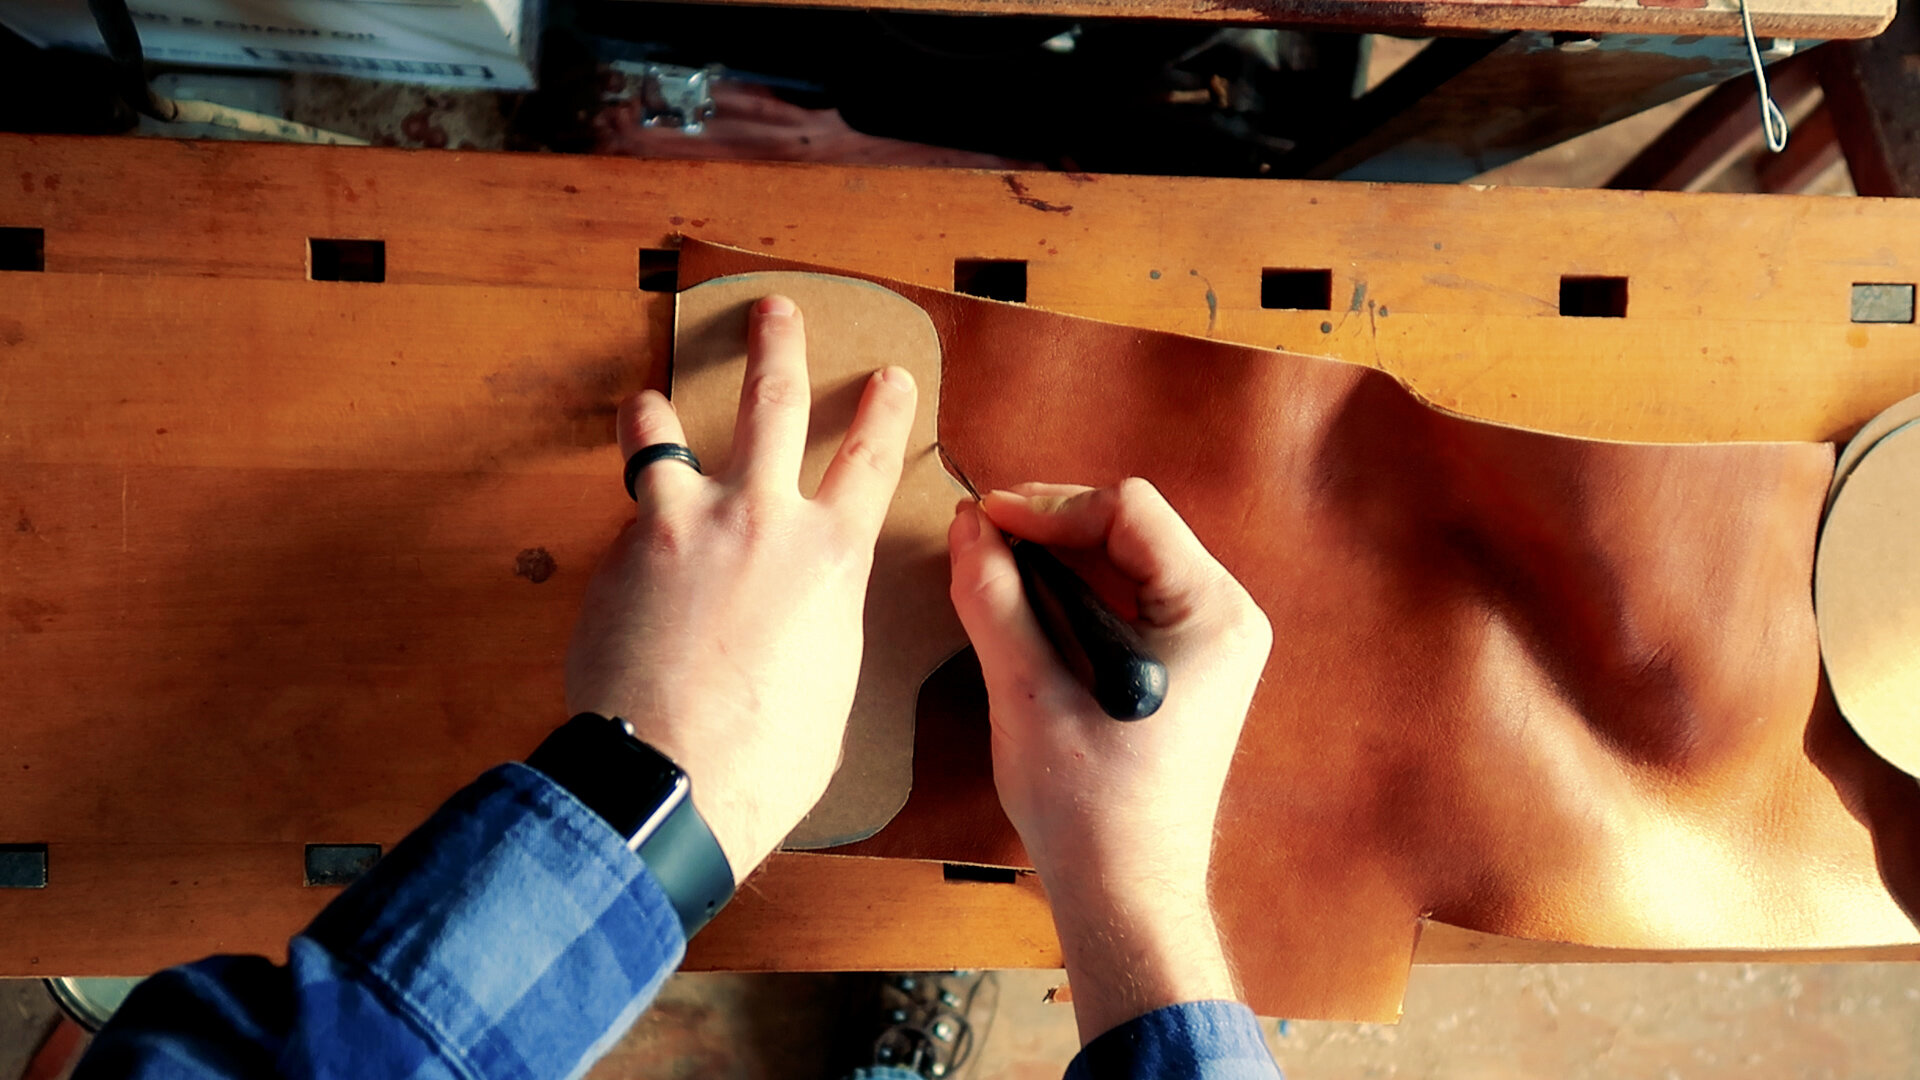
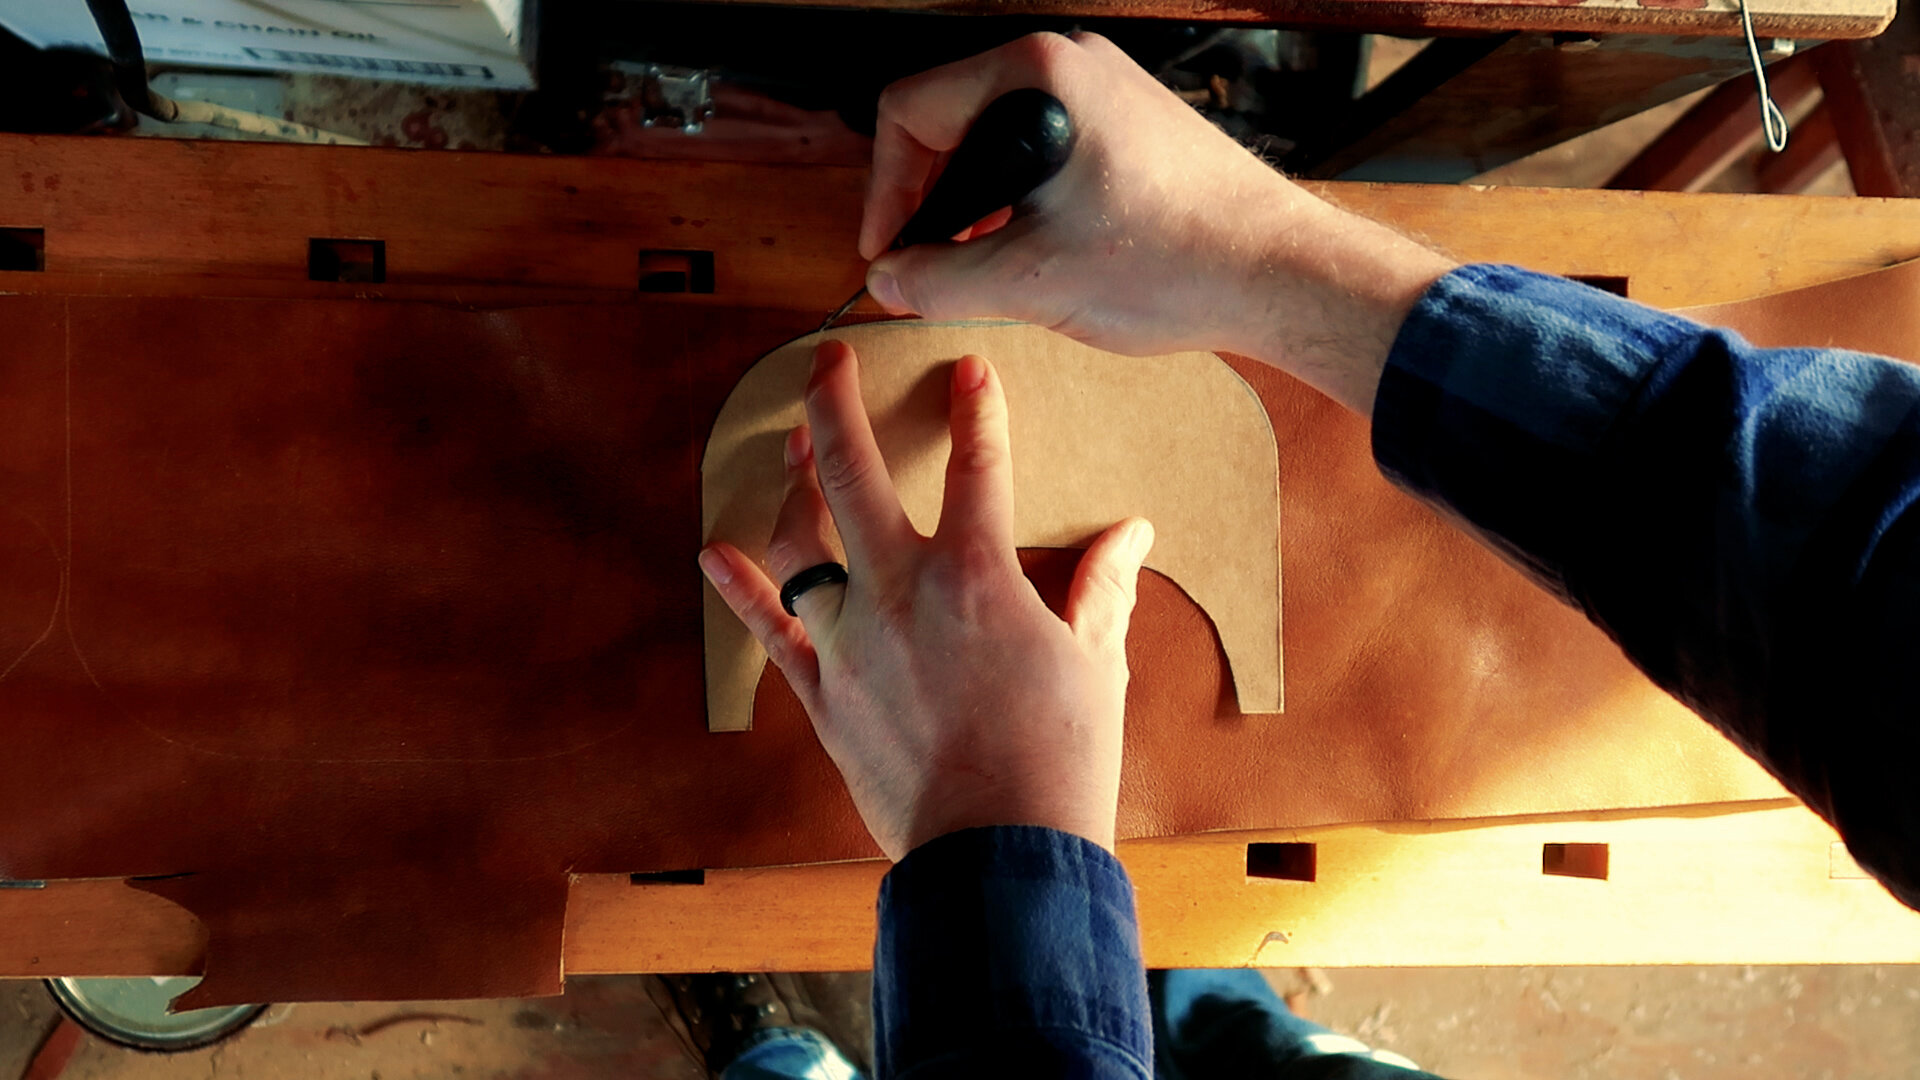
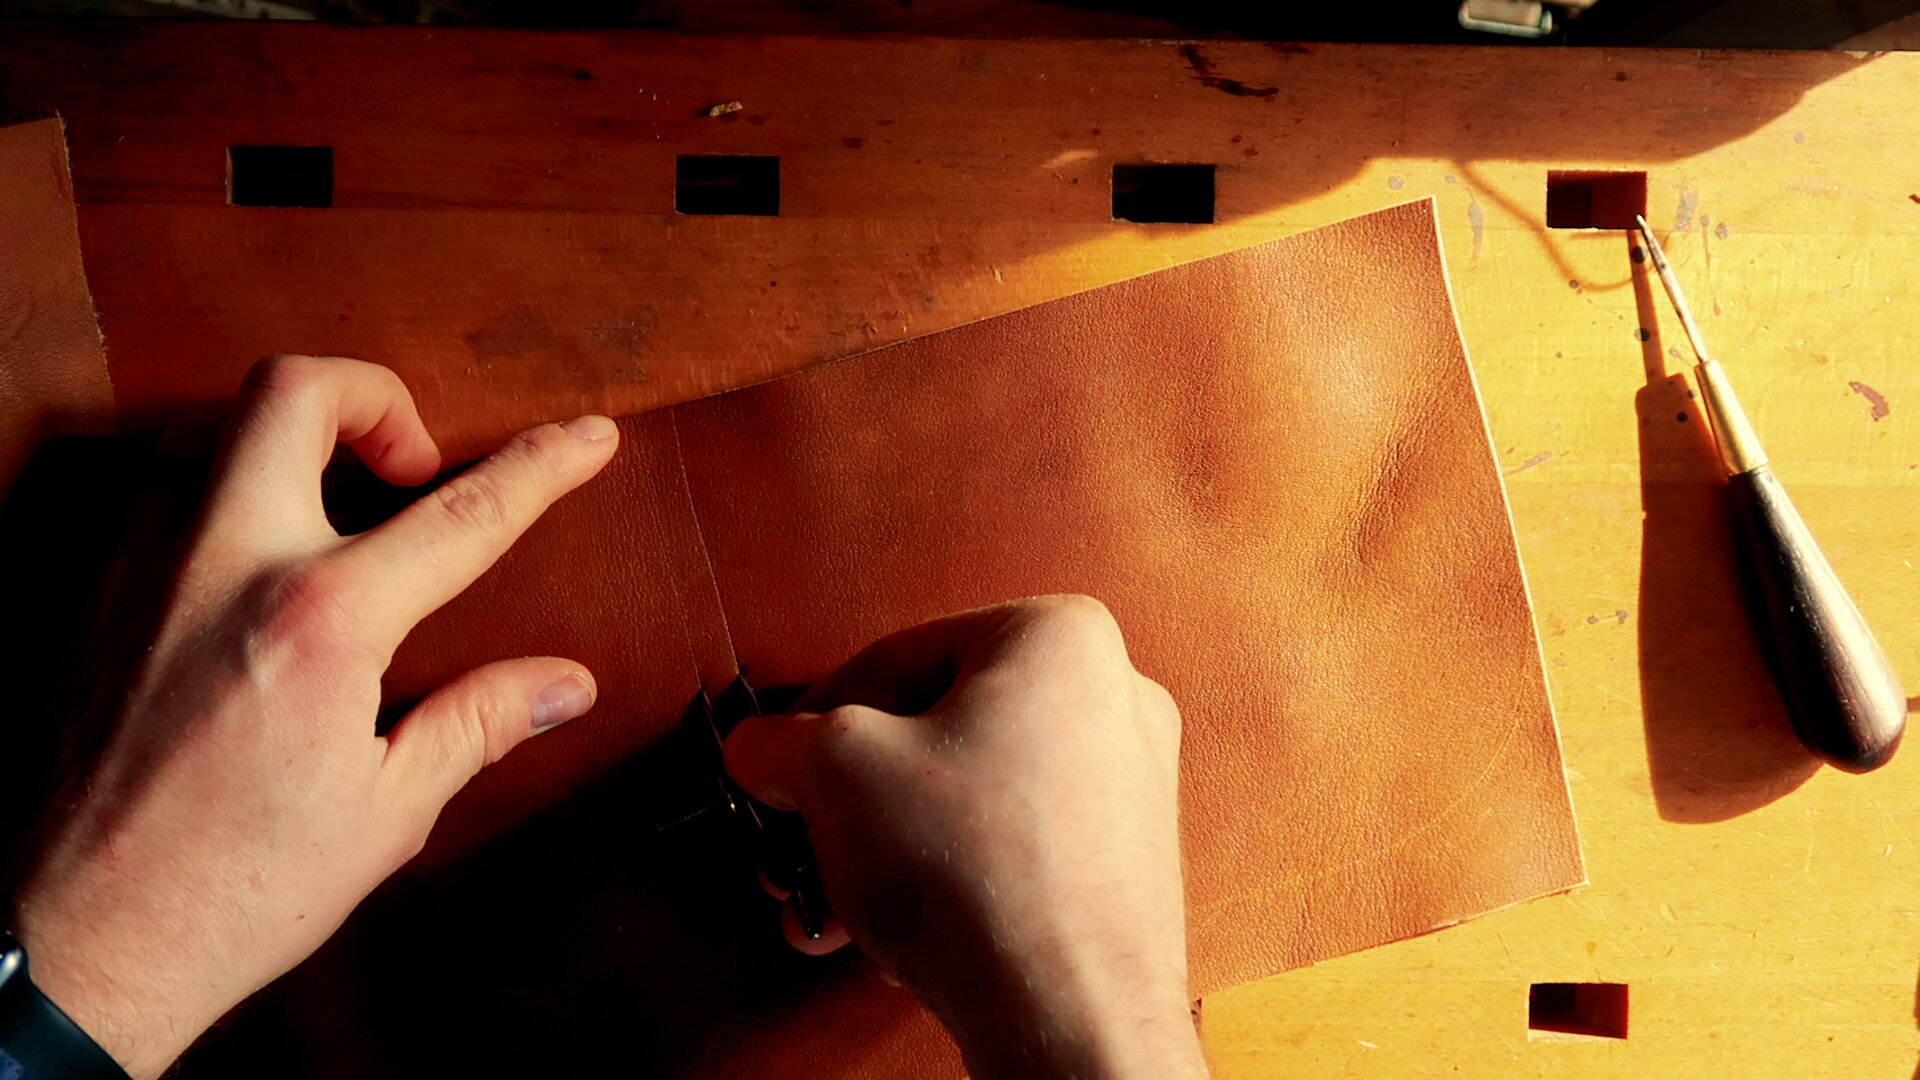
Cut your leather blanks out of the larger piece of leather with any tools you are comfortable with. After watching some videos online, I’ve started using the chisels mentioned above to get nice clean cuts around curves and short straights.
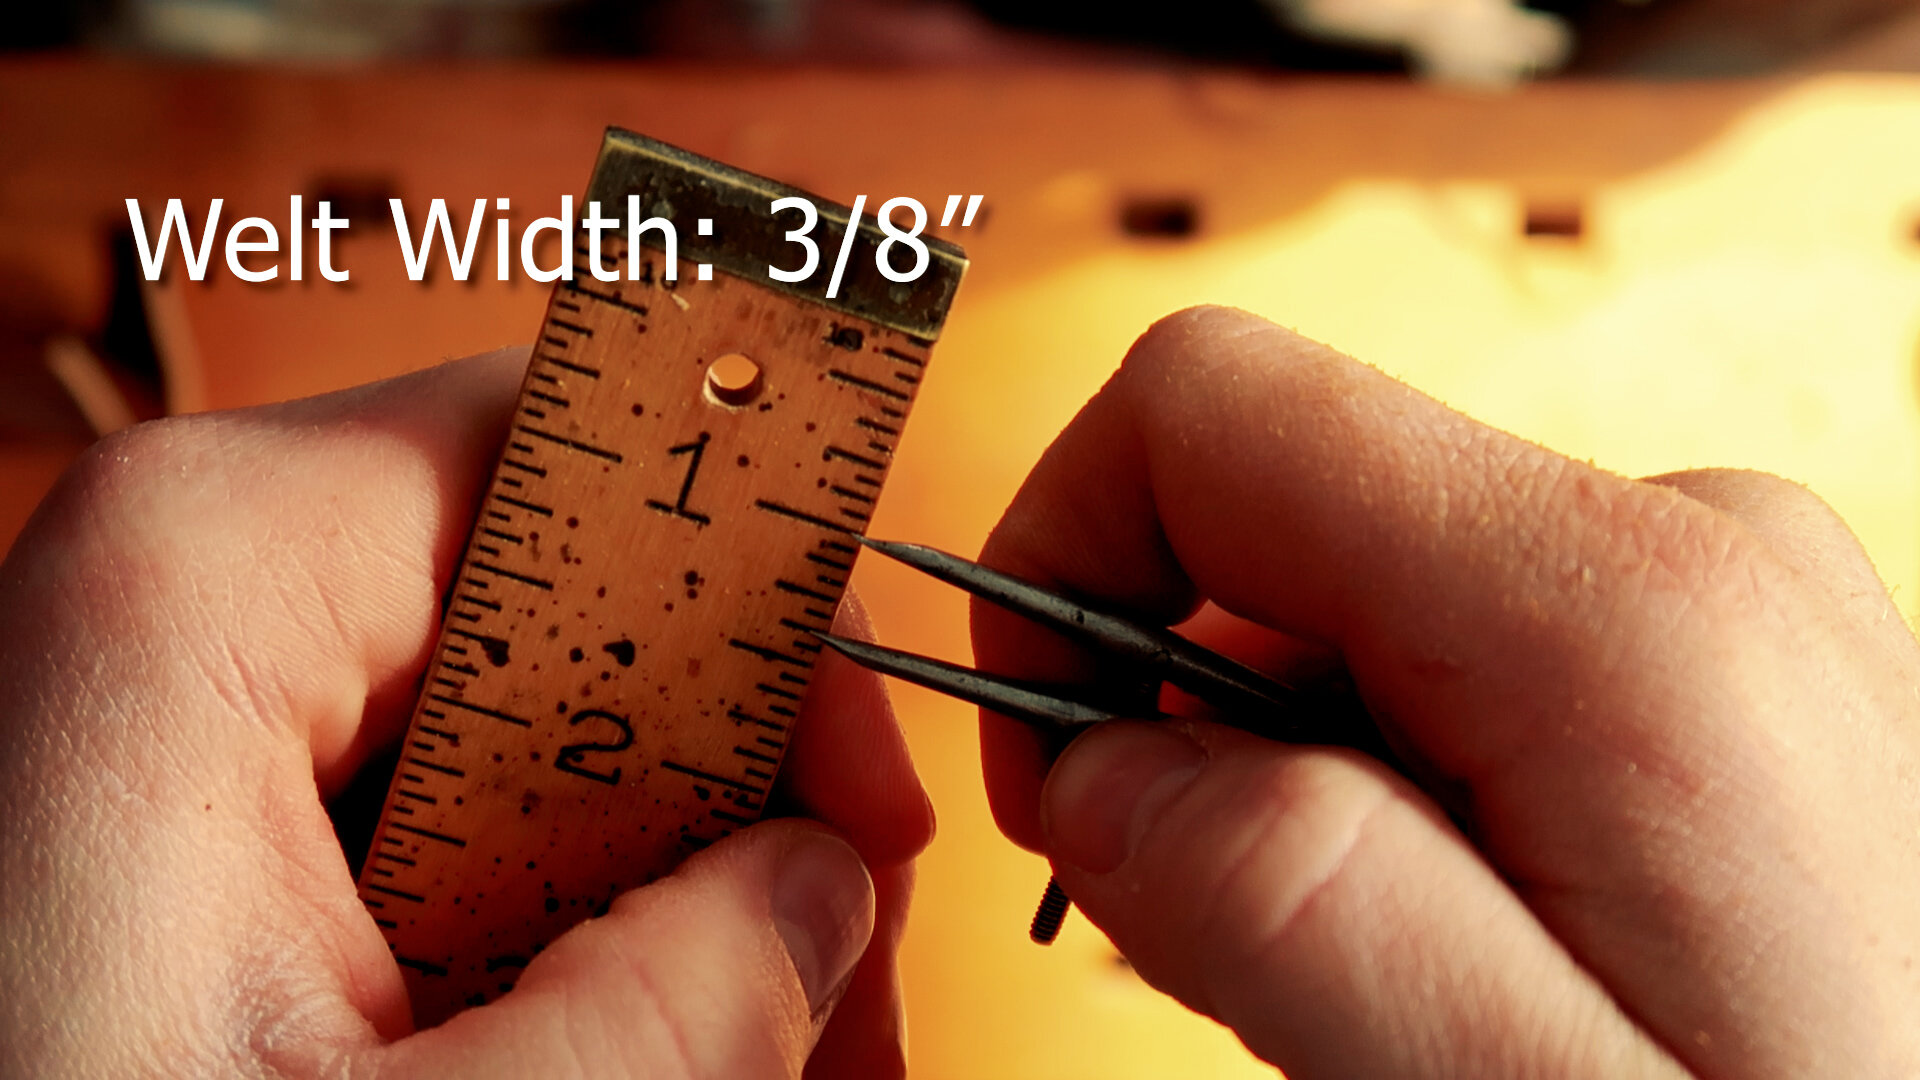
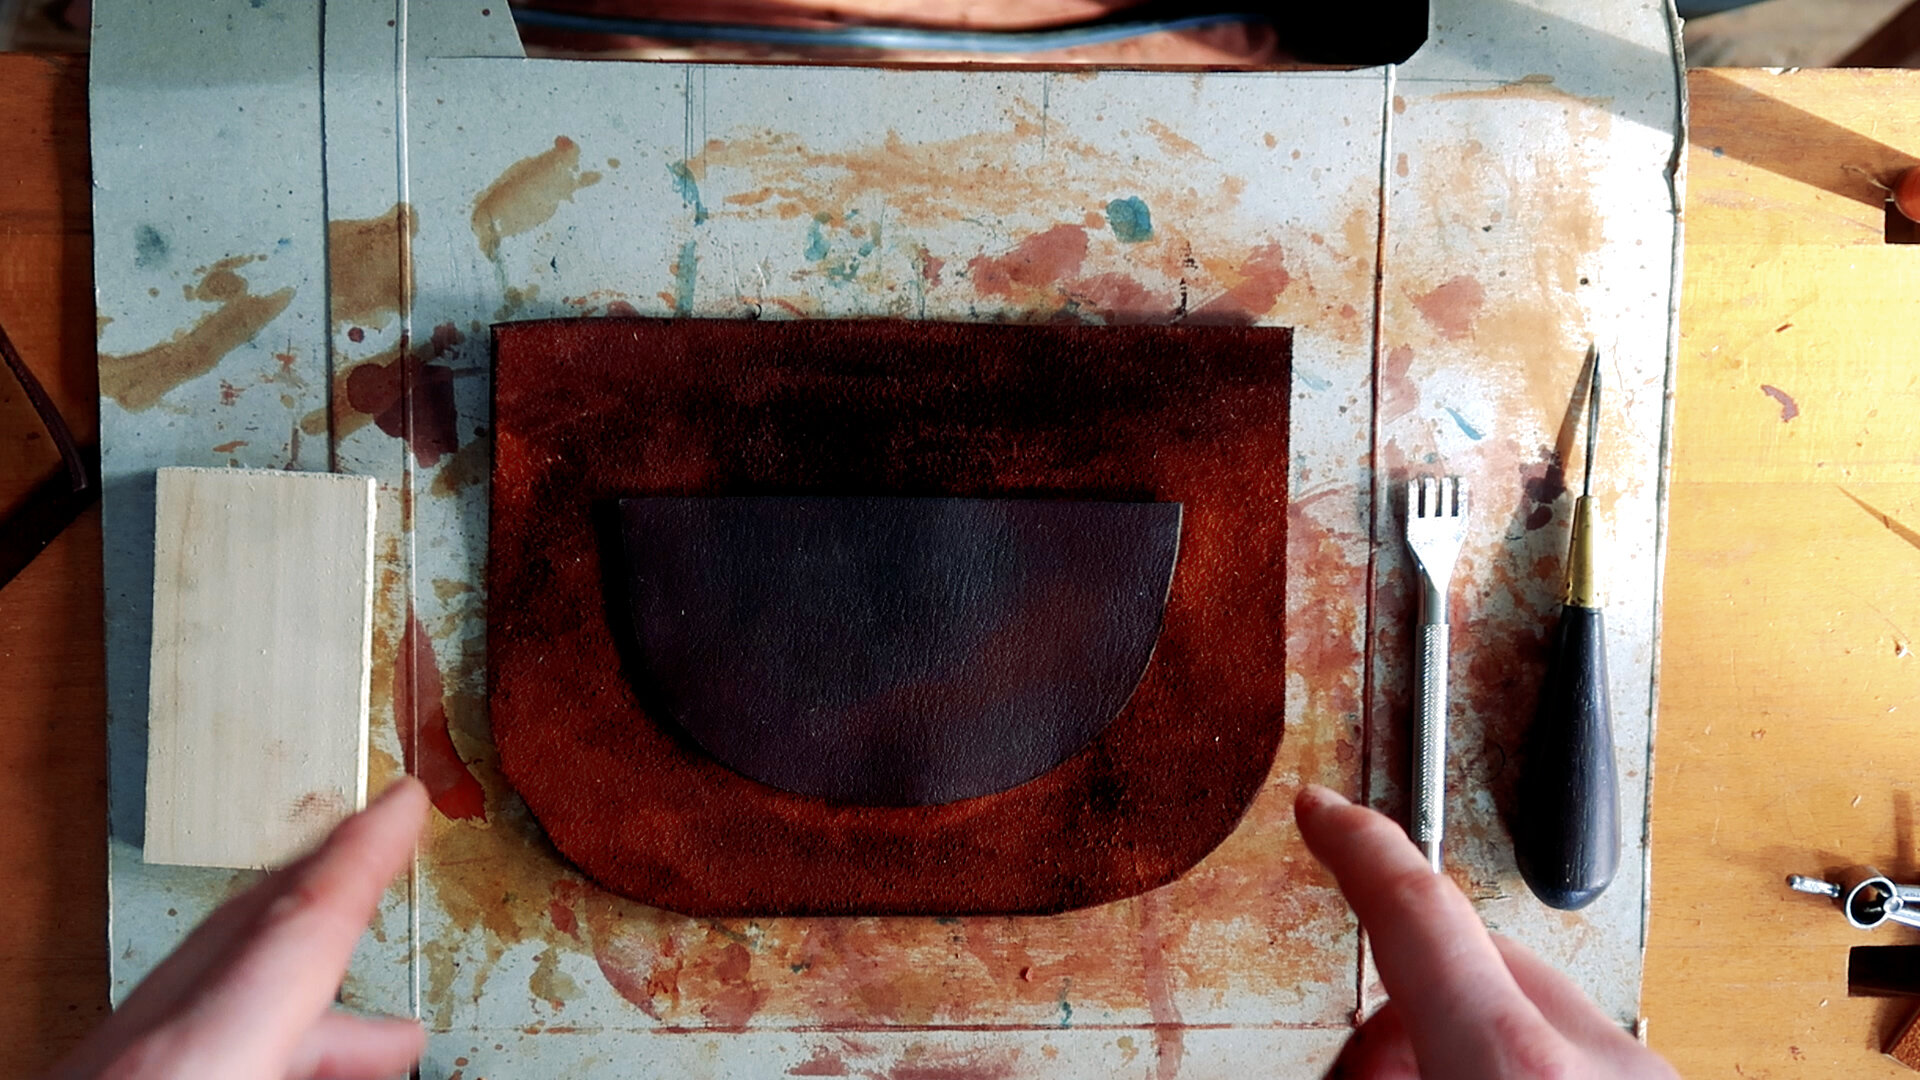
One thing not covered in the pattern is the welts needed to strengthen the inside of the bag, but we’re going to cover the creation of those in this article, as well as the how-to video. First, set your dividers to ⅜”, this will be the welt width for this project. Next, retrace the pouch back pattern onto your large piece of leather. Using the dividers, trace the line you’ve just drawn with one end of the dividers, and allow the other end to go to the inside of the original line, and trace around the line. This will give you a welt that matches the rear of your pouch, and fits neatly INSIDE it. Cut and trim this piece until it matches your desired finish.
We’re going to do the same thing with the pouch flap piece next. Trace another ⅜” wide strip and cut it free of the rest of your leather. Now, set this new welt on your bench and place your pouch flap on top of it, aligning the top edge so that it is even and flat across the top of your bag. Trim any excess leather that you can see on either side of the pouch flap. We will do more trimming later, so don’t worry about making this a perfect cut.
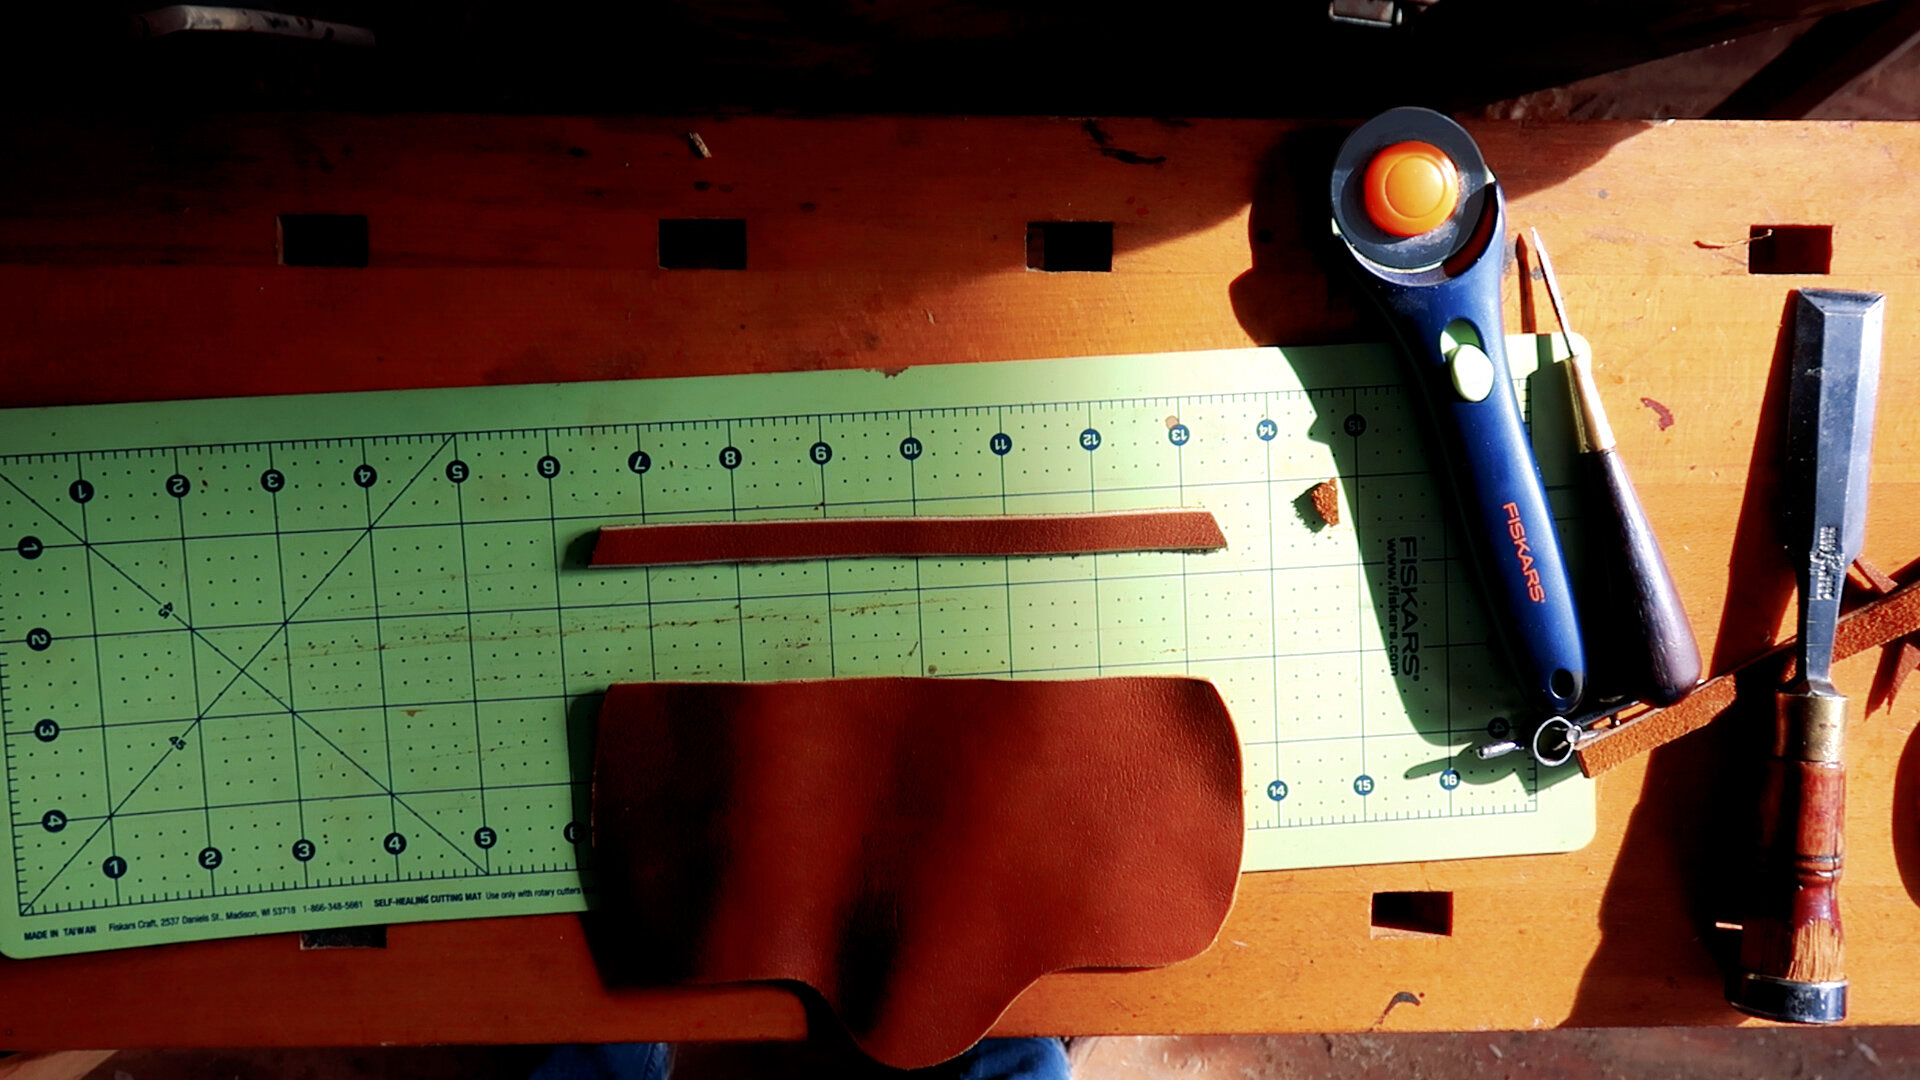

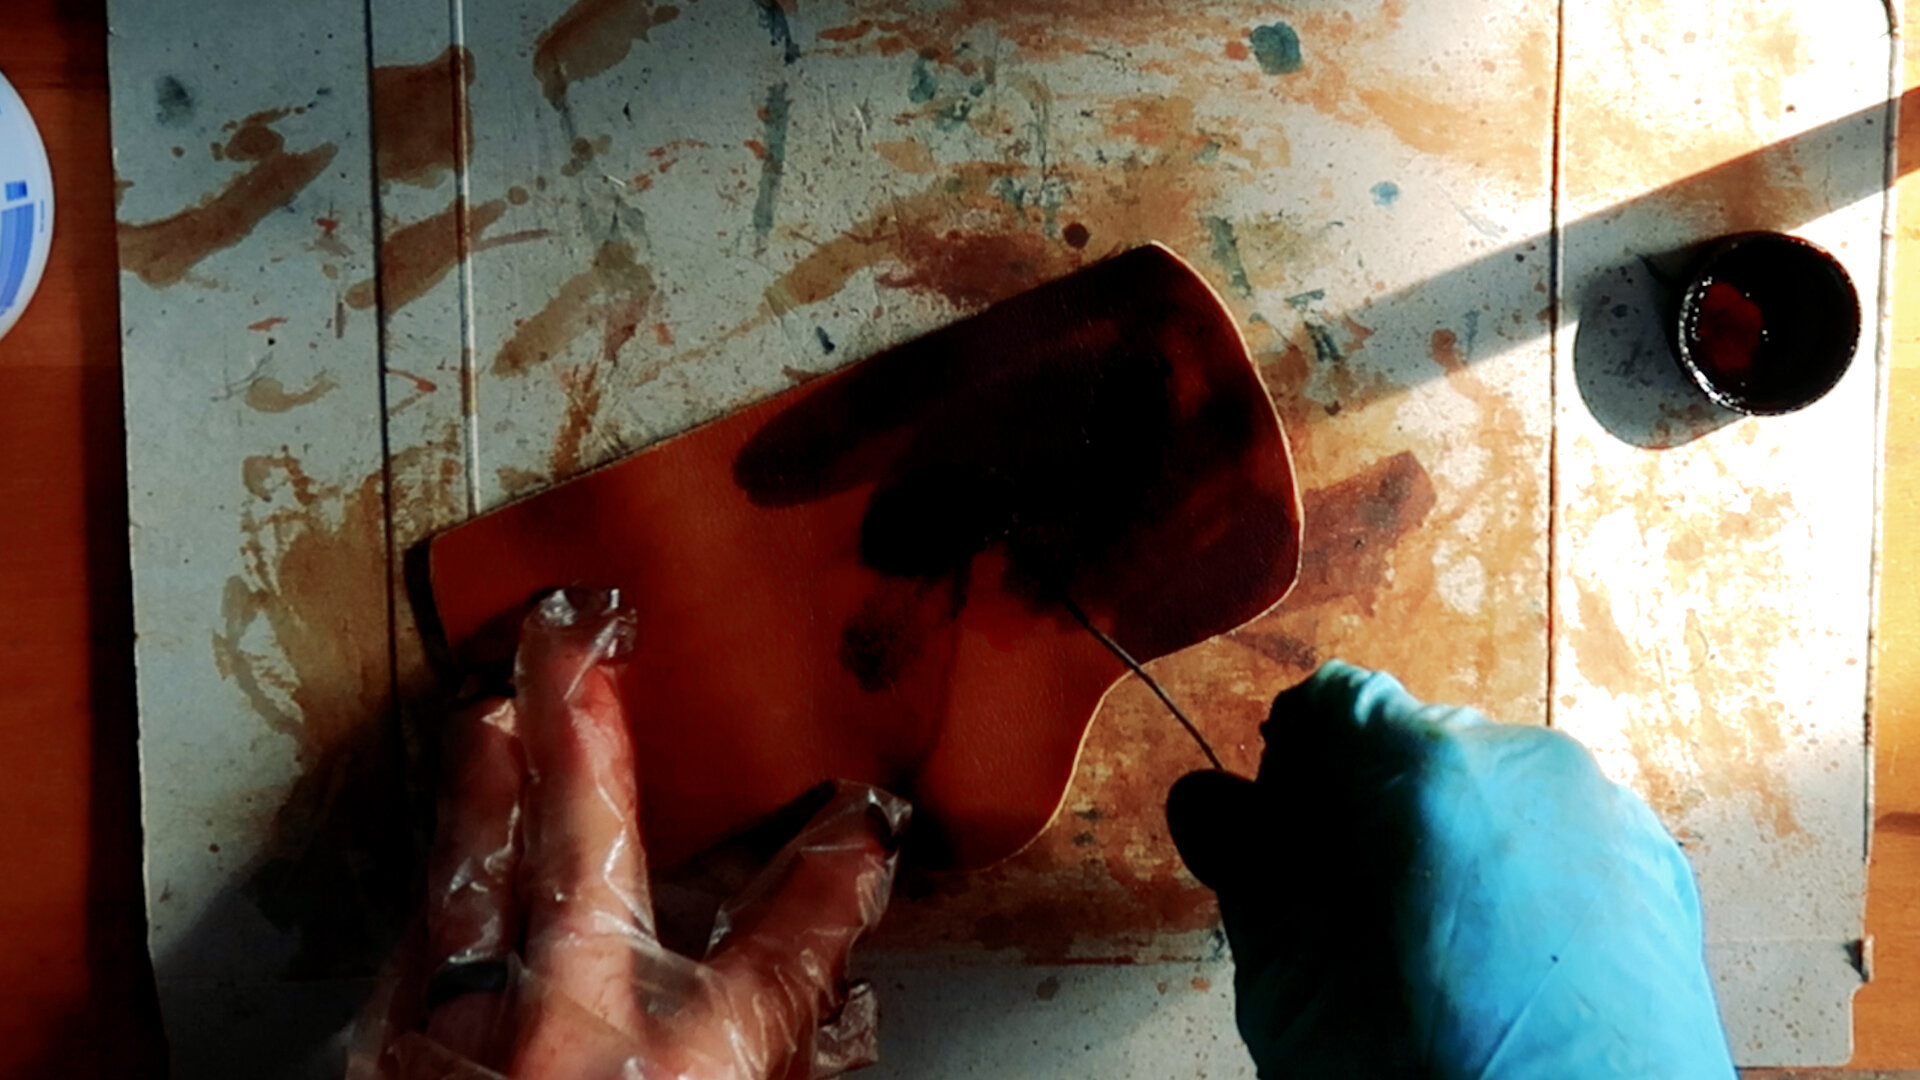
With all of our pieces cut, apart from our strap which will be covered later, it’s time to dye our leather. I’m using Fiebing’s Mahogany split 50/50 with rubbing alcohol for the pouch I’m making. After about 3 coats of dye, I had a nice even color that I liked. I let this sit and dry for about an hour before moving forward.

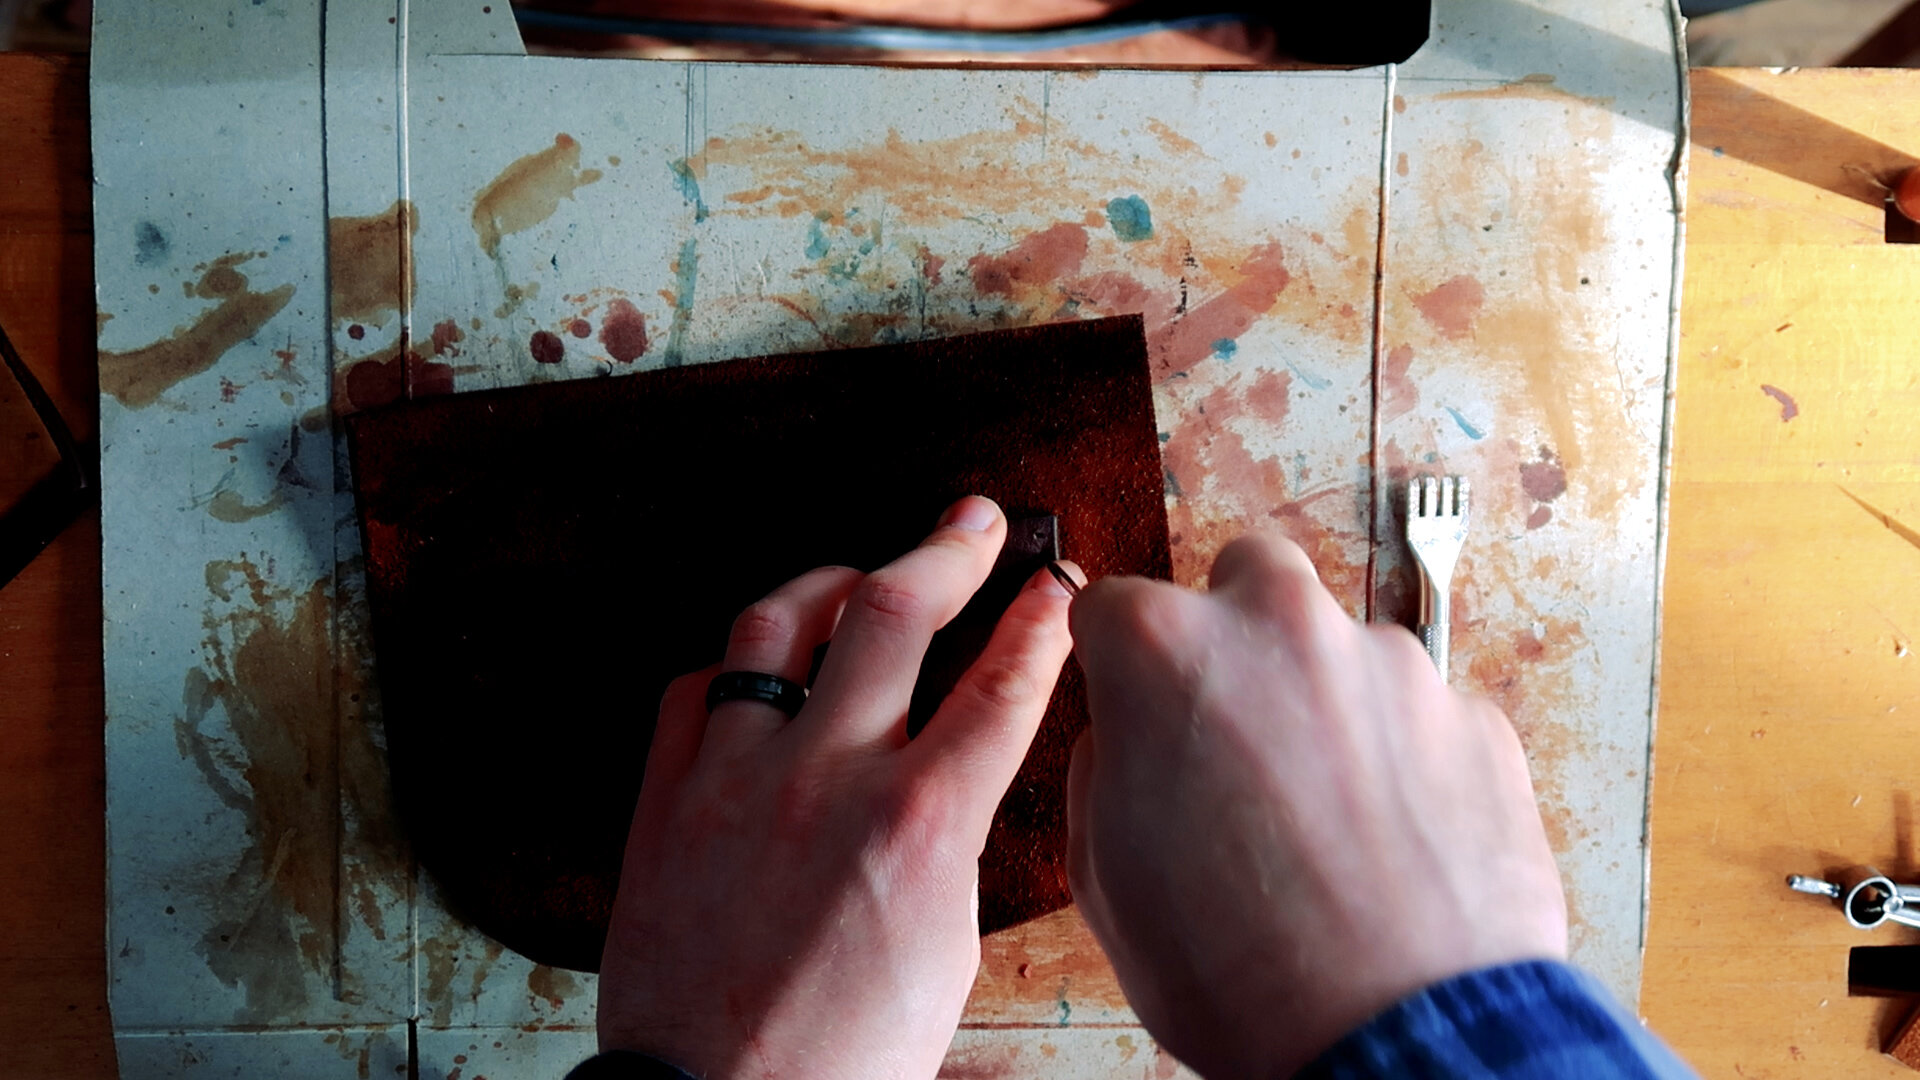
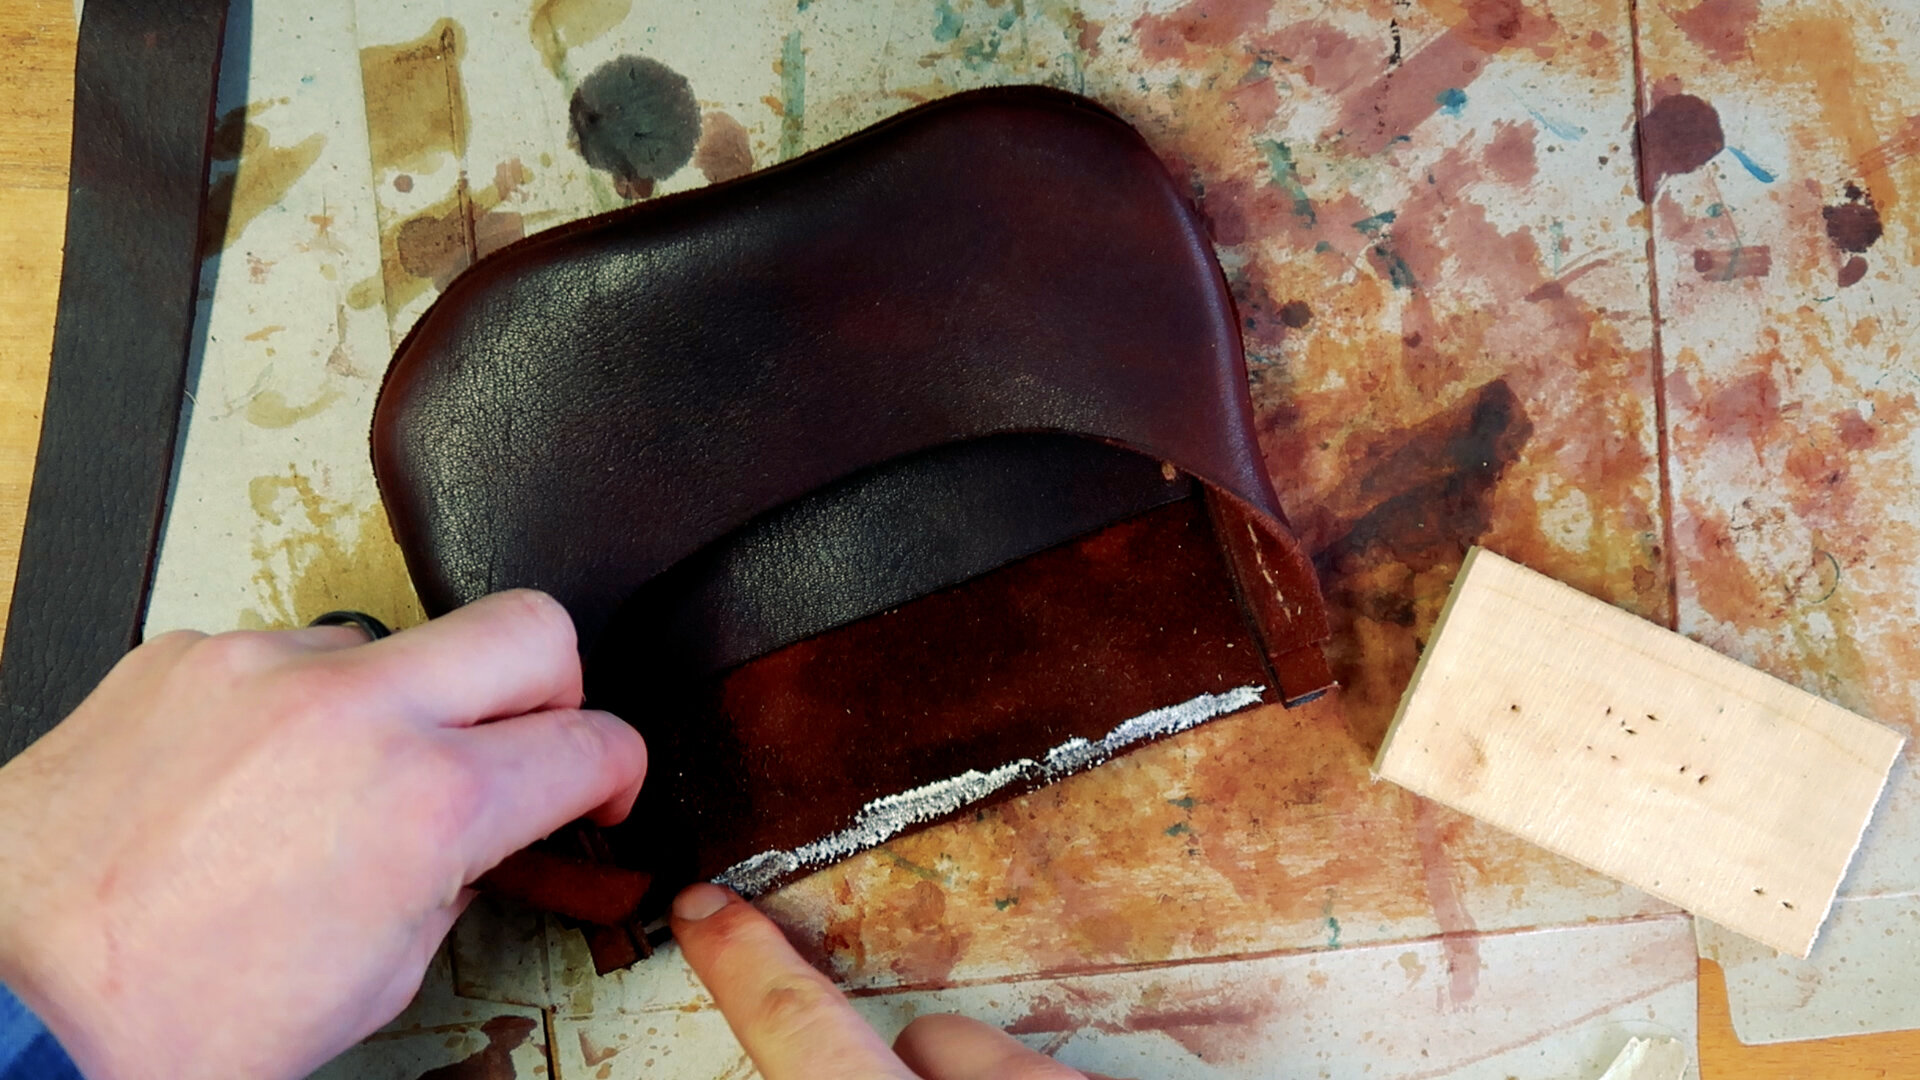
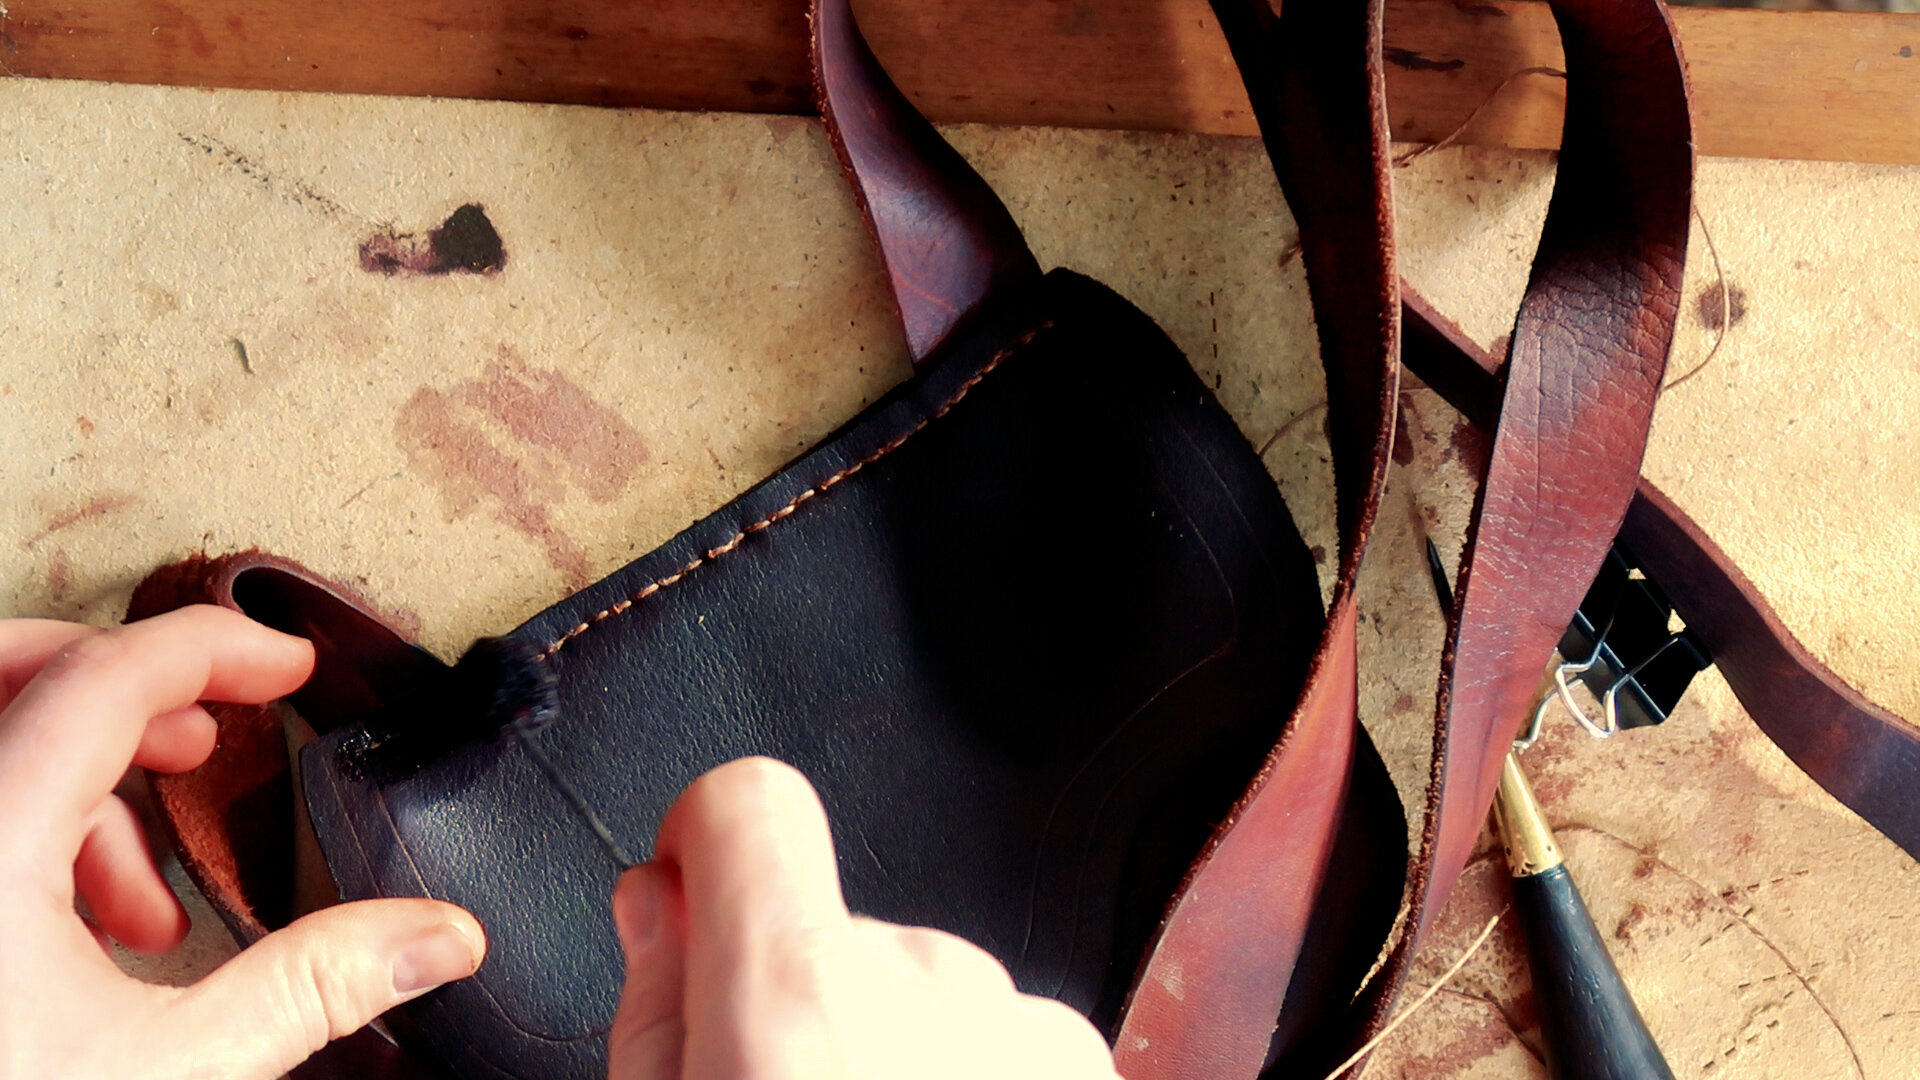
We’re ready to start thinking about assembly now. The top flap and its welt can be set aside for a while as we focus on the main pouch. The first thing to do is attach the small inner pocket sewn to the backside of the main pouch body. In previous videos, I’ve used a little glue to hold pieces together, but this time I want to take a more traditional approach, opting instead for some simple “placeholder stitches” to keep everything tied together while I sew. To make these placeholder stitches, simple punch two holes in each corner, and one pair in the lower center of the pocket, through the back of the pouch. Be mindful of how far from the edge you are when placing these holes. Try to keep them consistent, and around ¼”-⅛” from the edge for a clean look.
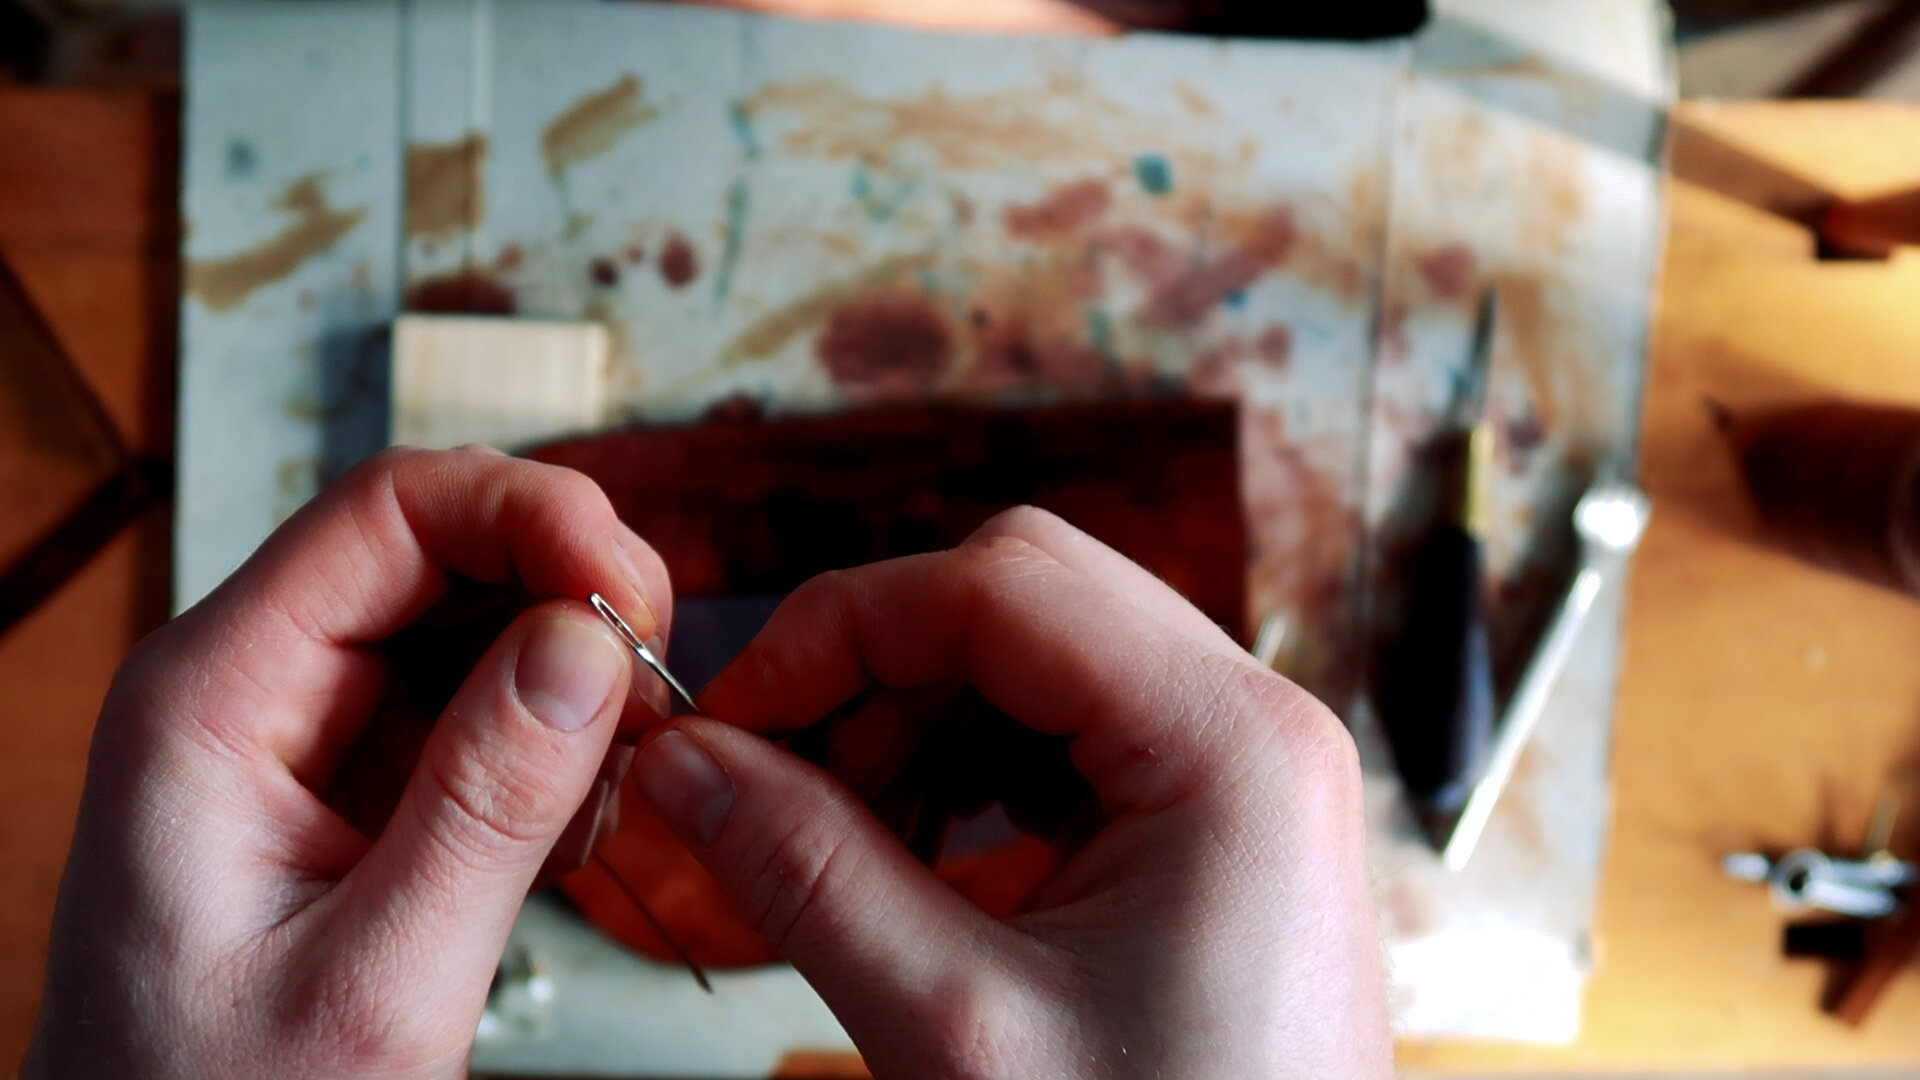
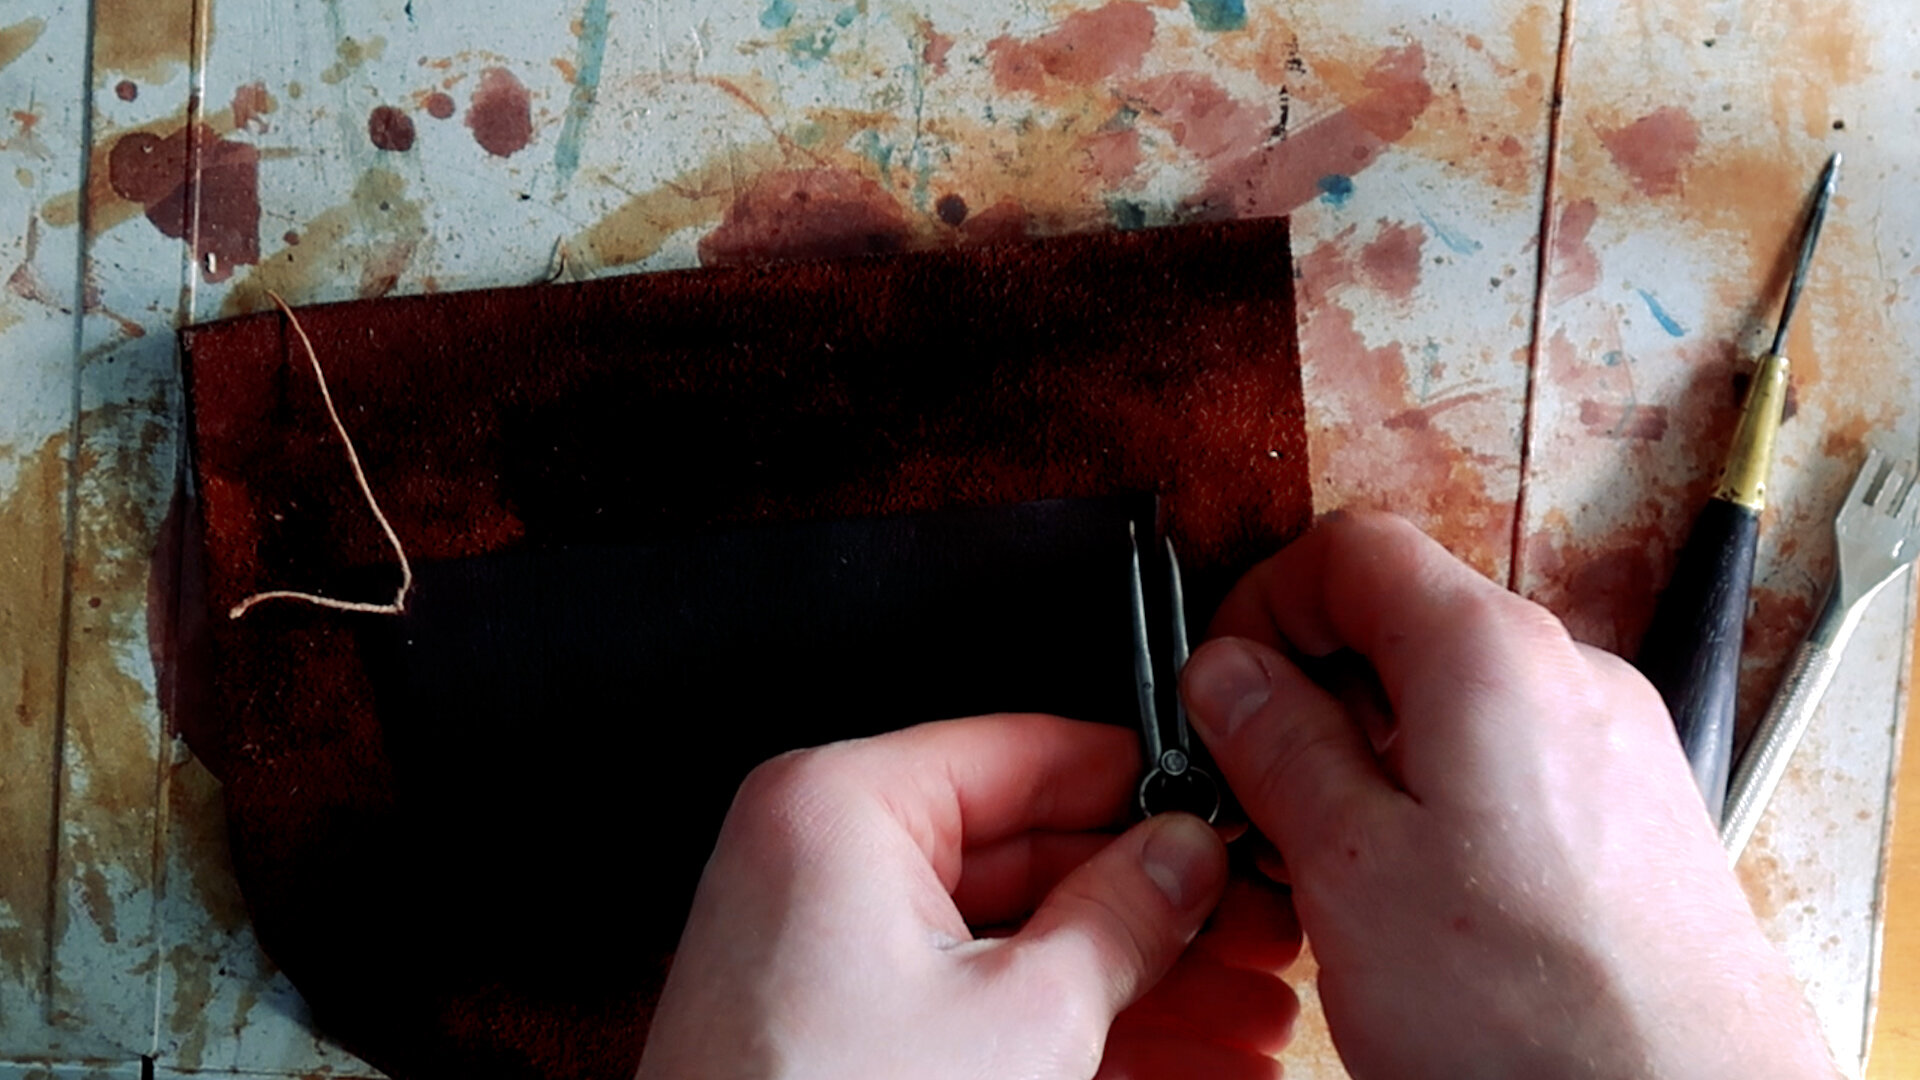

Use your needles to thread a short (6” or so) piece of thread through these holes and tie them down with one half of a square knot. Repeat in each set of holes and you’ll have a steady and clean set of parts ready for more hole punching.
To keep my punch holes evenly around the pocket, I match my dividers to the width of my placeholder stitches and scribe around the pocket, aligned with the pocket edge. If you aren’t perfectly even all the way around, don’t sweat it, you connect your divider lines with your placeholder stitches by hand to hide any slip-ups.
Now we can go around the pocket and punch the rest of our holes with our awl and stitching chisel. If you have trouble doing this by hand, try using a 1/16” drill bit in a power drill or drill press to punch your holes. As long as you follow your guideline and take your time, you’ll have a nice set of holes to start stitching. To start stitching, release one of your upper placeholder stitches and set the thread aside, they will be used later. Starting with the holes that used to hold your first place holder stitch, pass your needles through and begin your saddle sewing process to attach this pocket.


Saddle stitching, where both ends of thread pass through every hole, might take a little longer than stitching once through each hole, but I find the saddle stitch looks nicer and its durability is unmatched. Just like our other leather projects, when I start sewing, I’m using 4 to 5x the length of the stitched line in thread. This will always leave you with some extra thread and will keep you from having to splice thread in.

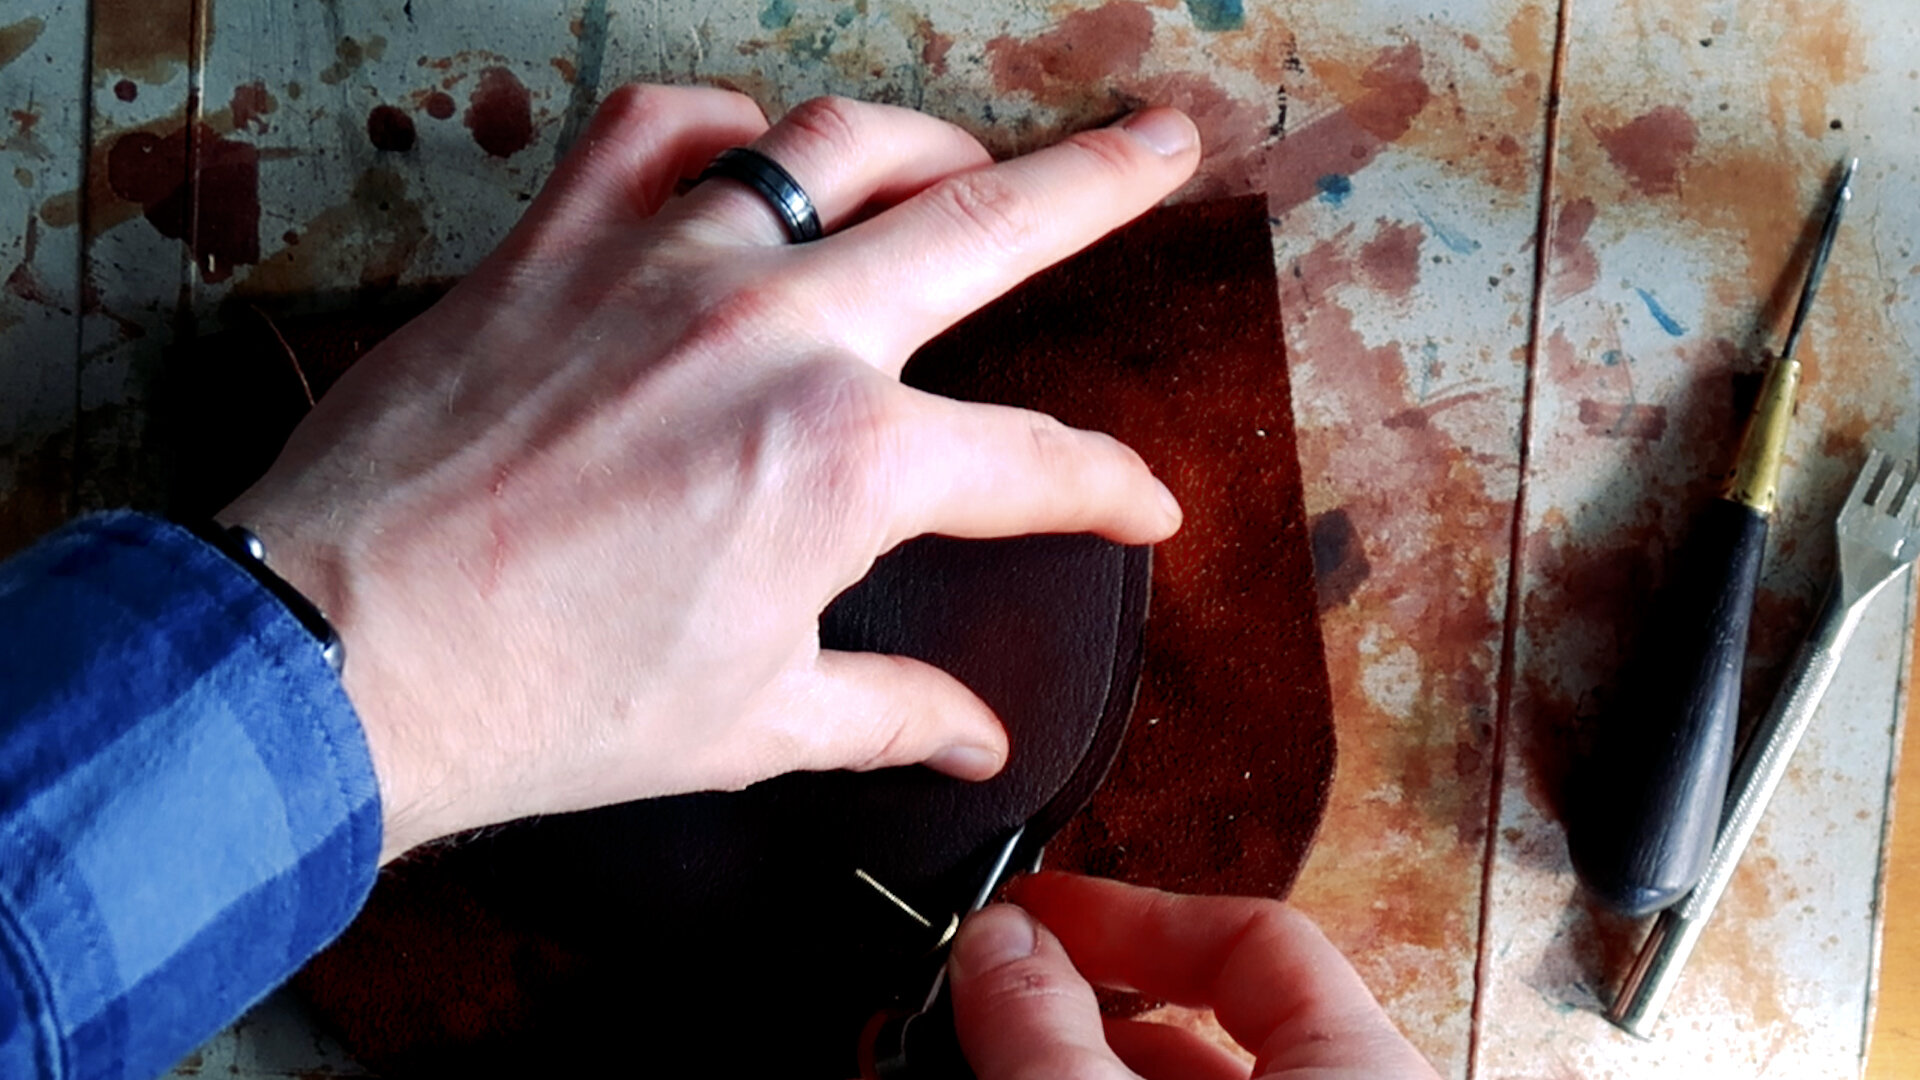
Moving forward, it’s time to build our bag in reverse for the main body stitching. This is always something I find a little difficult, but with enough practice I’m sure it will get easier. Because the stitching for this bag will be inside the pouch, we’re going to stitch the bag inside out. Start by placing the back of the pouch with the pocket side down on your bench. Then place your welt in line with the edges on top of the back side of the pouch. The side of the welt that is facing up when in this position will face forward when the bag is done, so if you want the smooth side facing the front of the finished bag, place the welt with the smooth side facing up. Finally, place the front pouch section,with the outside face down to the bench, on top of the stack. The smooth faces of each the back and front of the pouch sections should be facing each other, with the exception of the welt. See the video at timestamp 13:00 to see how I layer the bag.

Now, we’re going to punch a few holes for placeholder stitches on the bag. One at each top leg of the front pouch face, one in the center at the bottom, and one at 8 o clock, and one at 4 o clock on each side. Be sure to punch all the way through all three layers of leather with your awl. Just like the pocket, I’m keeping these holes about ⅛-¼”” in from the leather edge. This gives us a pleasing, compact stitching job that gives us as much room in the bag as possible. Stitch and tie your temporary stitches in each of your holes and secure any loose areas with some binder clips to keep the bag together while you begin cutting your other stitching holes. I like using my dividers to score a line for my stitching, but it can be hard on the suede side of the leather, using a marker or white charcoal pencil will help make the line easier to see.

When I’m stitching a multi layer bag like this that needs to stay together, I’ll stictch through all the layers in sections. For this bag I’m stitching in ⅓ incriments as I go around the bag. This keeps everything in order and lets me remove clamps only when I need to.
Using our 4-5x length of thread, saddle stitch through the 3 layers, all the way round the bag. Be sure to pull each stitch tight as you sew, you can’t apply enough force to tighten a stitch 6 stitches back, and you don’t want any weak points in your bag!
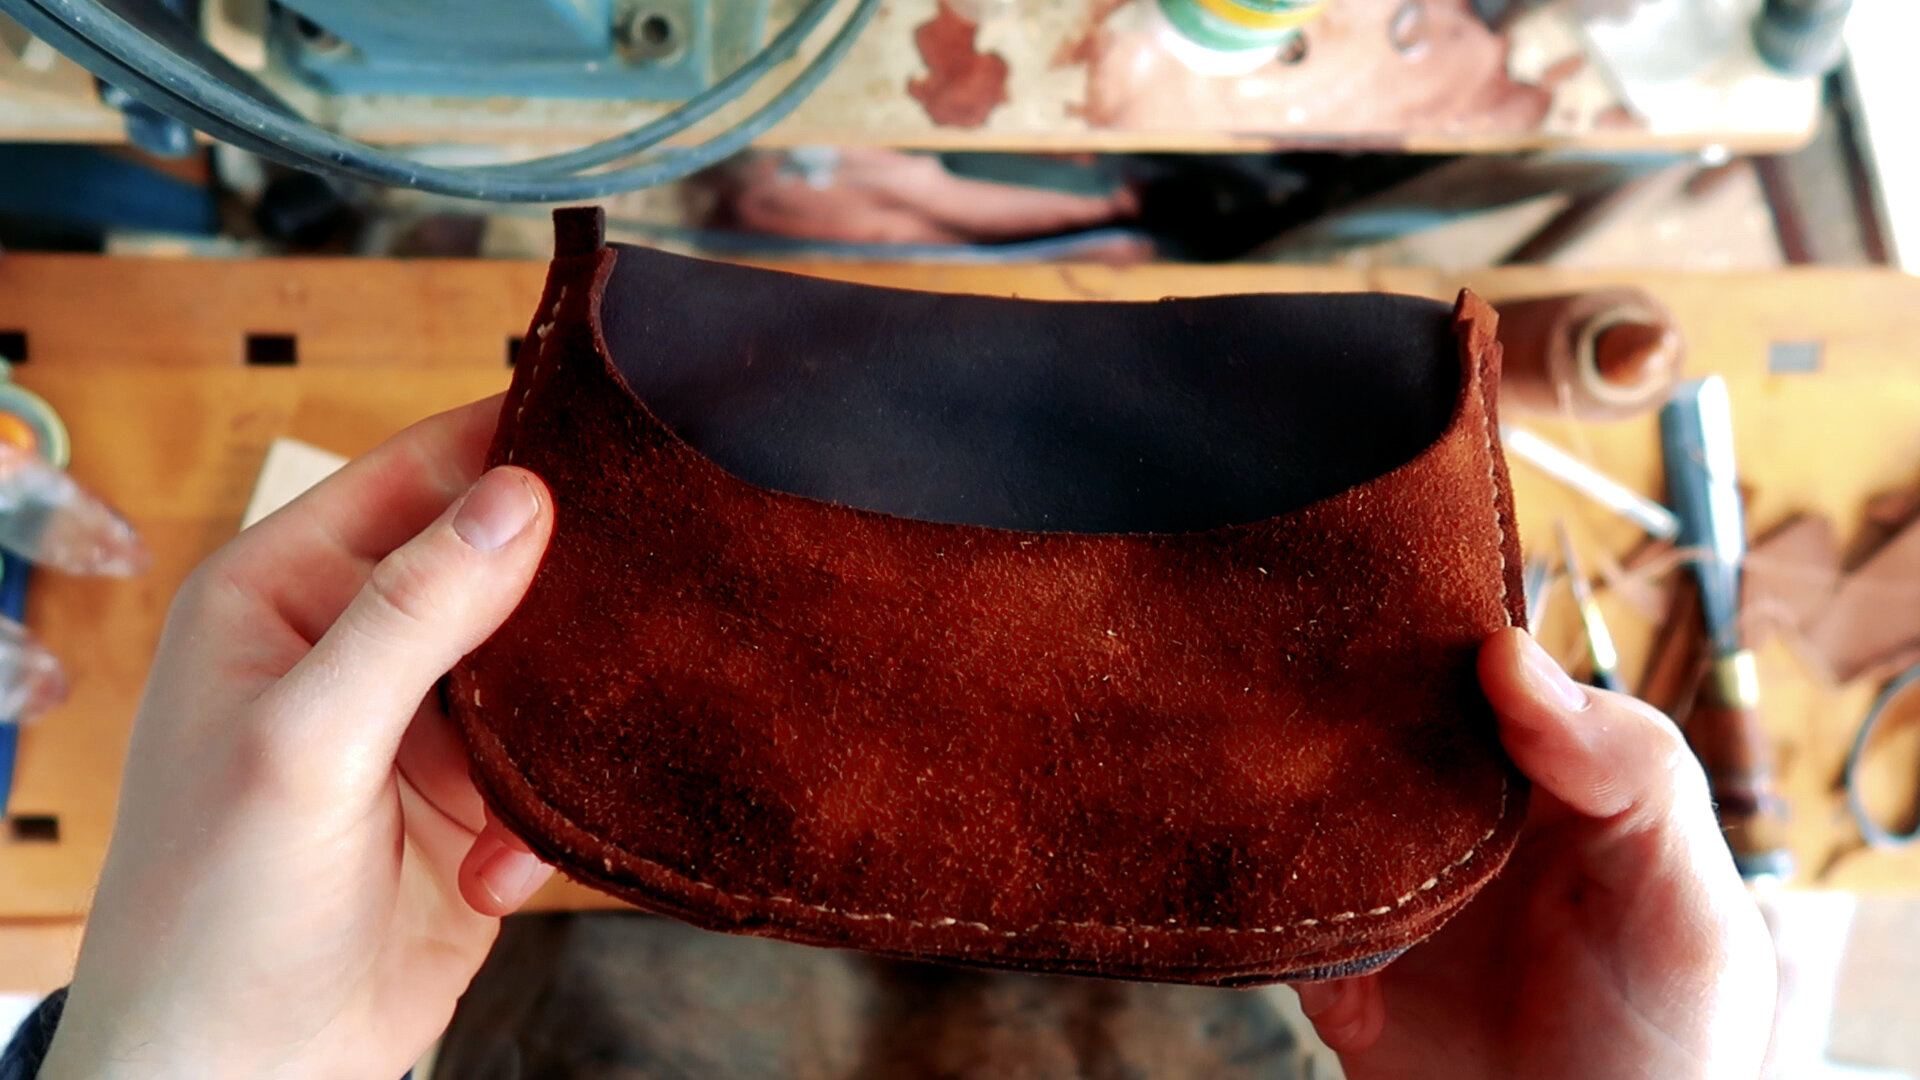

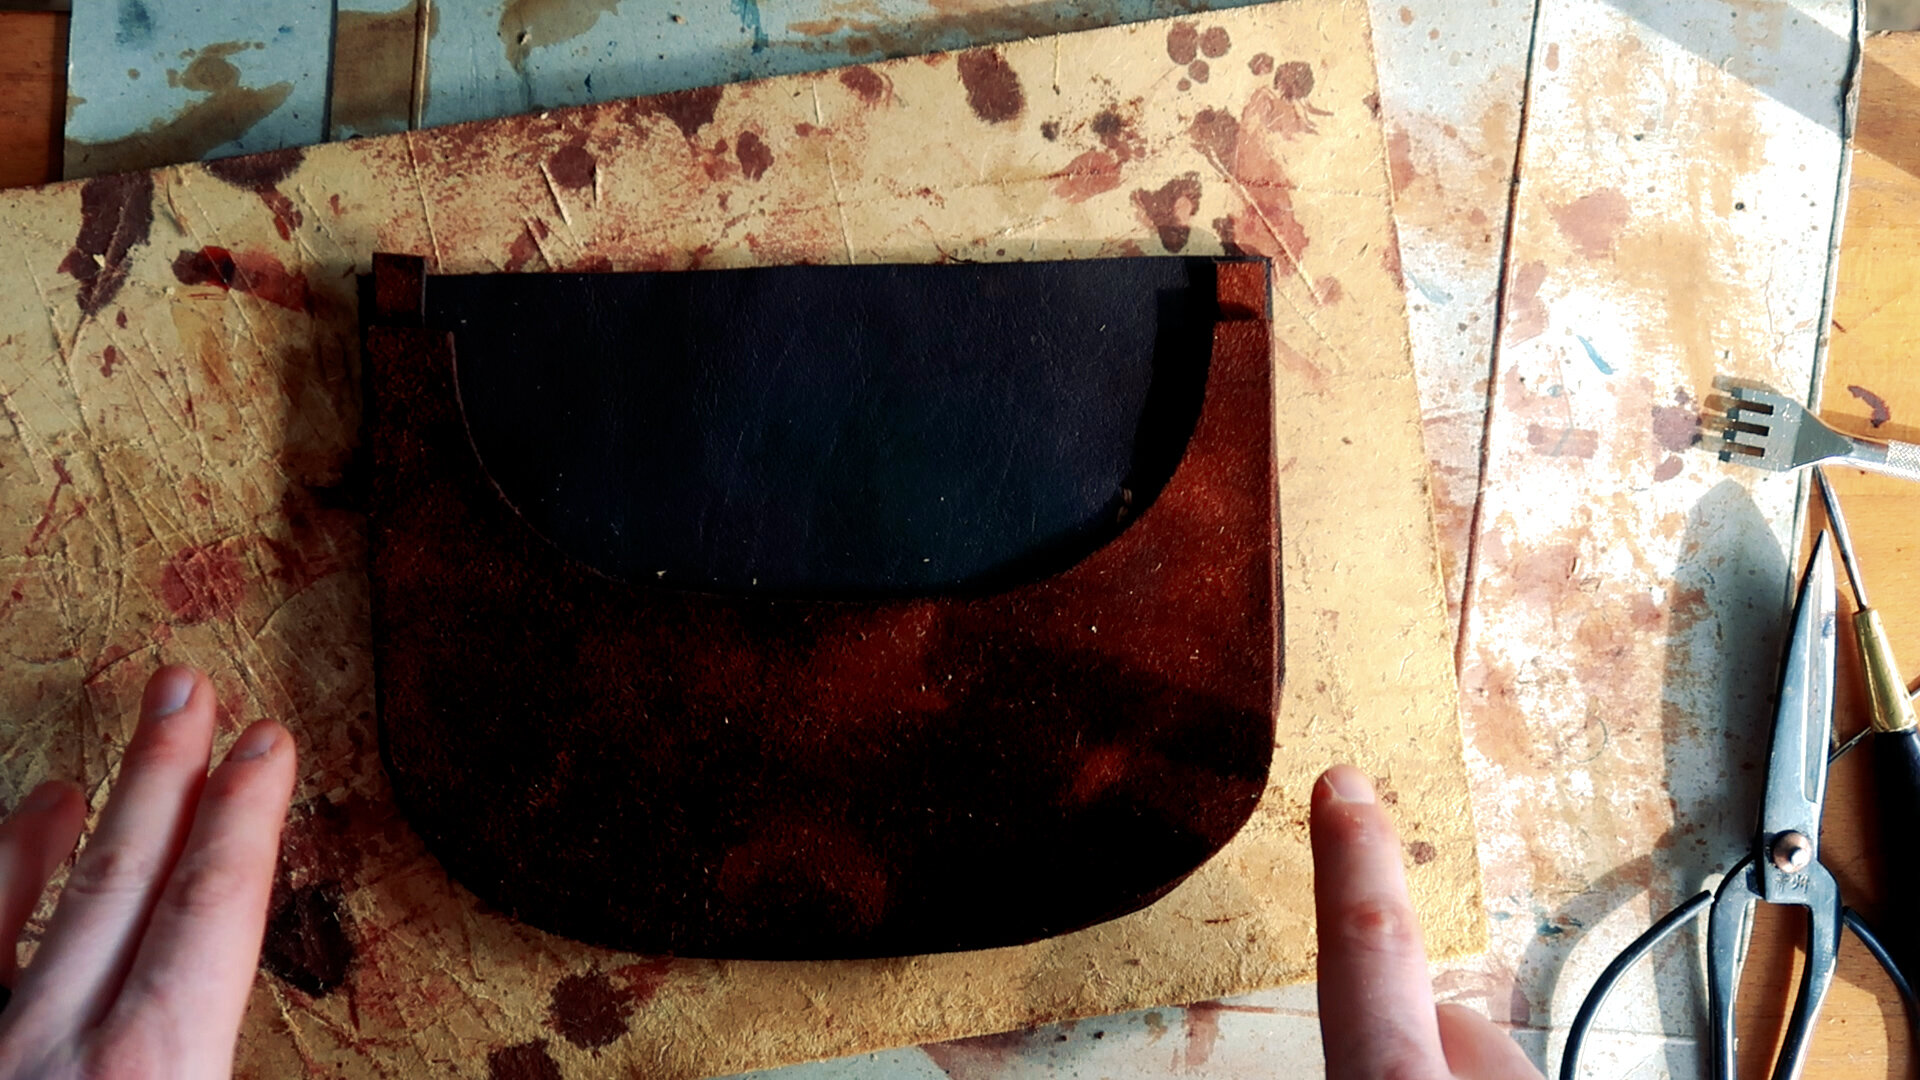
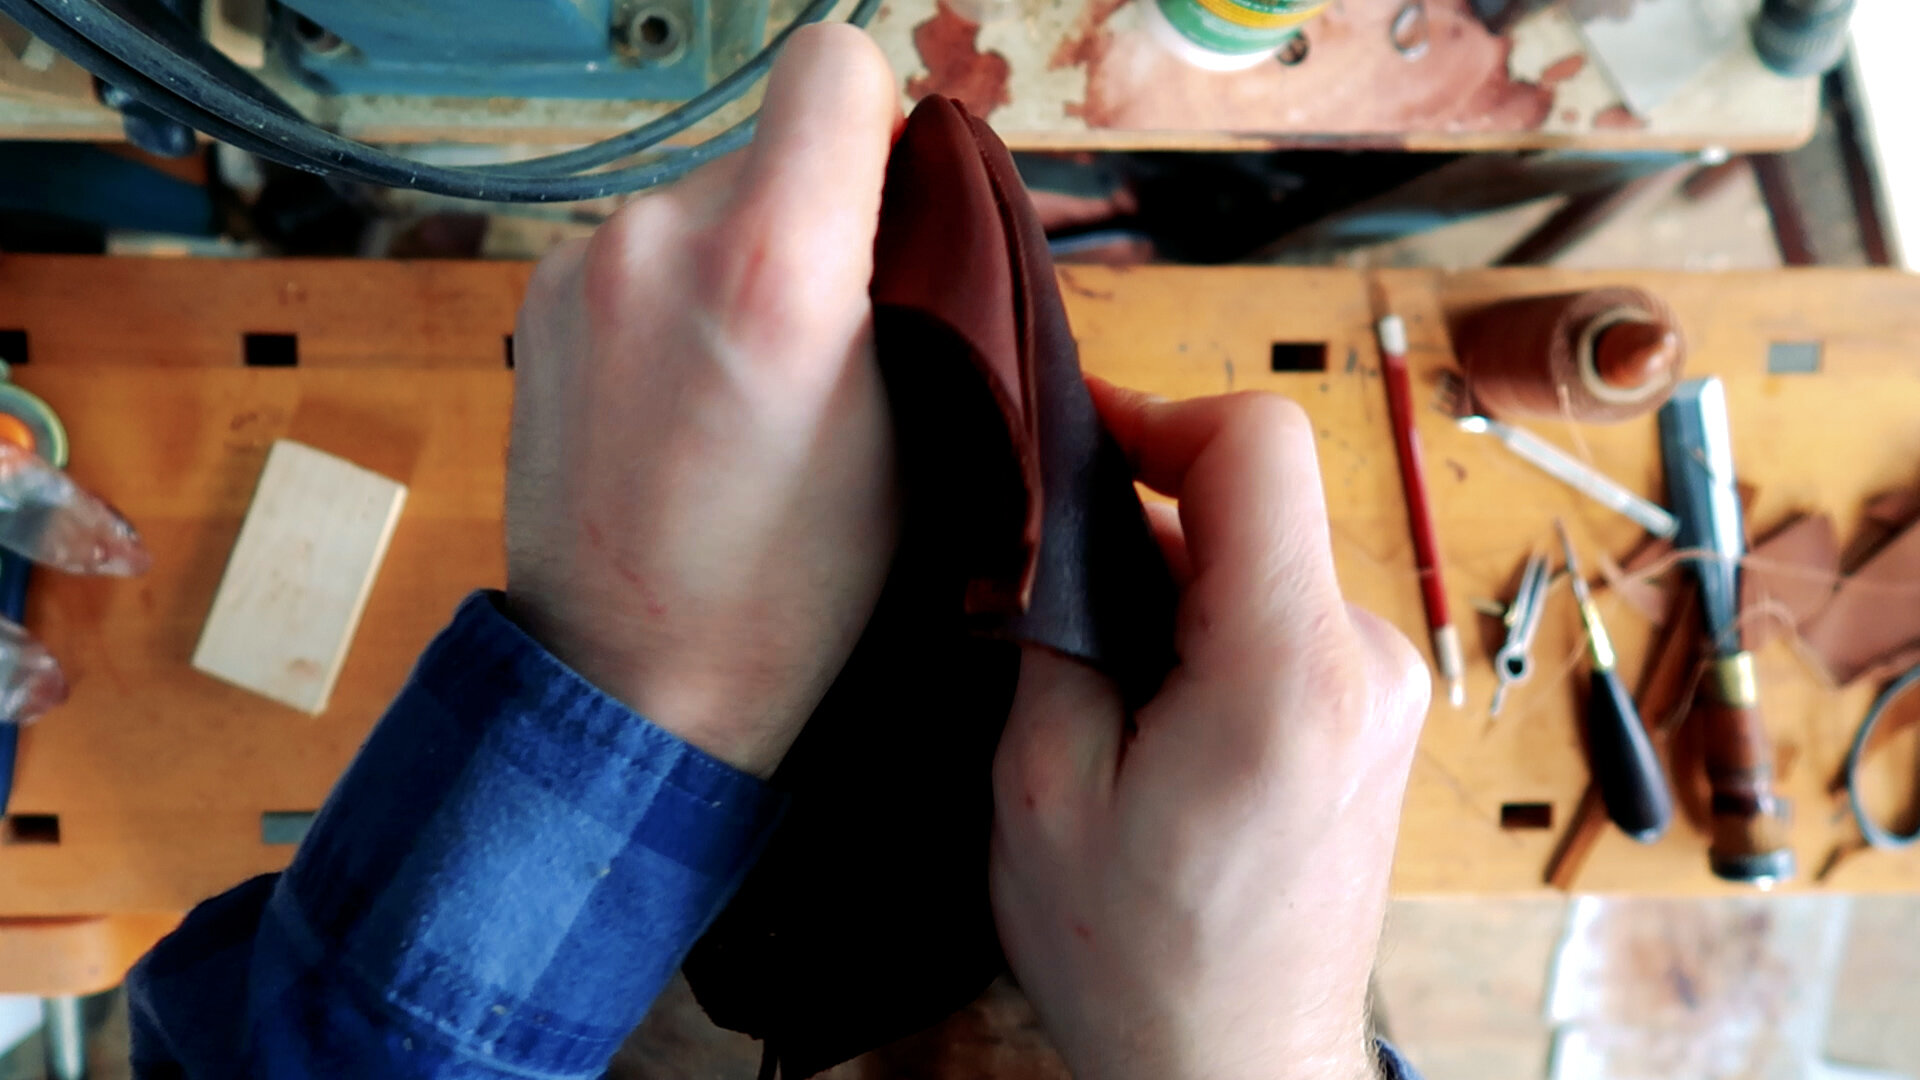
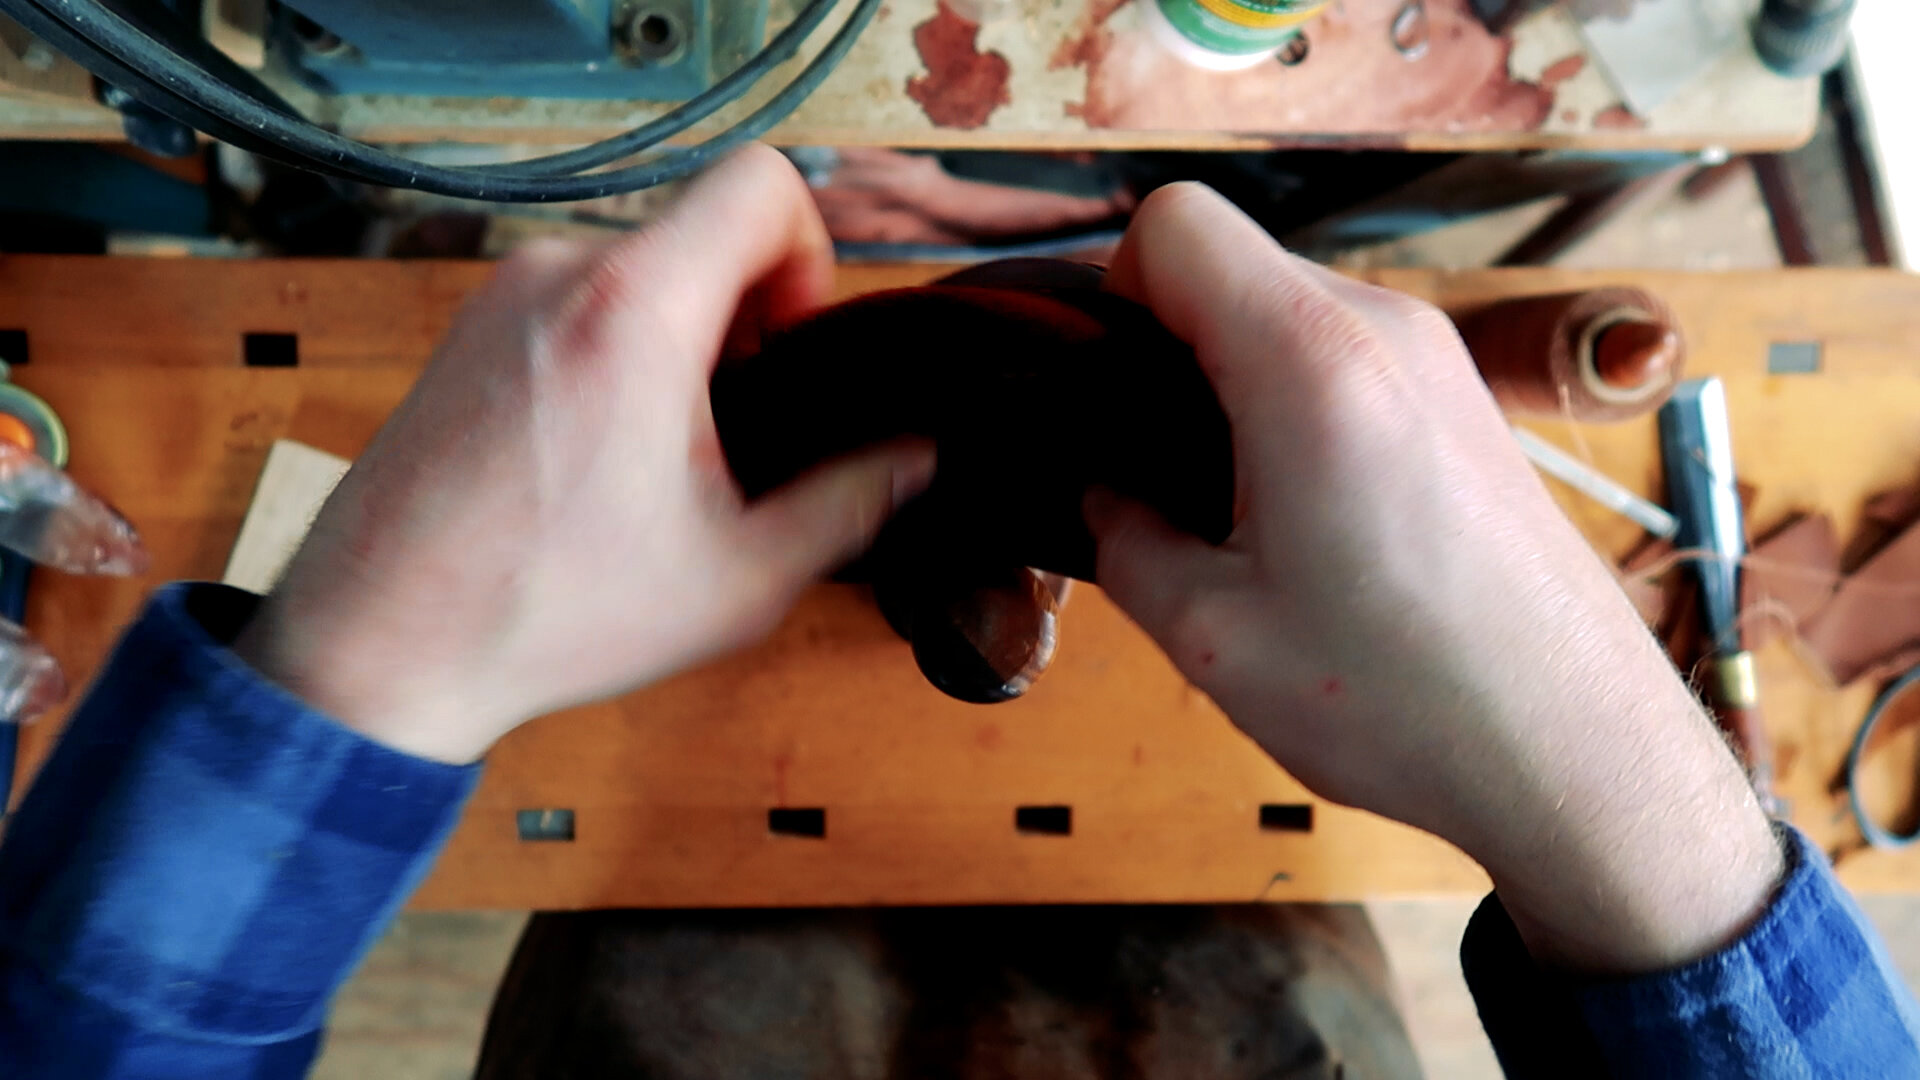
This is what the bag looks like when you complete the main body stitching. Now we’re going to flip this bag inside out and hide our nice stitchwork. This bag is fairly small and can be difficult to invert, start with your hands and begin rolling the top of the bag around the bottom. You’ll make a hotdog shape with your leather when you reach the halfway point. I like to use the wooden handle of a hammer or mallet to push the bag the rest of the way and clean up any messy folds or lumps that are too stubborn to get out by hand. As long as you saddle stitched your bag, and the leather is solid, you won’t run a risk of breaking or tearing the bag, so don’t be afraid to put your back into it.
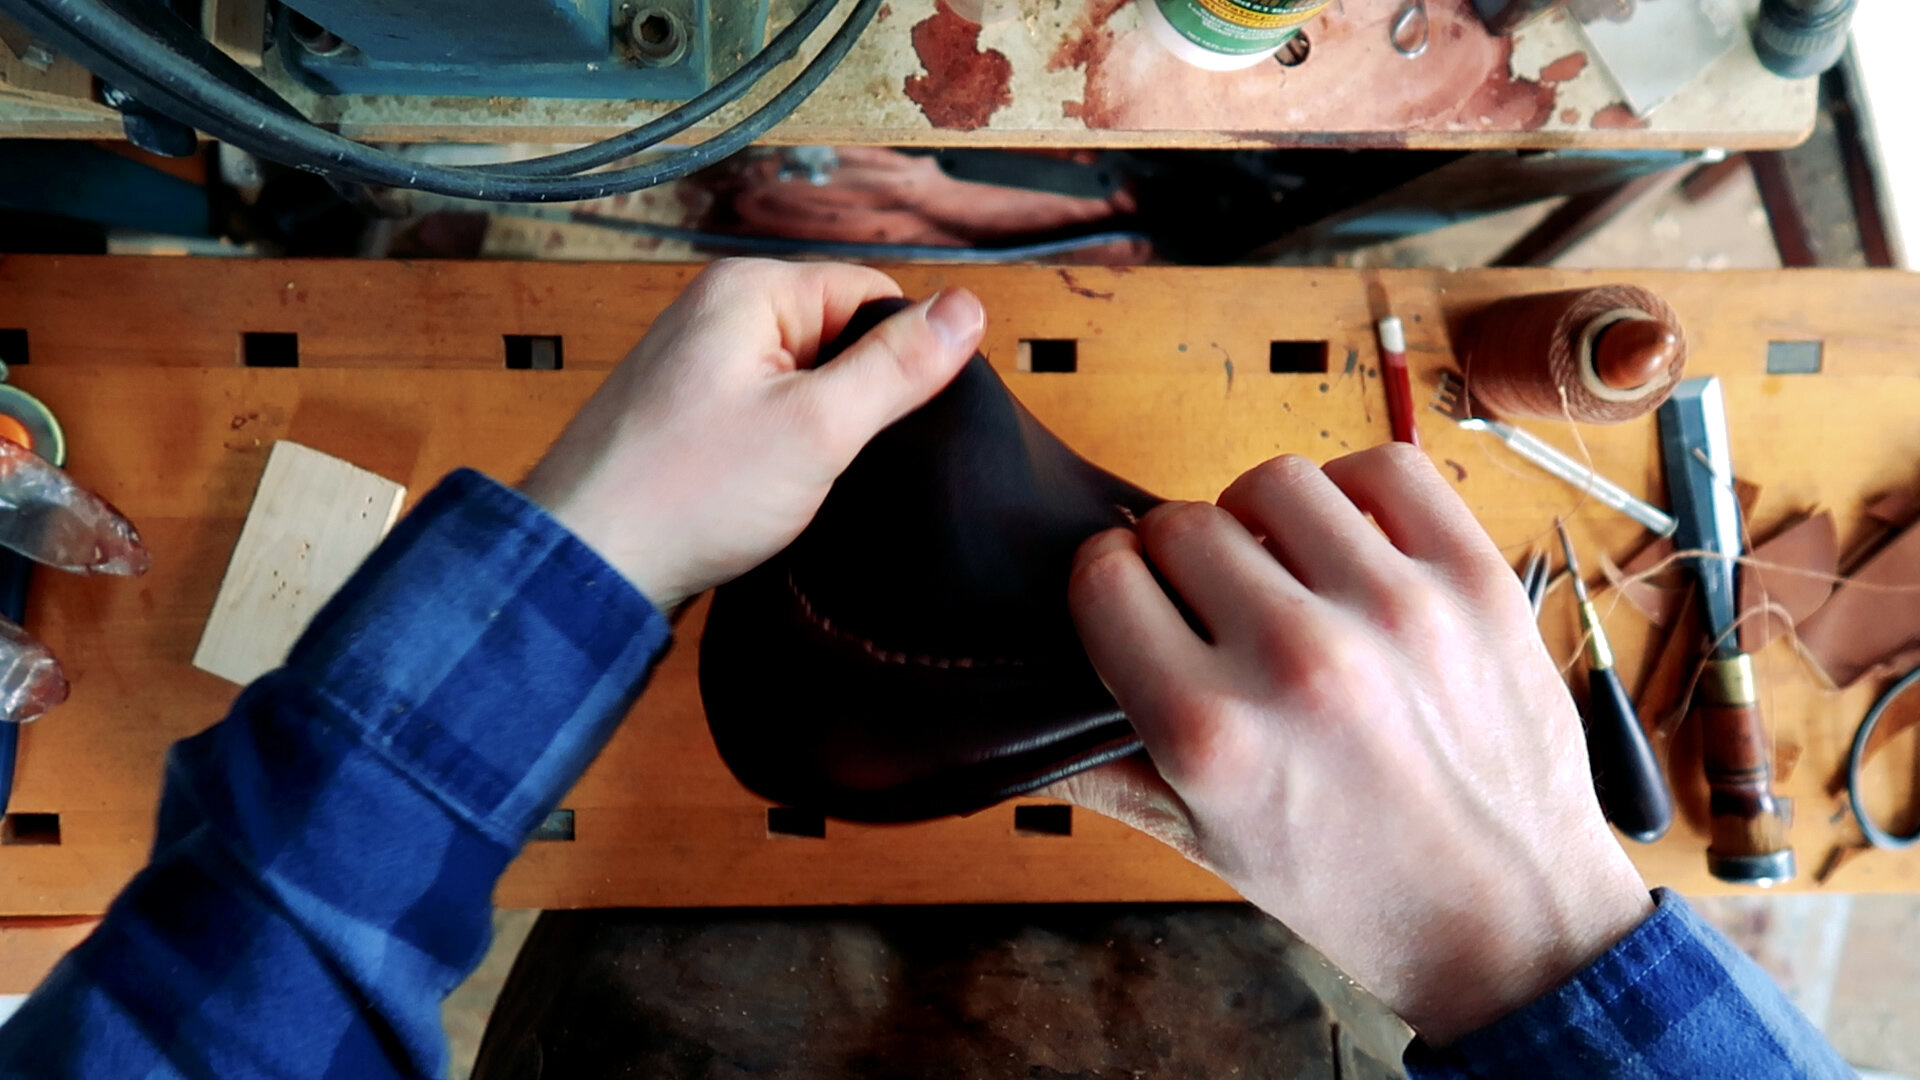
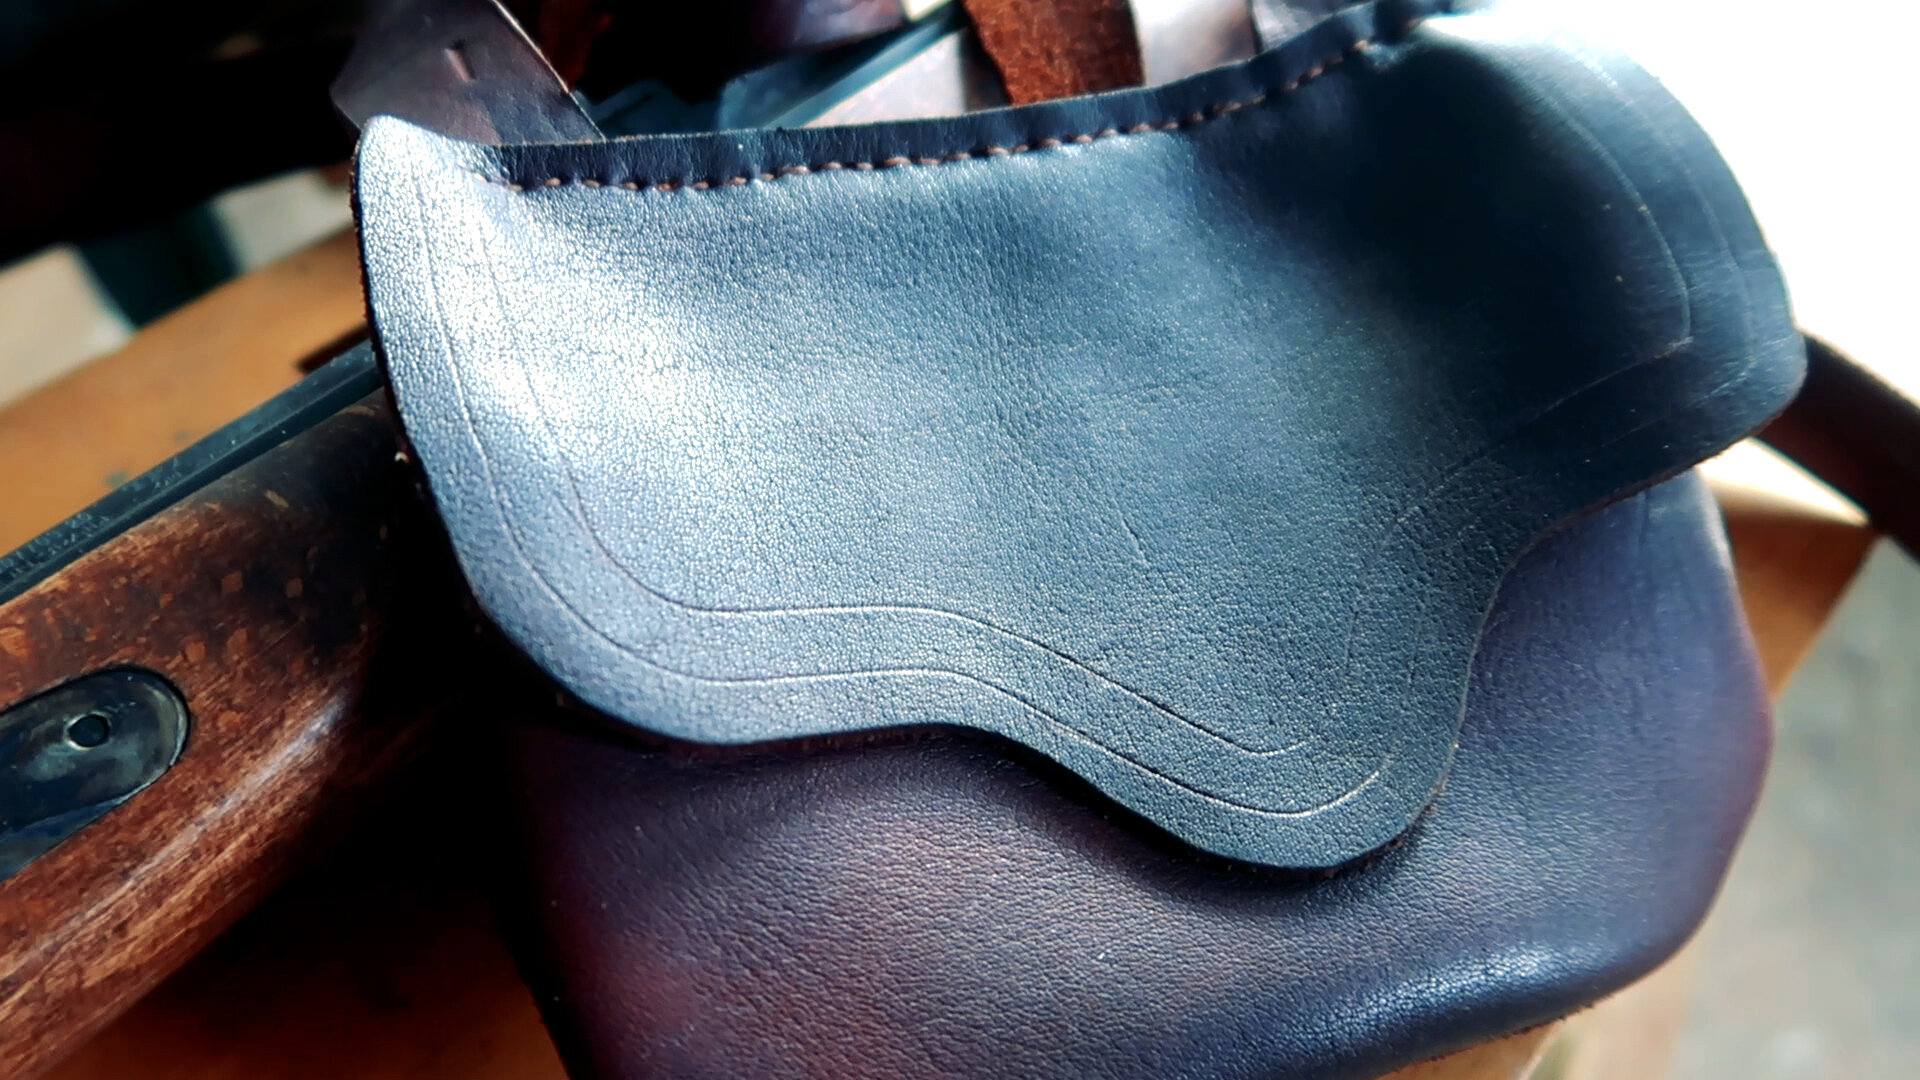
Here we have the main body of the bag done, now we can finally see what that flat pattern turns into when we bring it into 3D space.

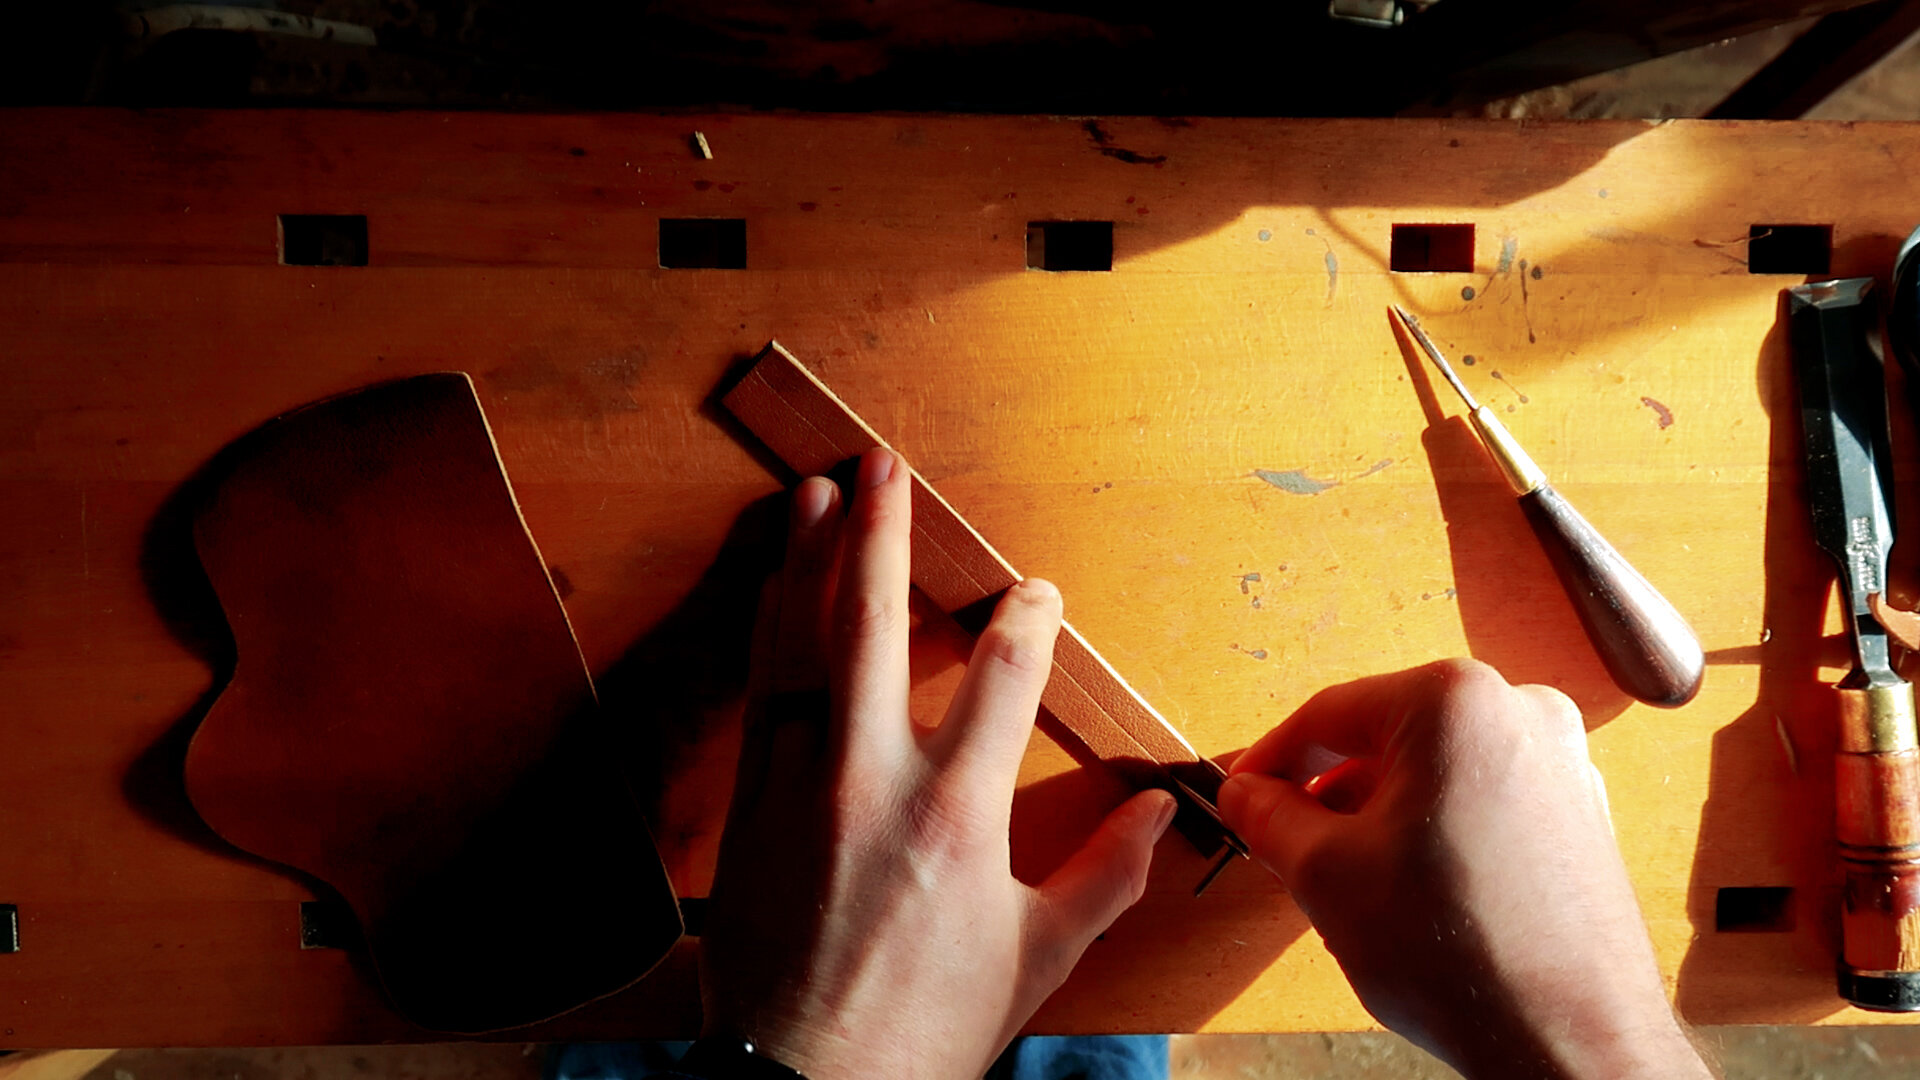
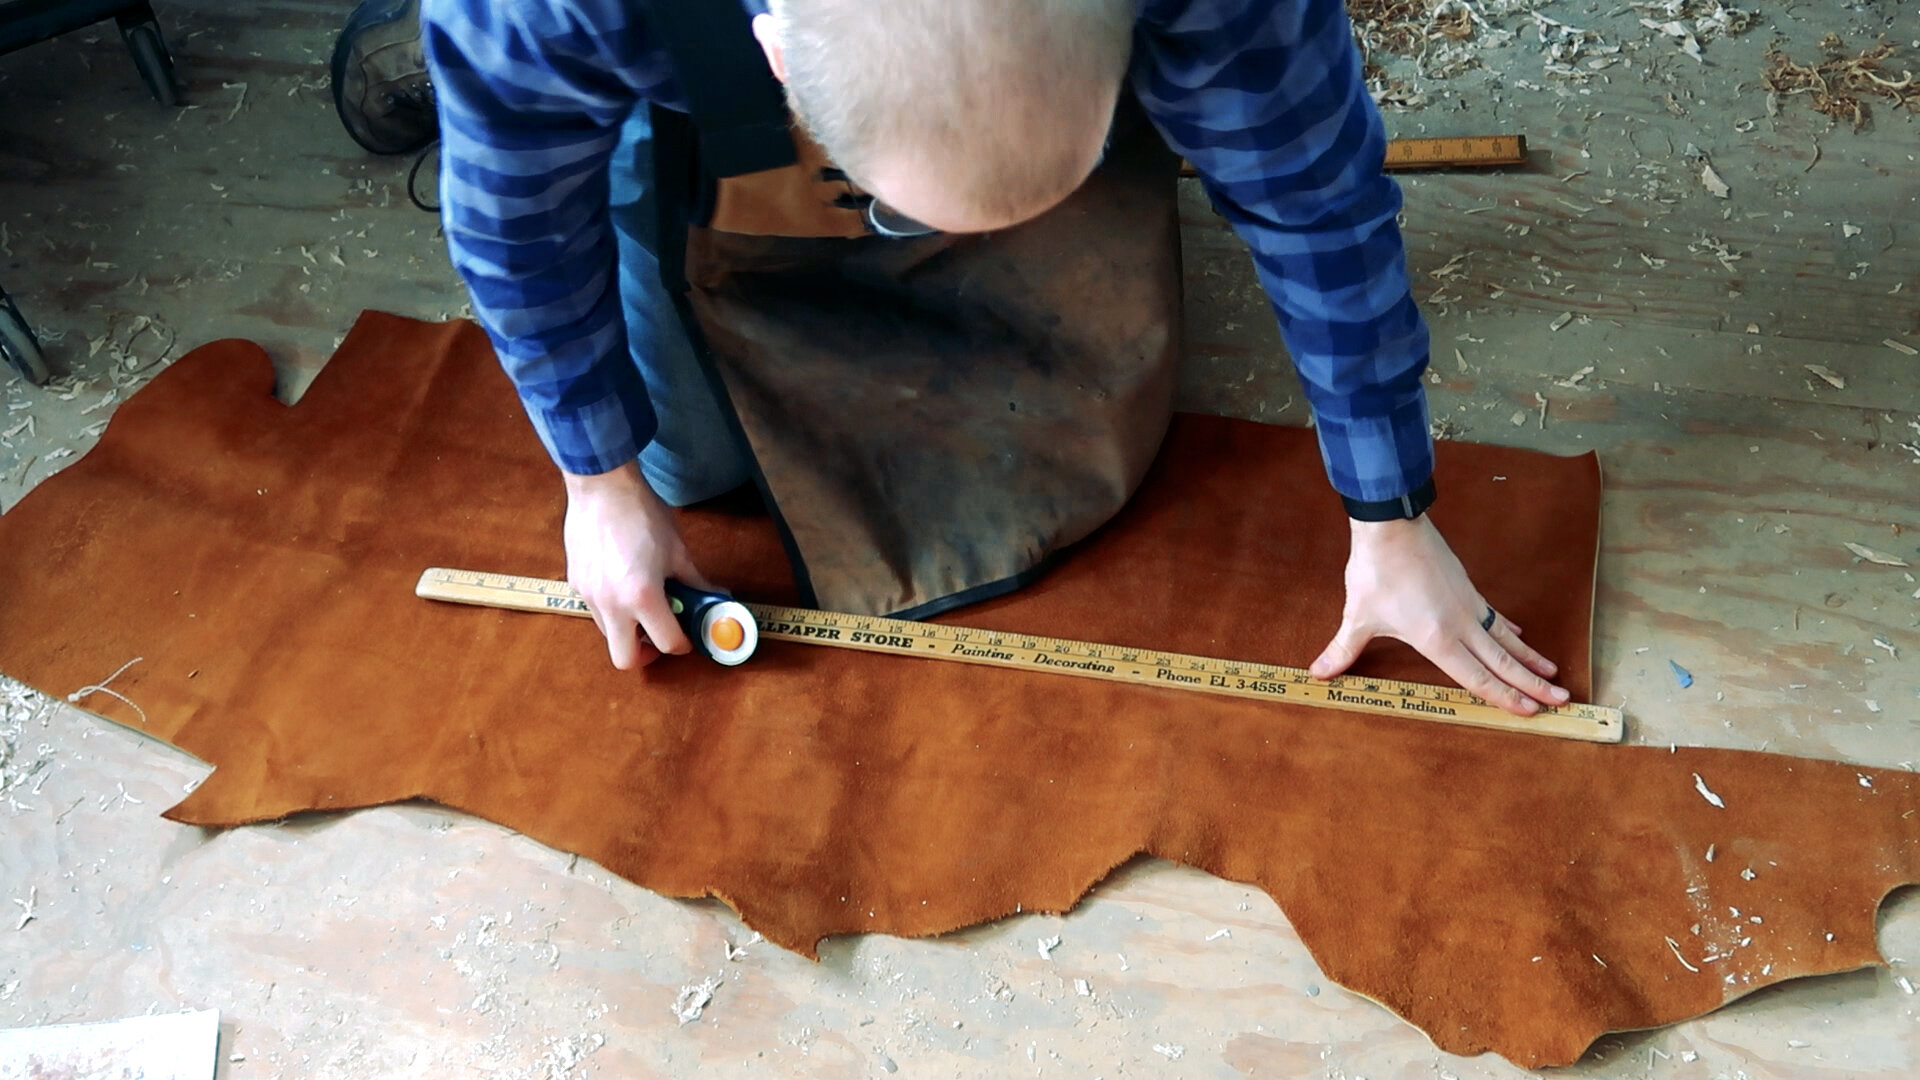
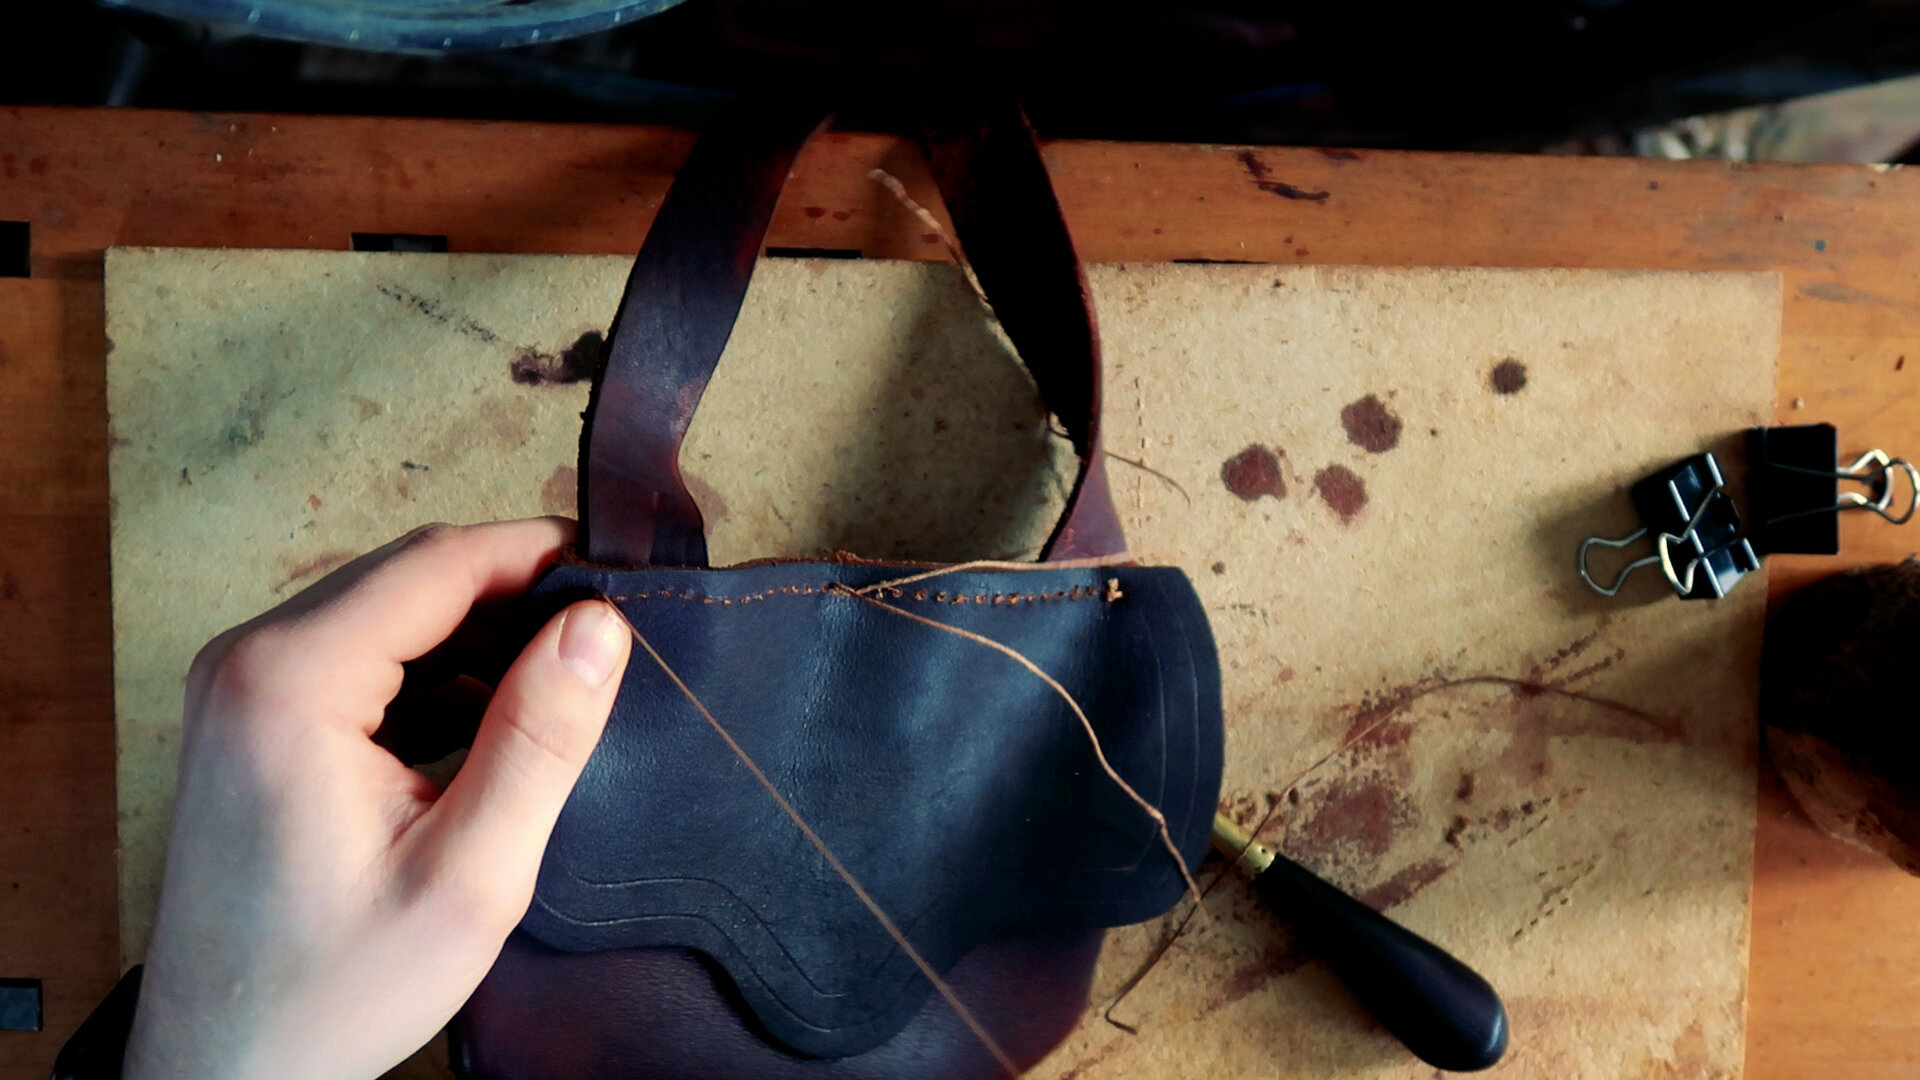
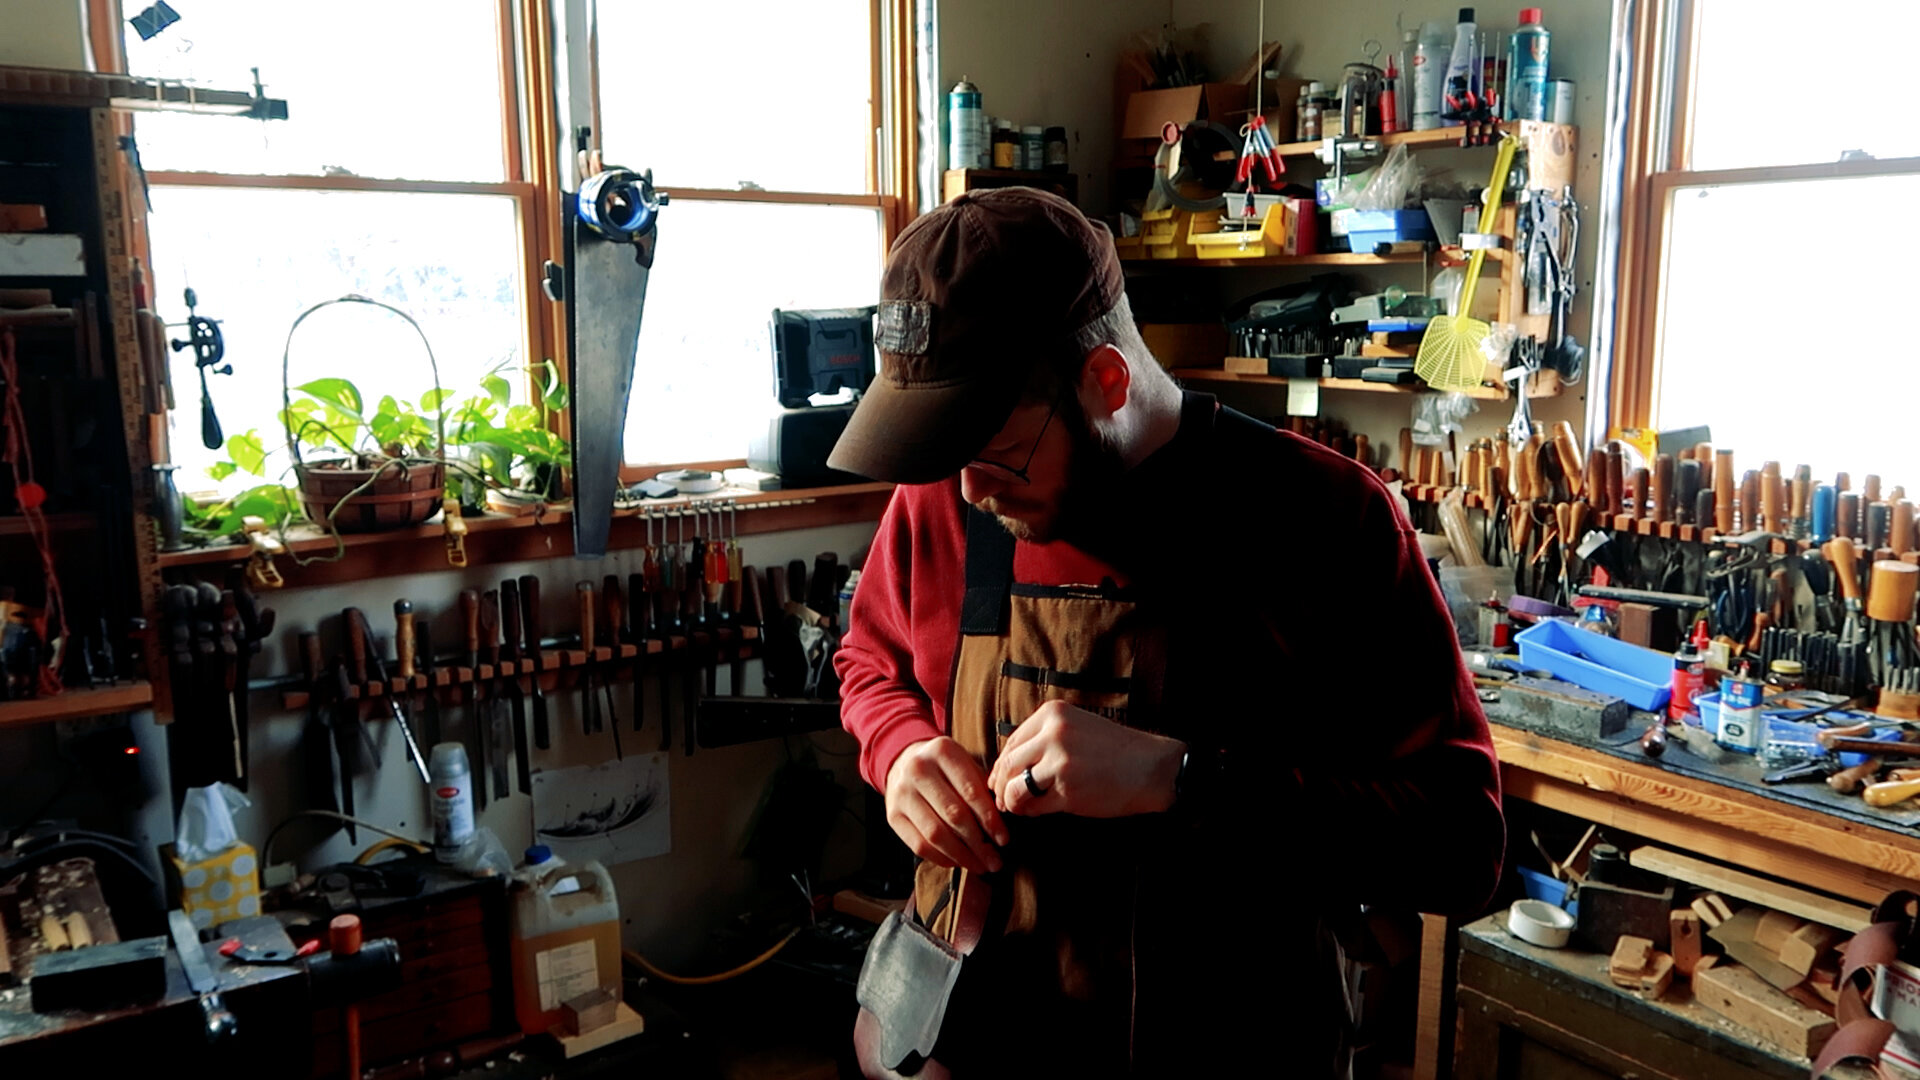
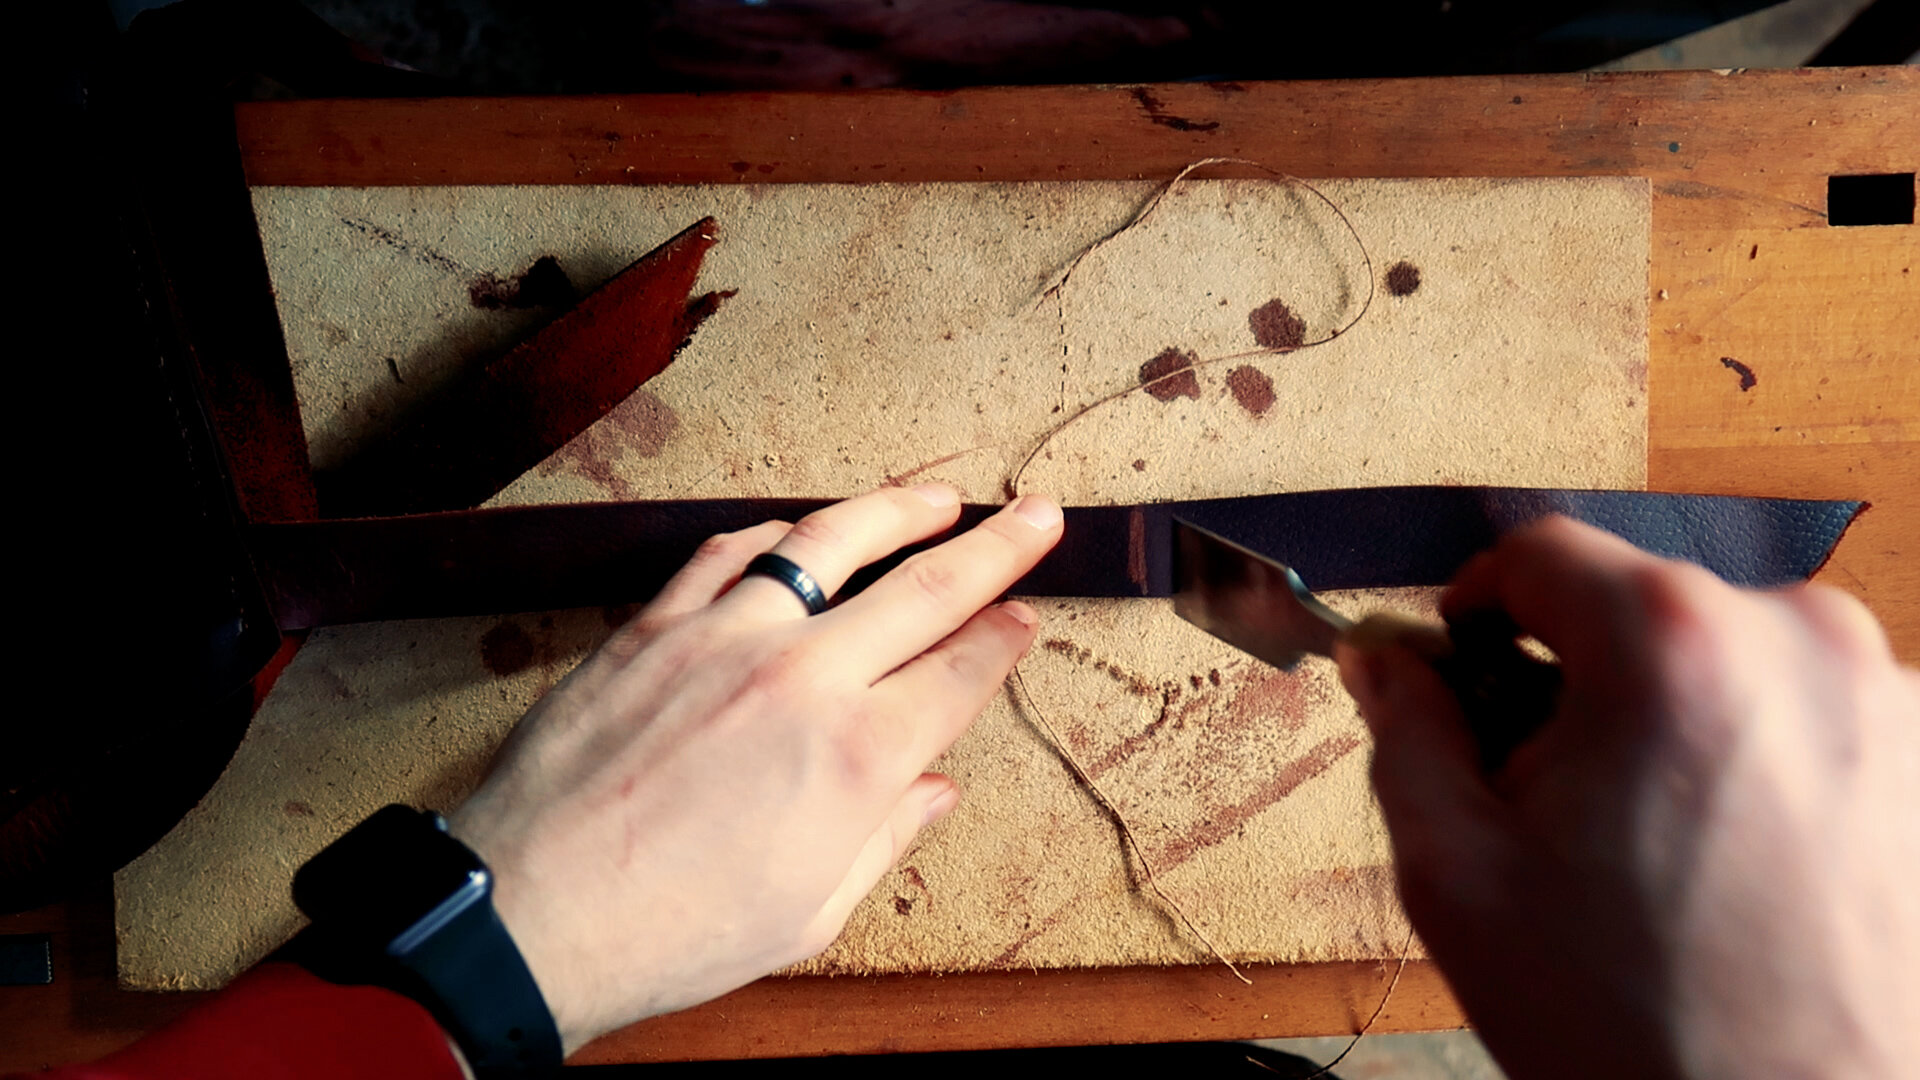
Now it’s time to start thinking about completing the bag by adding our top flap and some straps. I don’t have any strap stock handy, so I’m going to show you how I cut straps out of a larger piece of leather using a couple simple tools.
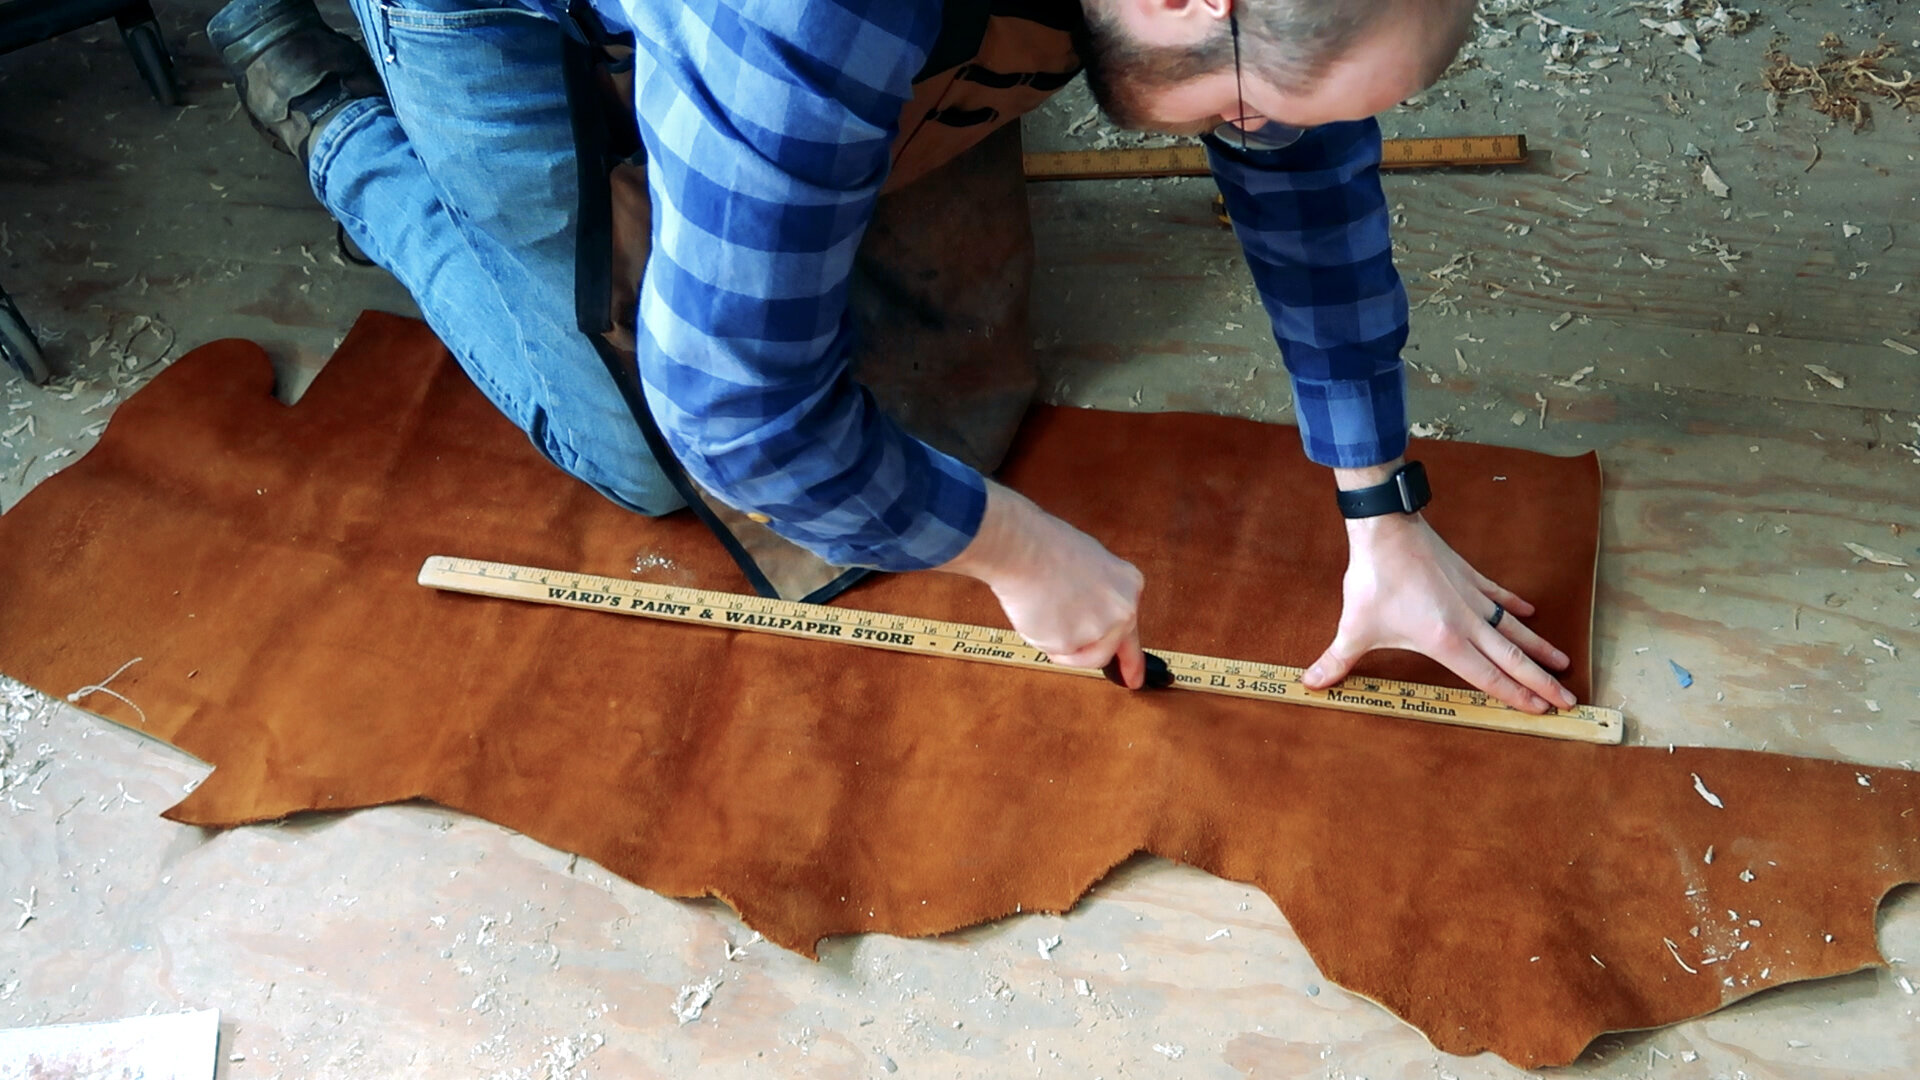
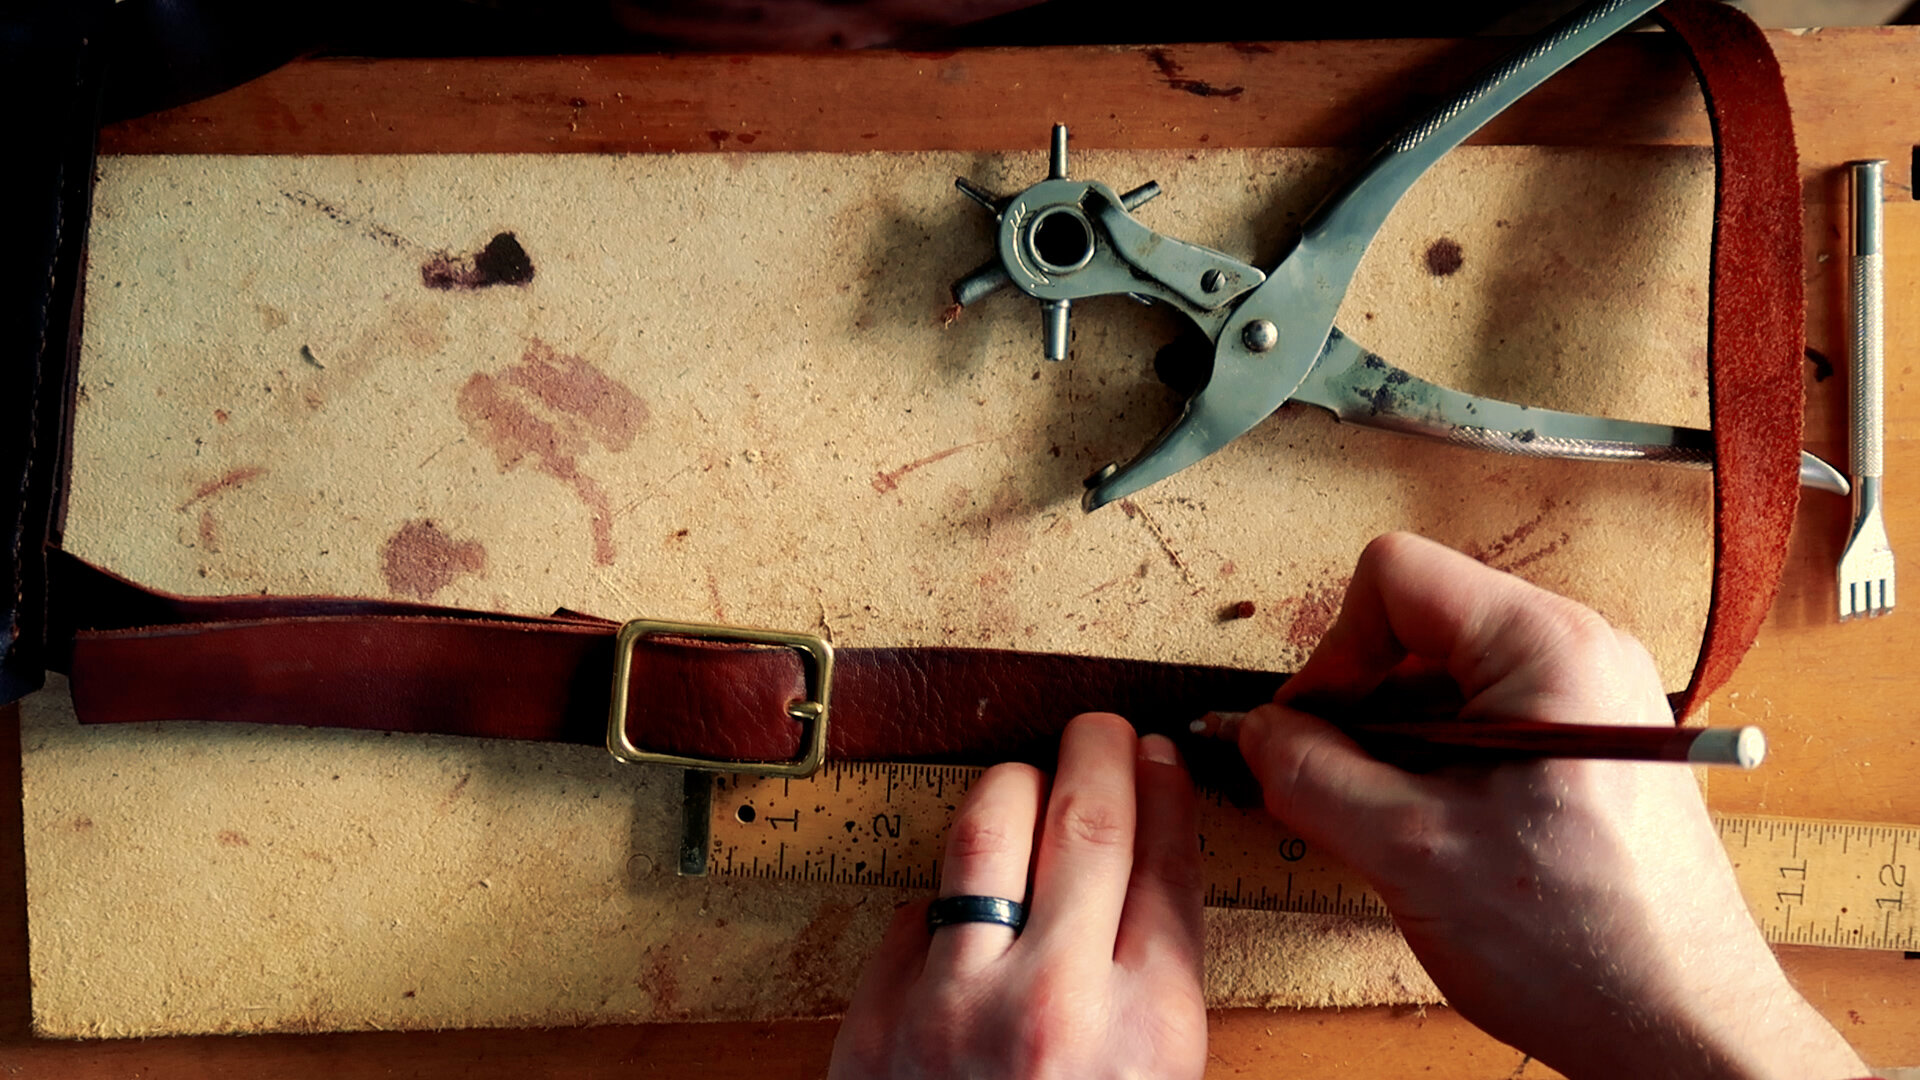
Start by measuring around your body with a tape measure, placing the tape measure where the strap would sit (From one hip, up around your shoulder diagonally, down your back, to the back side of the hip you started with). My strap length measured about 47”, I take that measurement to my hide and find a section that will work. Using a yardstick or straight edge, make your first cut, down the length of your measurement. This cut will be one side of your strap so make it a nice, clean cut. The next strap will determine the width of the strap and that can be determined one of two ways.
Set your dividers to your desired width and score the strap using your first cut as a guide
Measure your desired width from your first cut with your ruler/yardstick and use your straightedge as a guide.
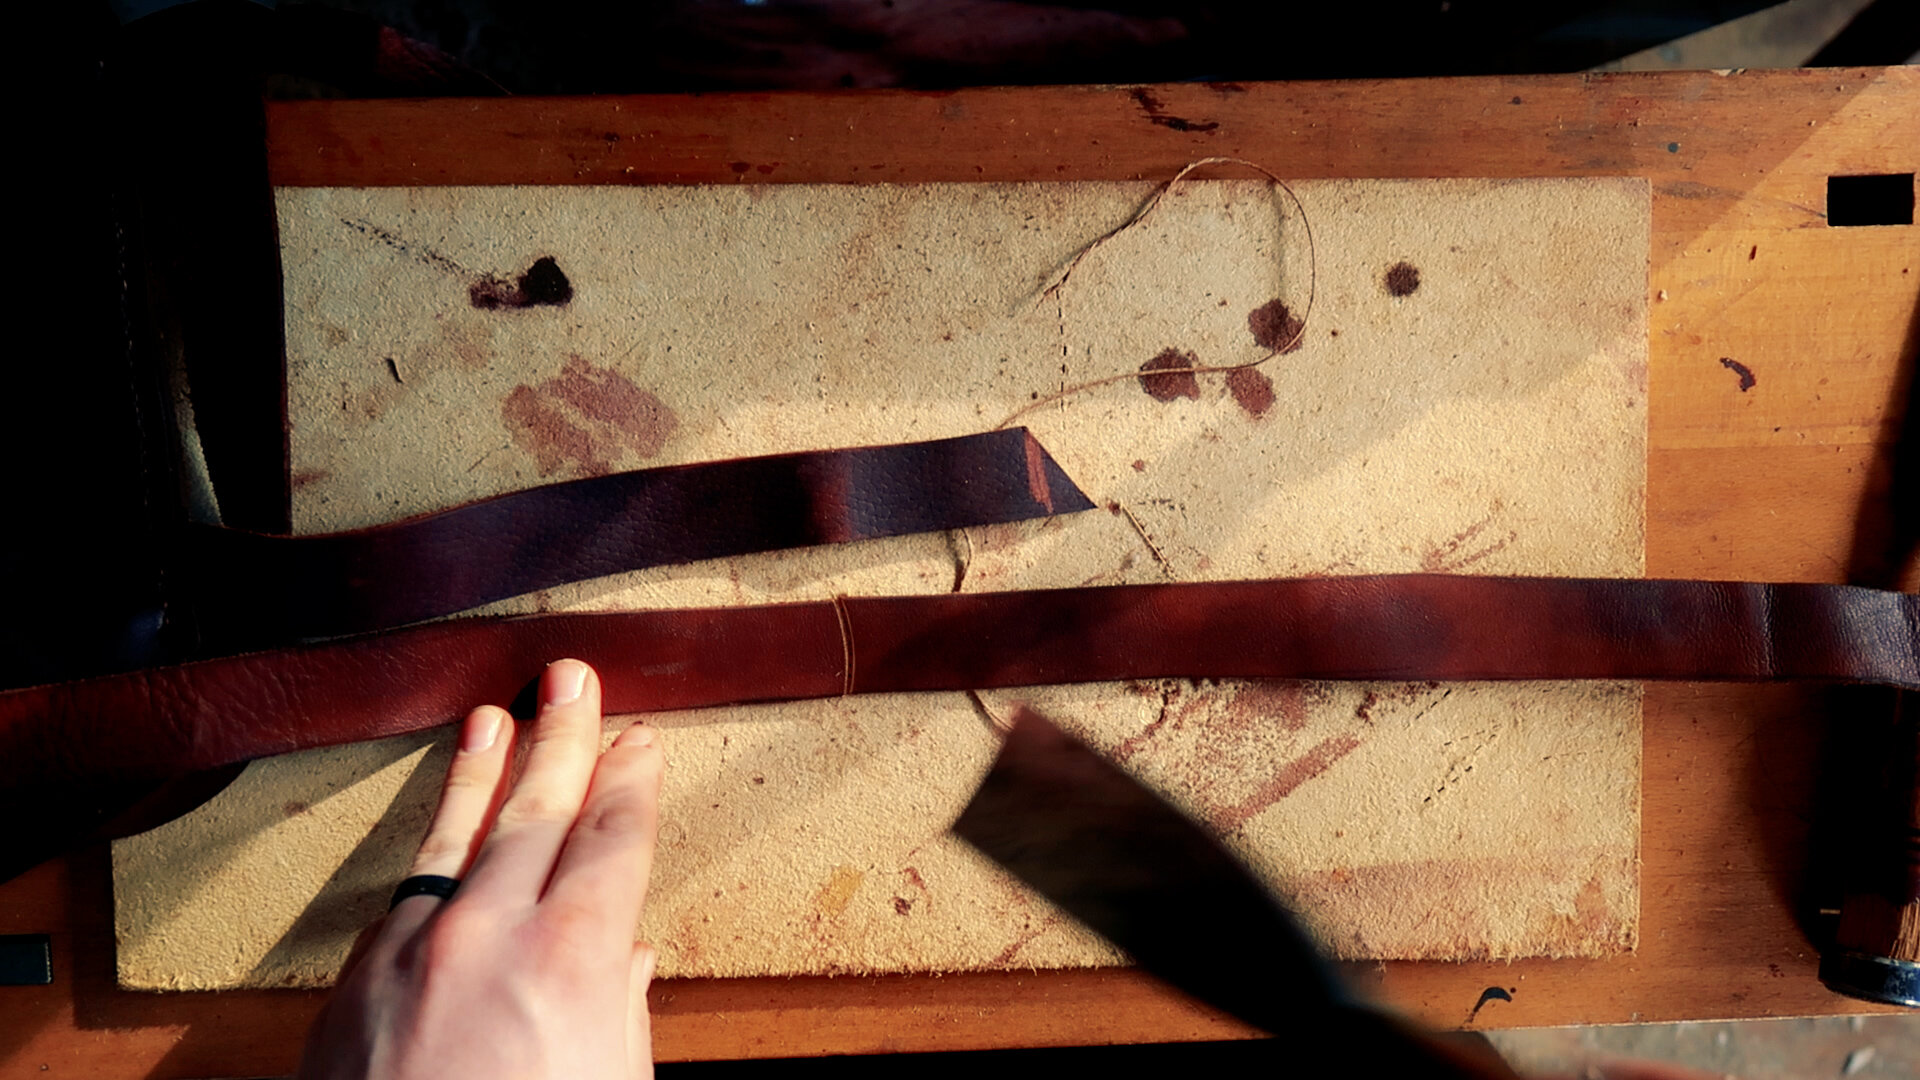
If you’d like the bag to be adjustable, cut an extra piece of strap 6-8” long to hold your buckle. Your strap width will be determined by the buckle you have, so measure your buckle before you start cutting a big strap out of your hide.
My strap for this bag is 1 ¼” wide. This bag isn’t big and won’t carry a lot of weight, so a narrow strap will work well and will be visually appealing.

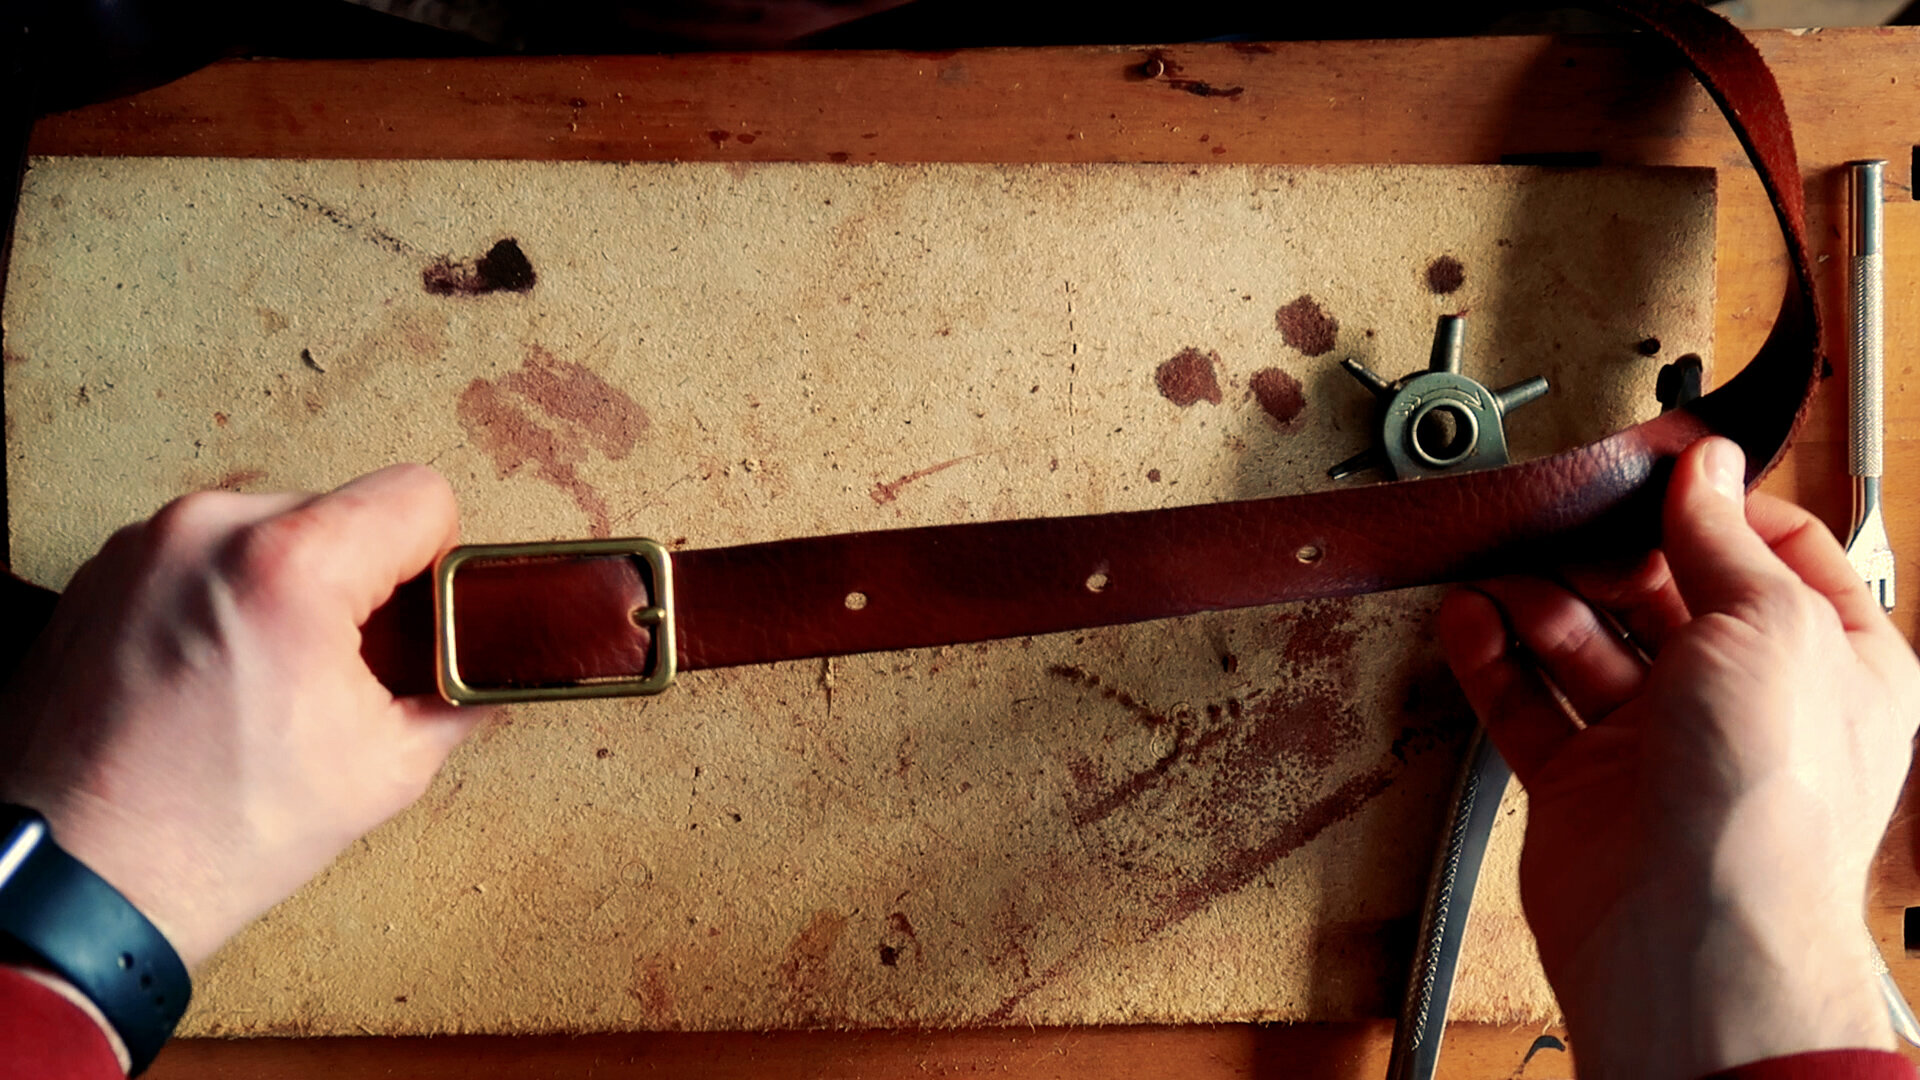
Next we need to fit both our strap ends and our top flap welt to the bag. I do this step by eye (See 19:30) in the video, but you can measure if it’s more comfortable for you. I start by setting one of my strap ends into the bag where it will sit, along the top of the bag. I then place my welt next to the strap, overlapping the strap about ½”. Mark a line where the welt overlaps the strap, in line with the strap and cut the welt along that line. Repeat this on the other side (see 19:30 in the video). This gives us a strap and welt combo that fills the top of the bag, giving us a strong place to attach our top flap that won’t come undone with years of use. Gaps between the strap and the welt can be weak points over time. If you have gaps, best to make a new welt and use the gap ridden one on another project.

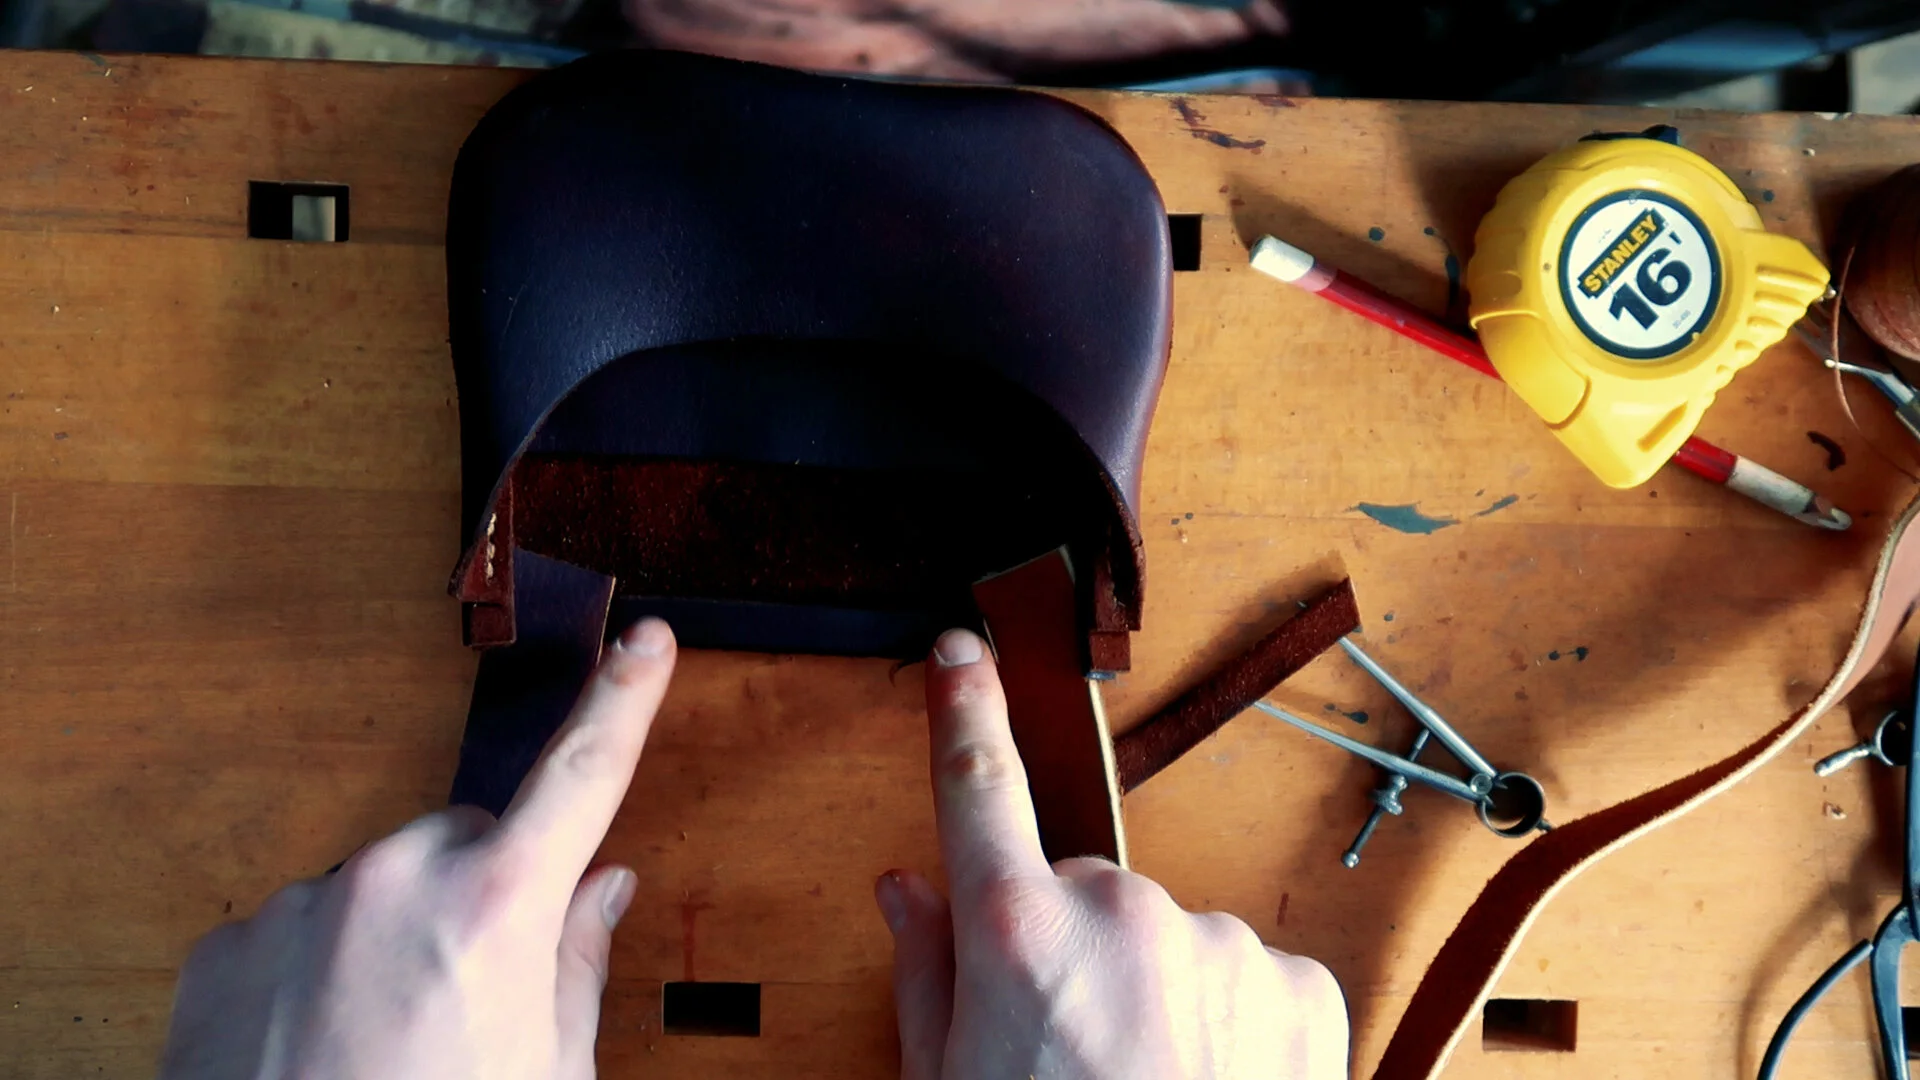
If your strap is all one piece, not adjustable, you can place both ends of the strap in line with the welt and be done. If your bag is adjustable, place one end of the shorter “Buckle Strap” and one end of the longer “Adjustable strap” in line with the welt.
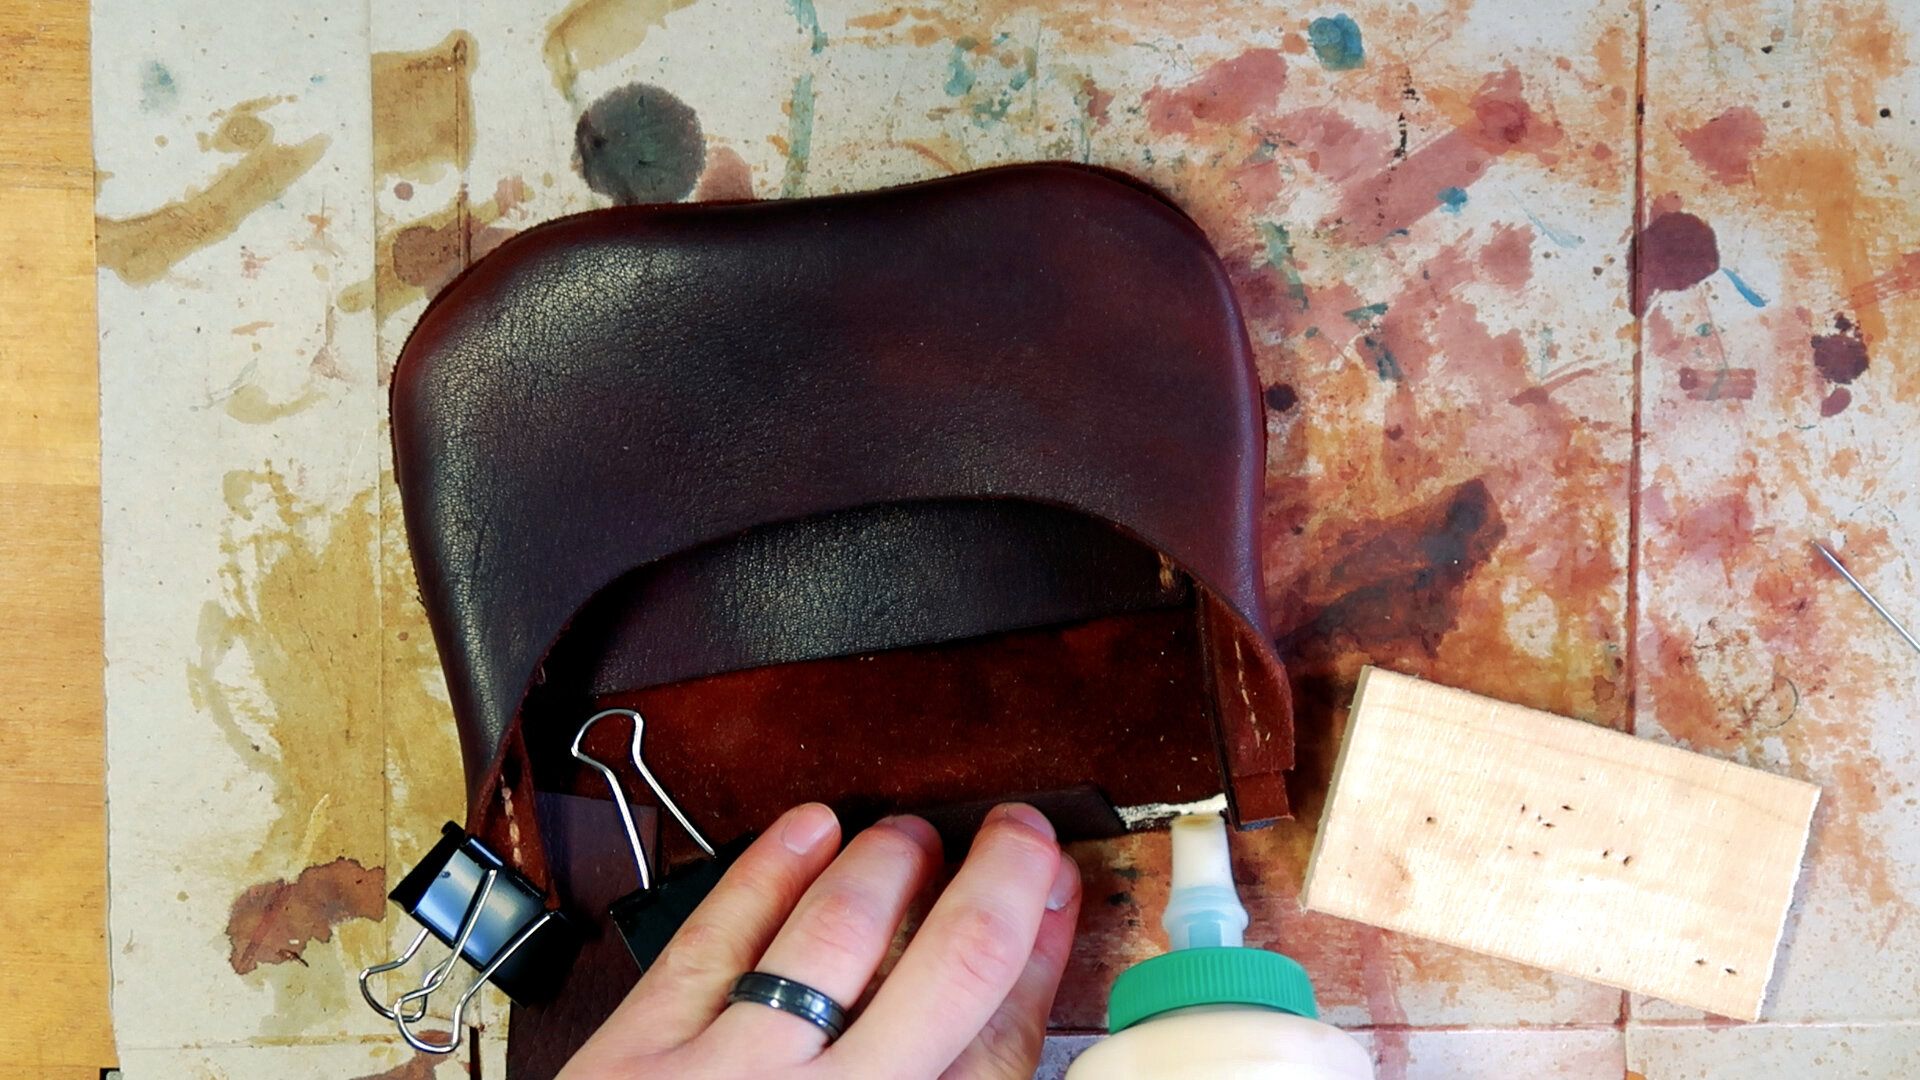
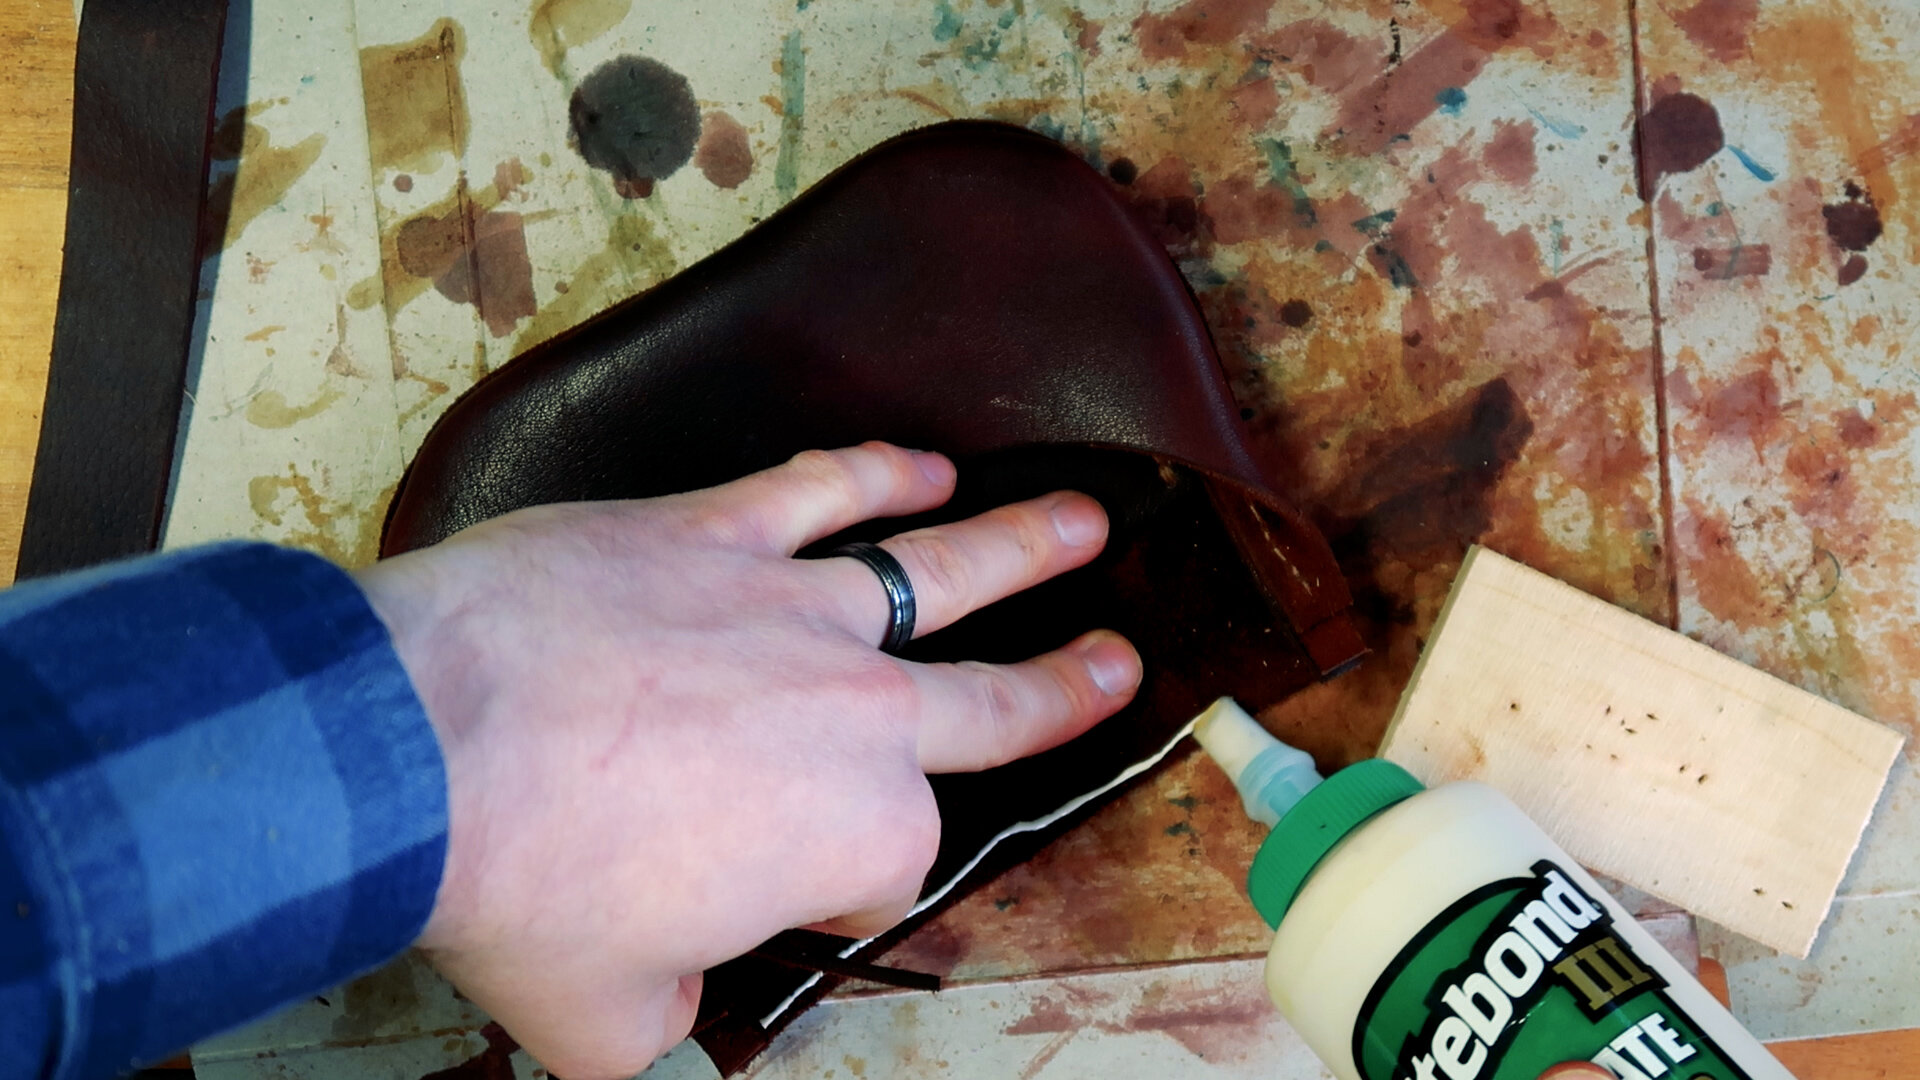
To attach the strap ends and the top flap welt, I am going to use a little bit of titebond 3. Sewing three layers across 5 different pieces of leather is still difficult for me as an entry level leatherworker, haha! I’m laying down a thin bead of glue that I’m going to dab with my finger to spread out across the top line of the bag. Don’t use too much, if you do the glue will leak down into the body and up into the visible top seam of the bag. Please see 19:57 in the video to see how I glued this seam.
With the glue down, align your pieces and hold them in place with your binder clips for 1-2 hours or leave them set overnight for the best hold.
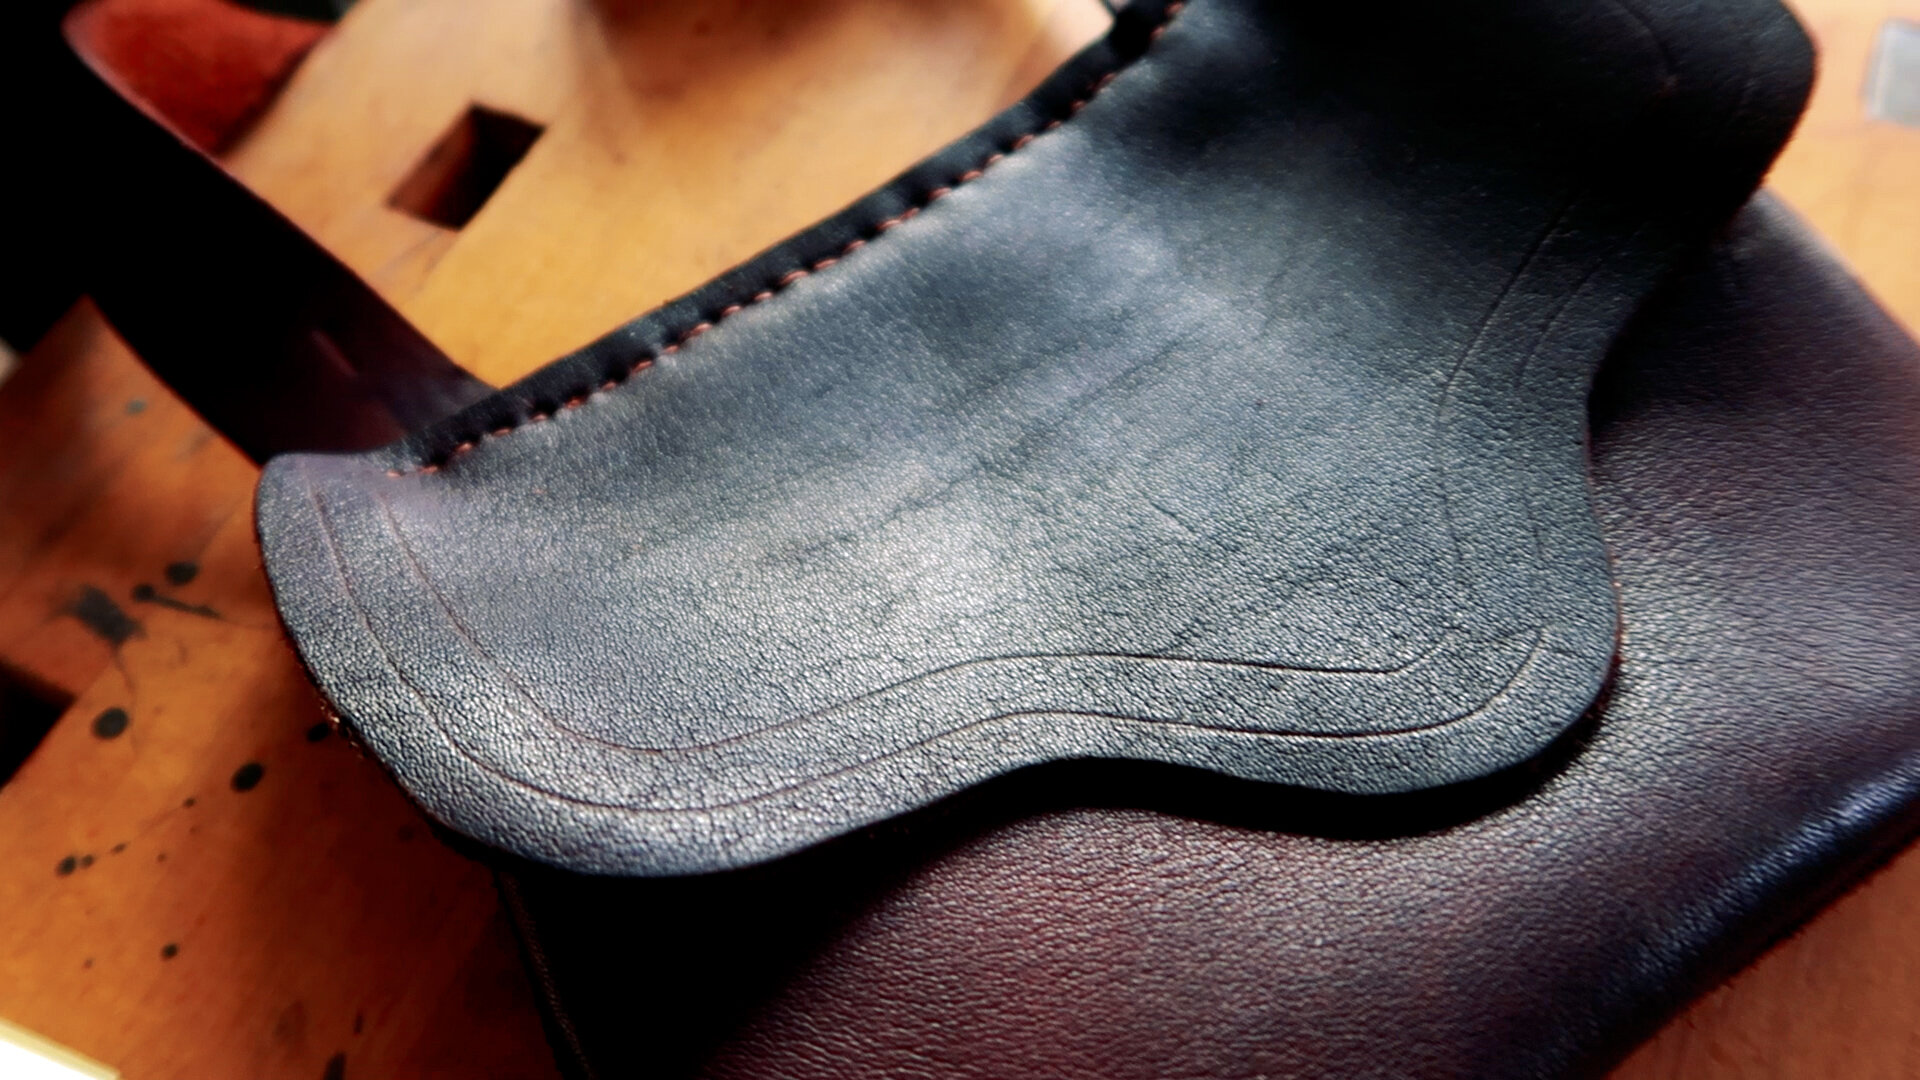
As the glue dries, we have time to add some detail to the top flap of the bag. The original features several tooled designs that can be a little hard to see in the book, so I’m just going to add two scored border lines around the bottom of the bag. Using my dividers I measure to ¼” and score a line following the edge of the bag for the first line. To add a second line, I measure to ½” and score the second line, carefully following the edge of the flap. This is an easy way to add more artistry to our bag, but go slow and be patient. Much like scrimshawing a powder horn, there is no way to erase a stray line in leather. See 20:30 in the video to see this in action.

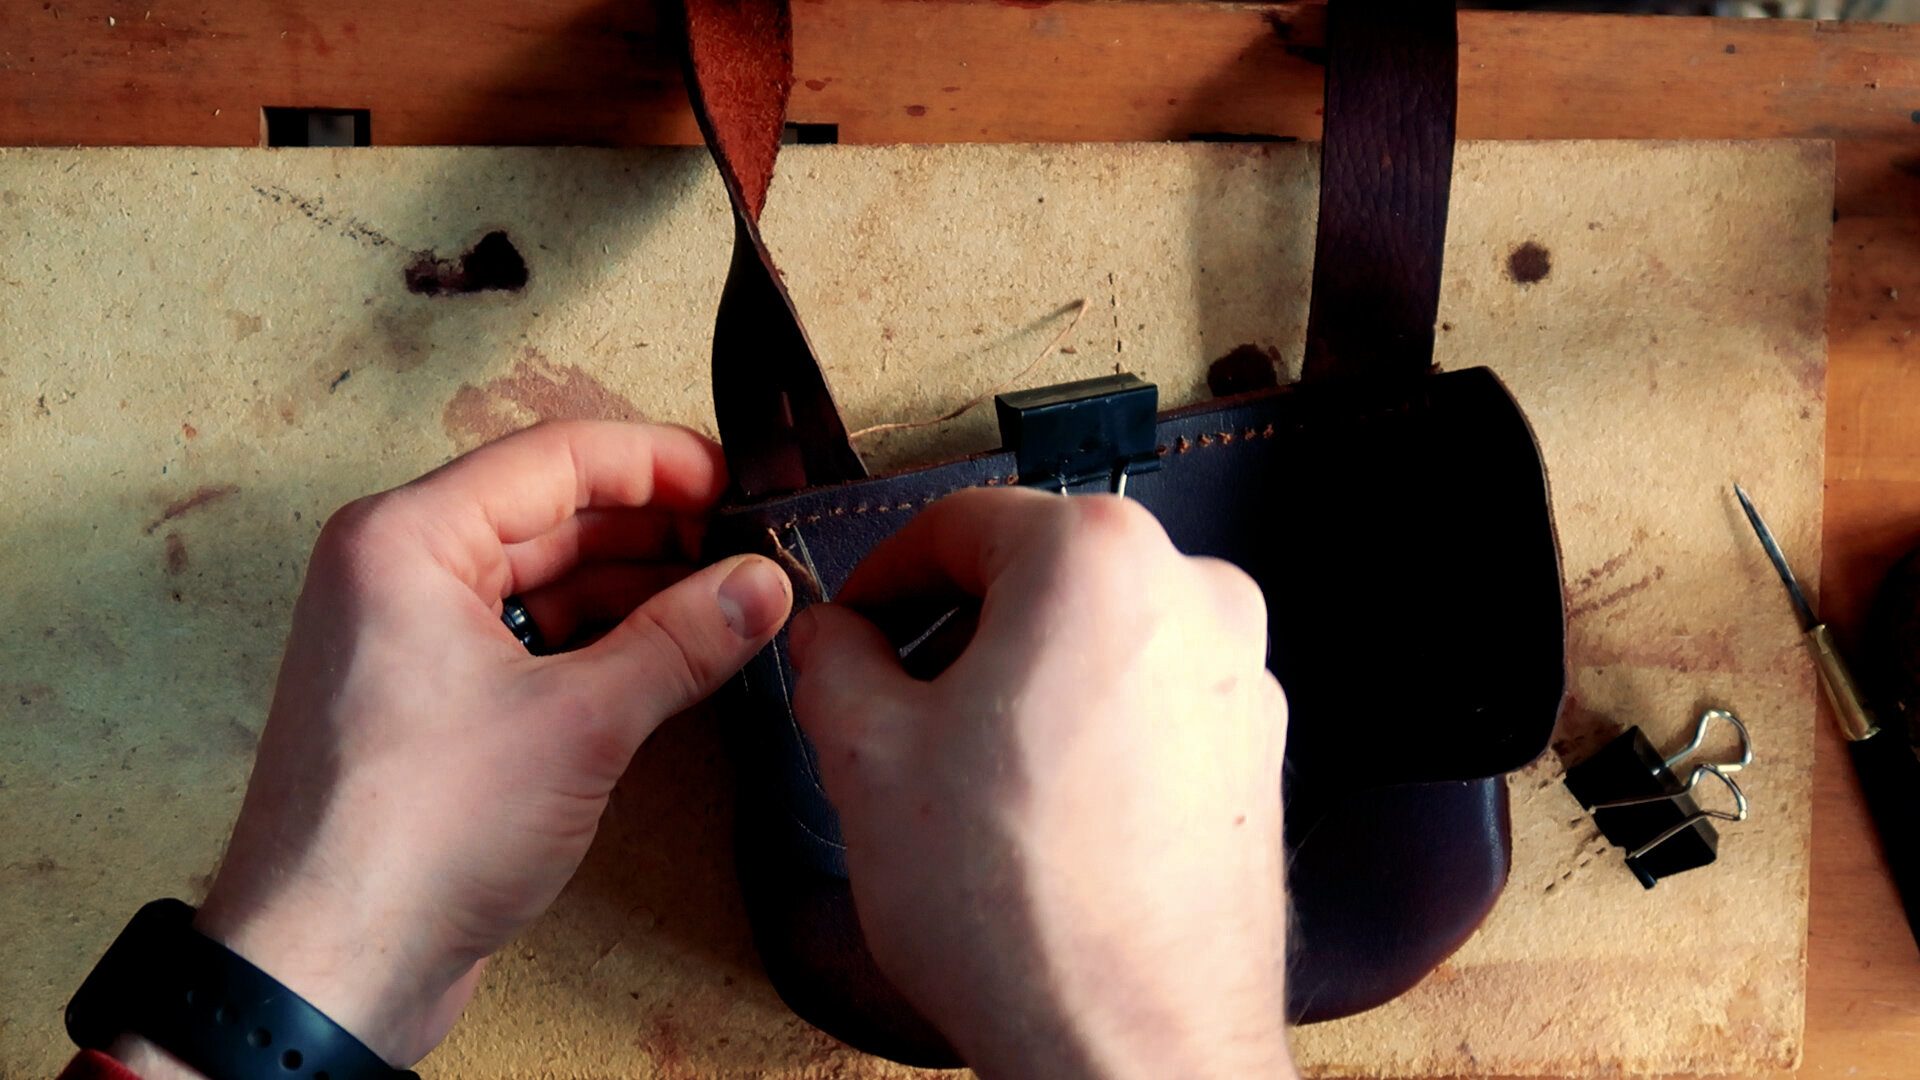
With the glue dried on the strap and welt, it’s time to add our flap to the bag. Using my stitching chisel, I punch a line of stitches ¼” in from the top of the flap across the top of the flap. Before you punch these holes, line our flap up with the bag and mark your stitch start and end points with your awl or a pencil. This flap will NOT be stitched across the entirety of the top flap and you don’t need to punch holes where there won’t be stitching. I then set the flap onto the pouch and clamp it in place with the binder clips. Using my awl, I continue each of the holes in the top flap through the welt, straps, and back part of the bag, allowing me to begin stitching the top flap to the bag. It’s really important at this stage to make sure your holes are going through the bag straight up and down, you don’t want a hole to run out or be out of line, because there is no way to hide them now.


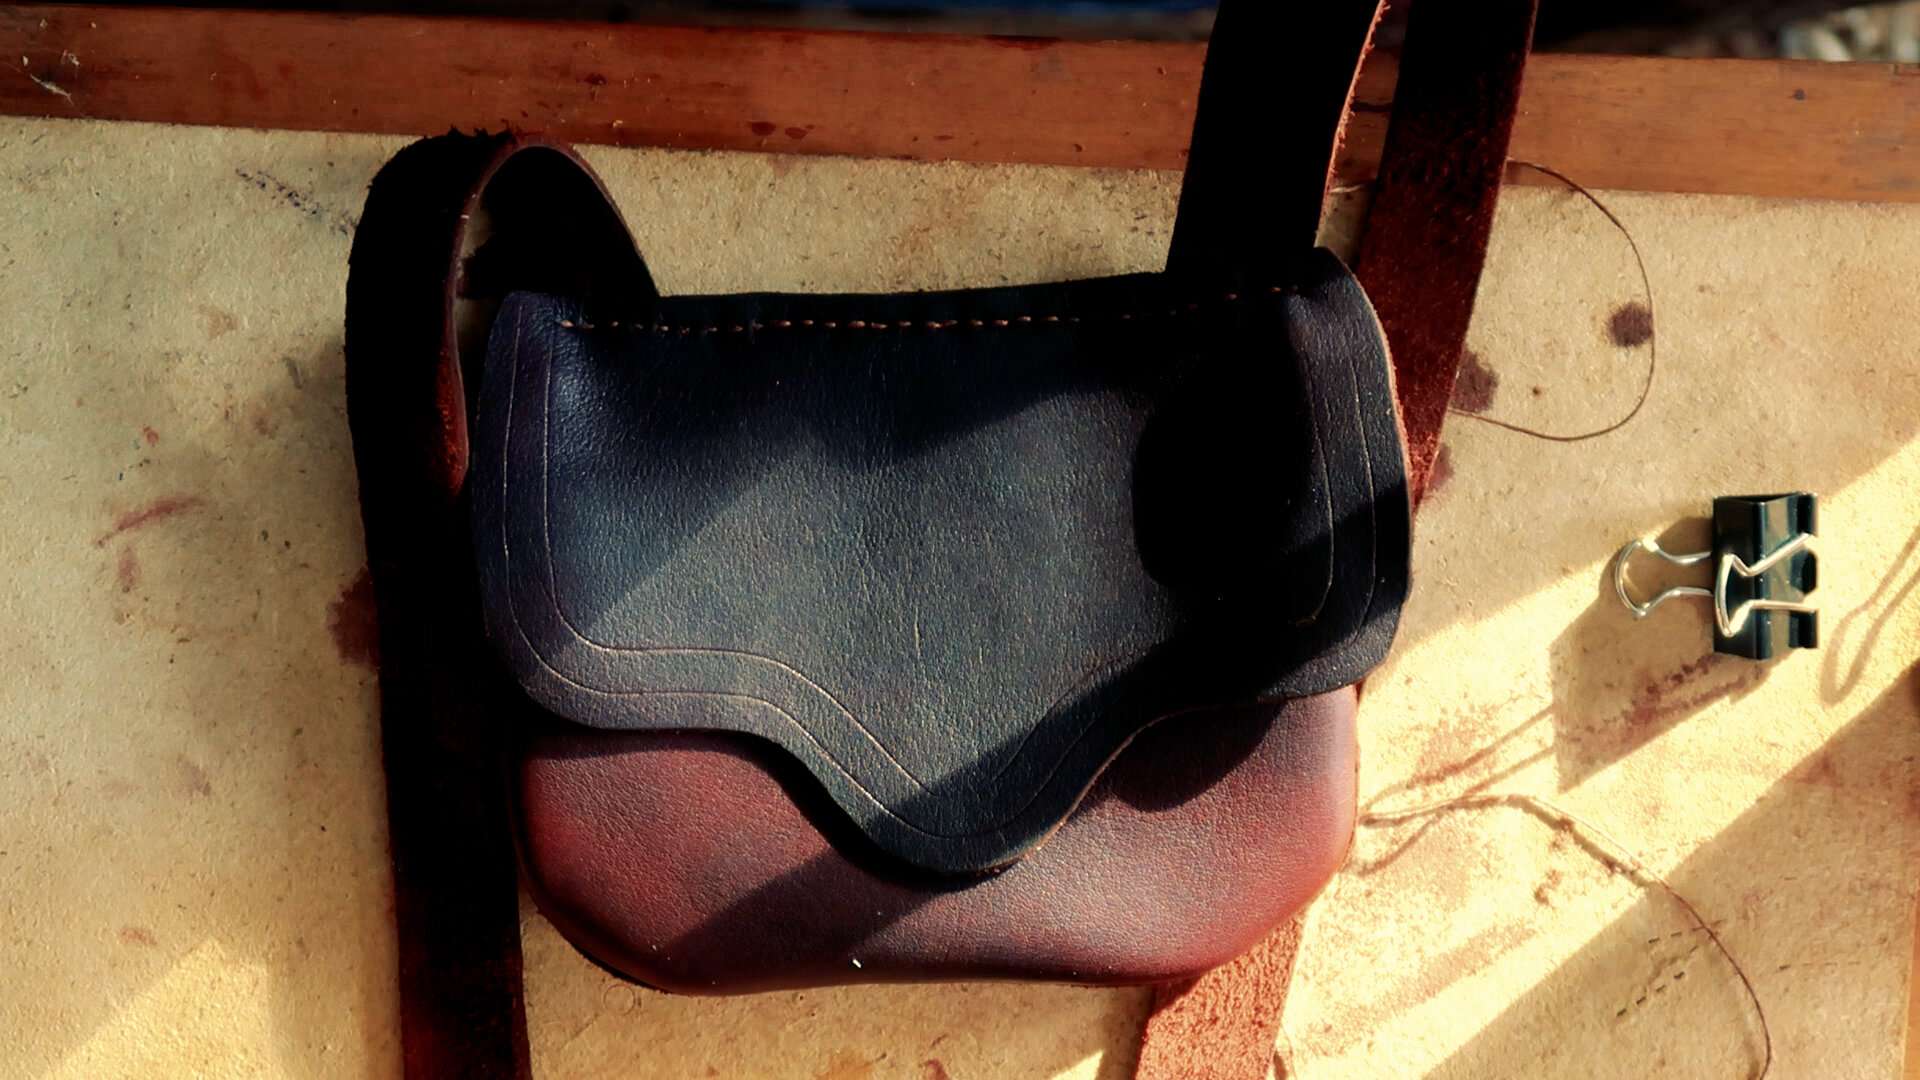

With that stitching done, I’m going to add some of our leather dye to all of the exposed stitching to further blend the colors of the bag together. This is a nice touch that adds another level of detail to your bags.
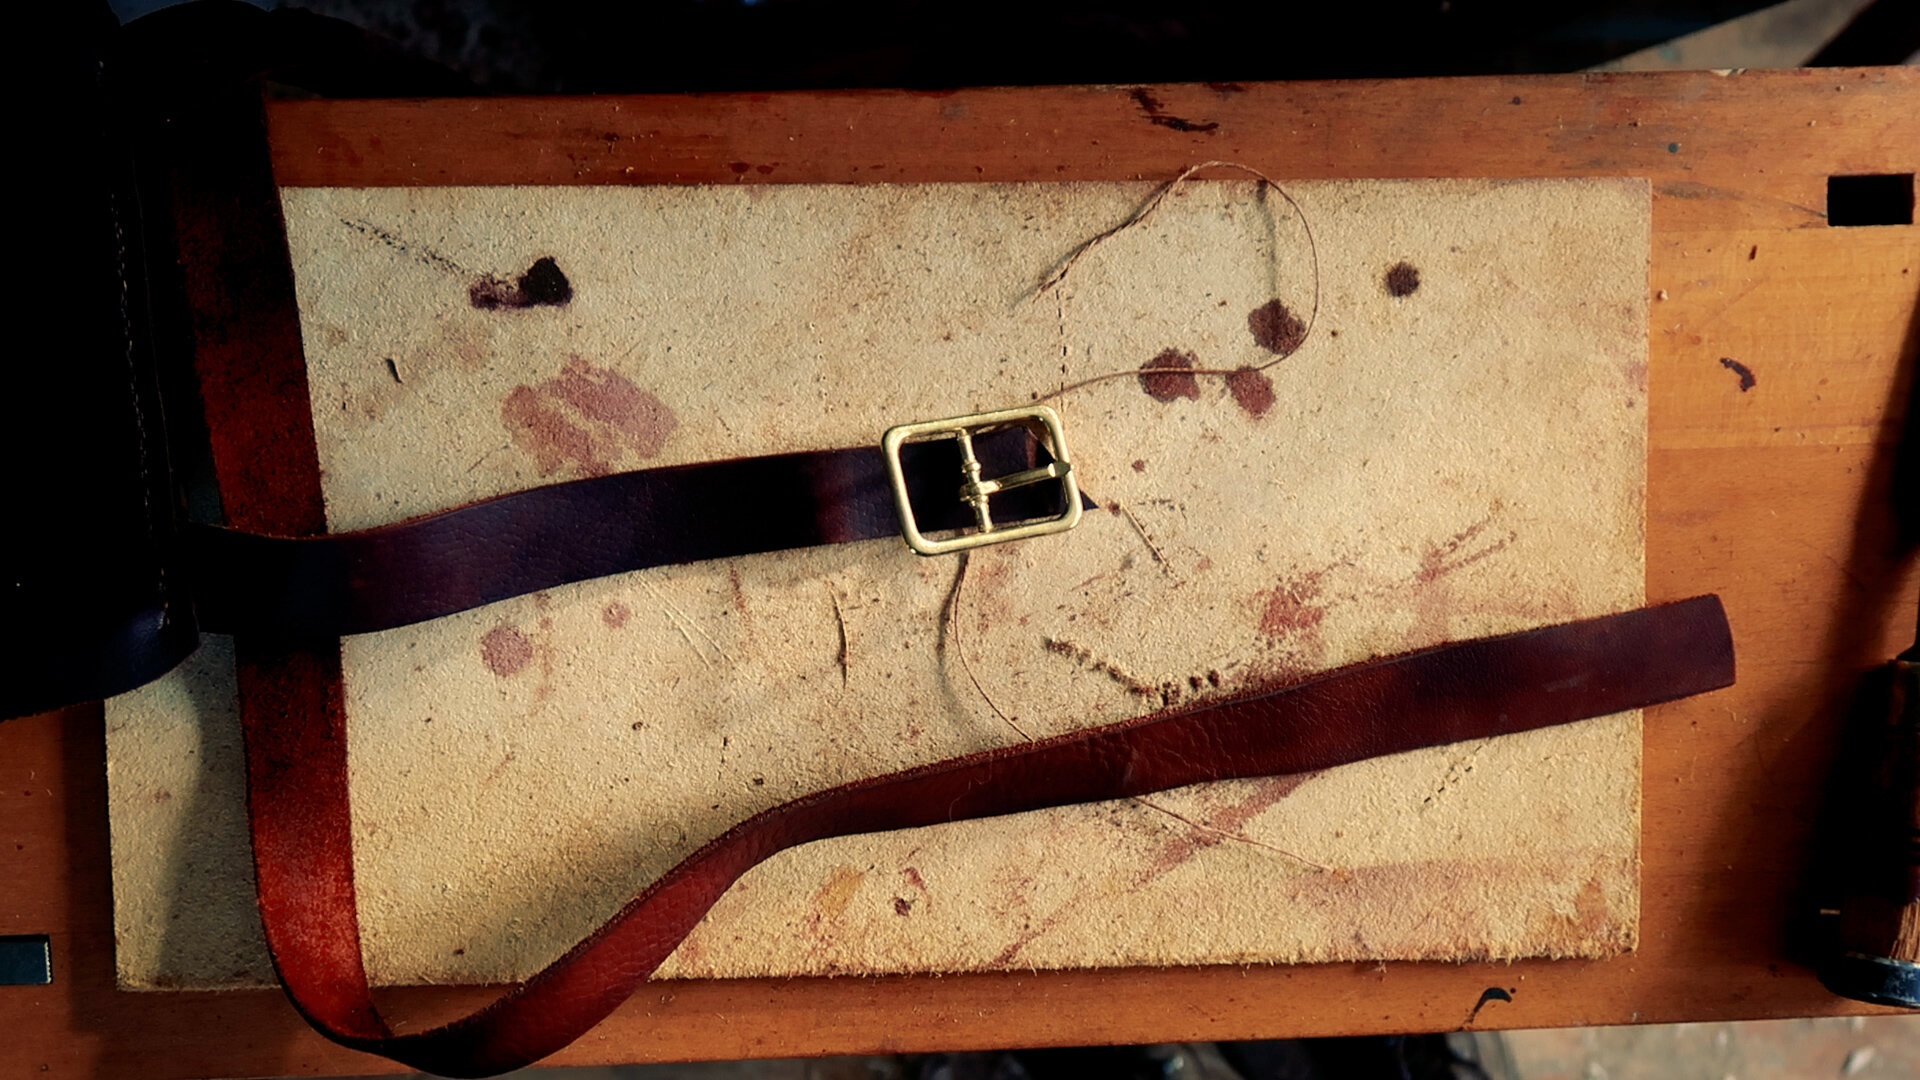
Here’s a shot of the finished bag, but we’re not done yet. We still need to add a buckle to our strap and cut it to length. To find the length, I’m going to again “put on the bag” as if I was wearing it and mark each strap where they overlap at the place on my body where I want the bag to sit in it’s basic configuration. I like to leave extra strap on my adjustable strap to account for any future weight gain or winter clothing, that way I don’t have to change shooting bags seasonally. I’m going to cut my buckle strap down to about 8”, leaving me with 6” of length, and 2” to sew the buckle in place. The adjustable strap will get cut with an additional 8 inches of length past the buckle mark for future adjustment.
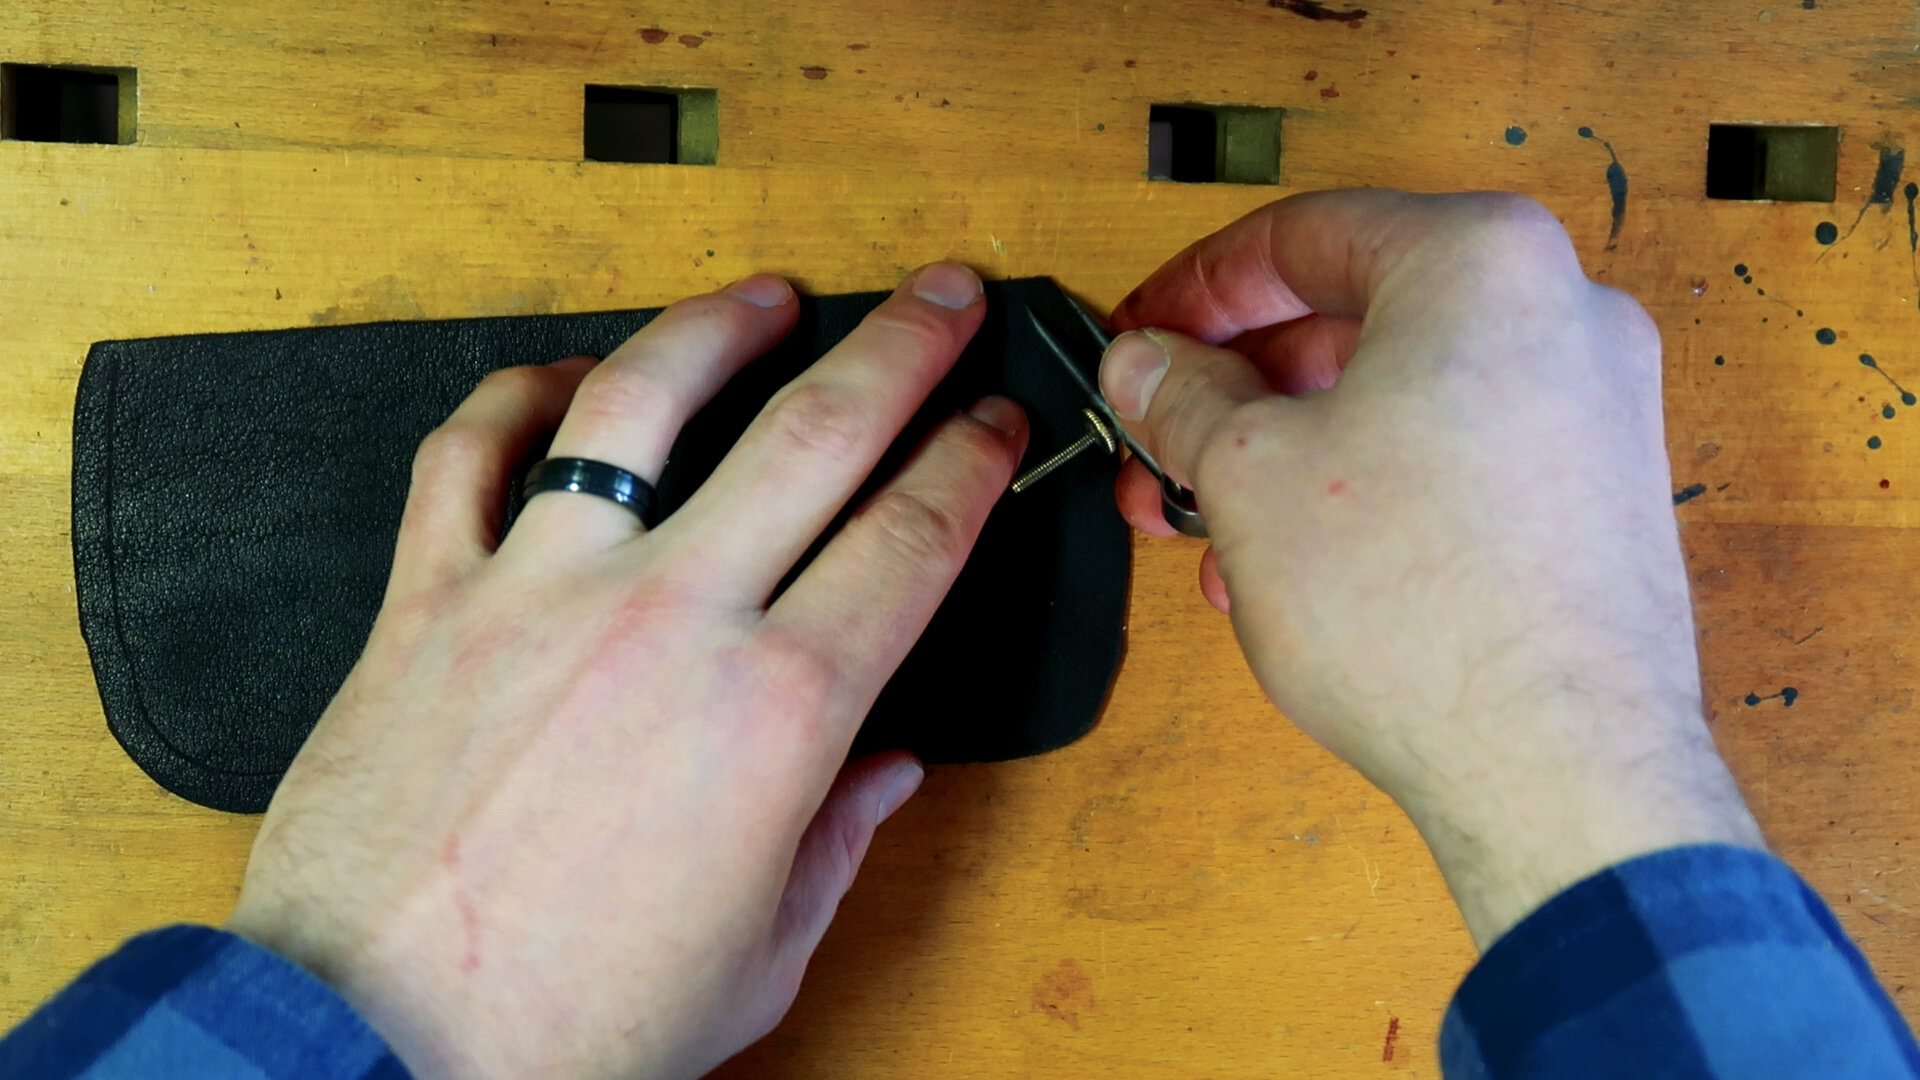
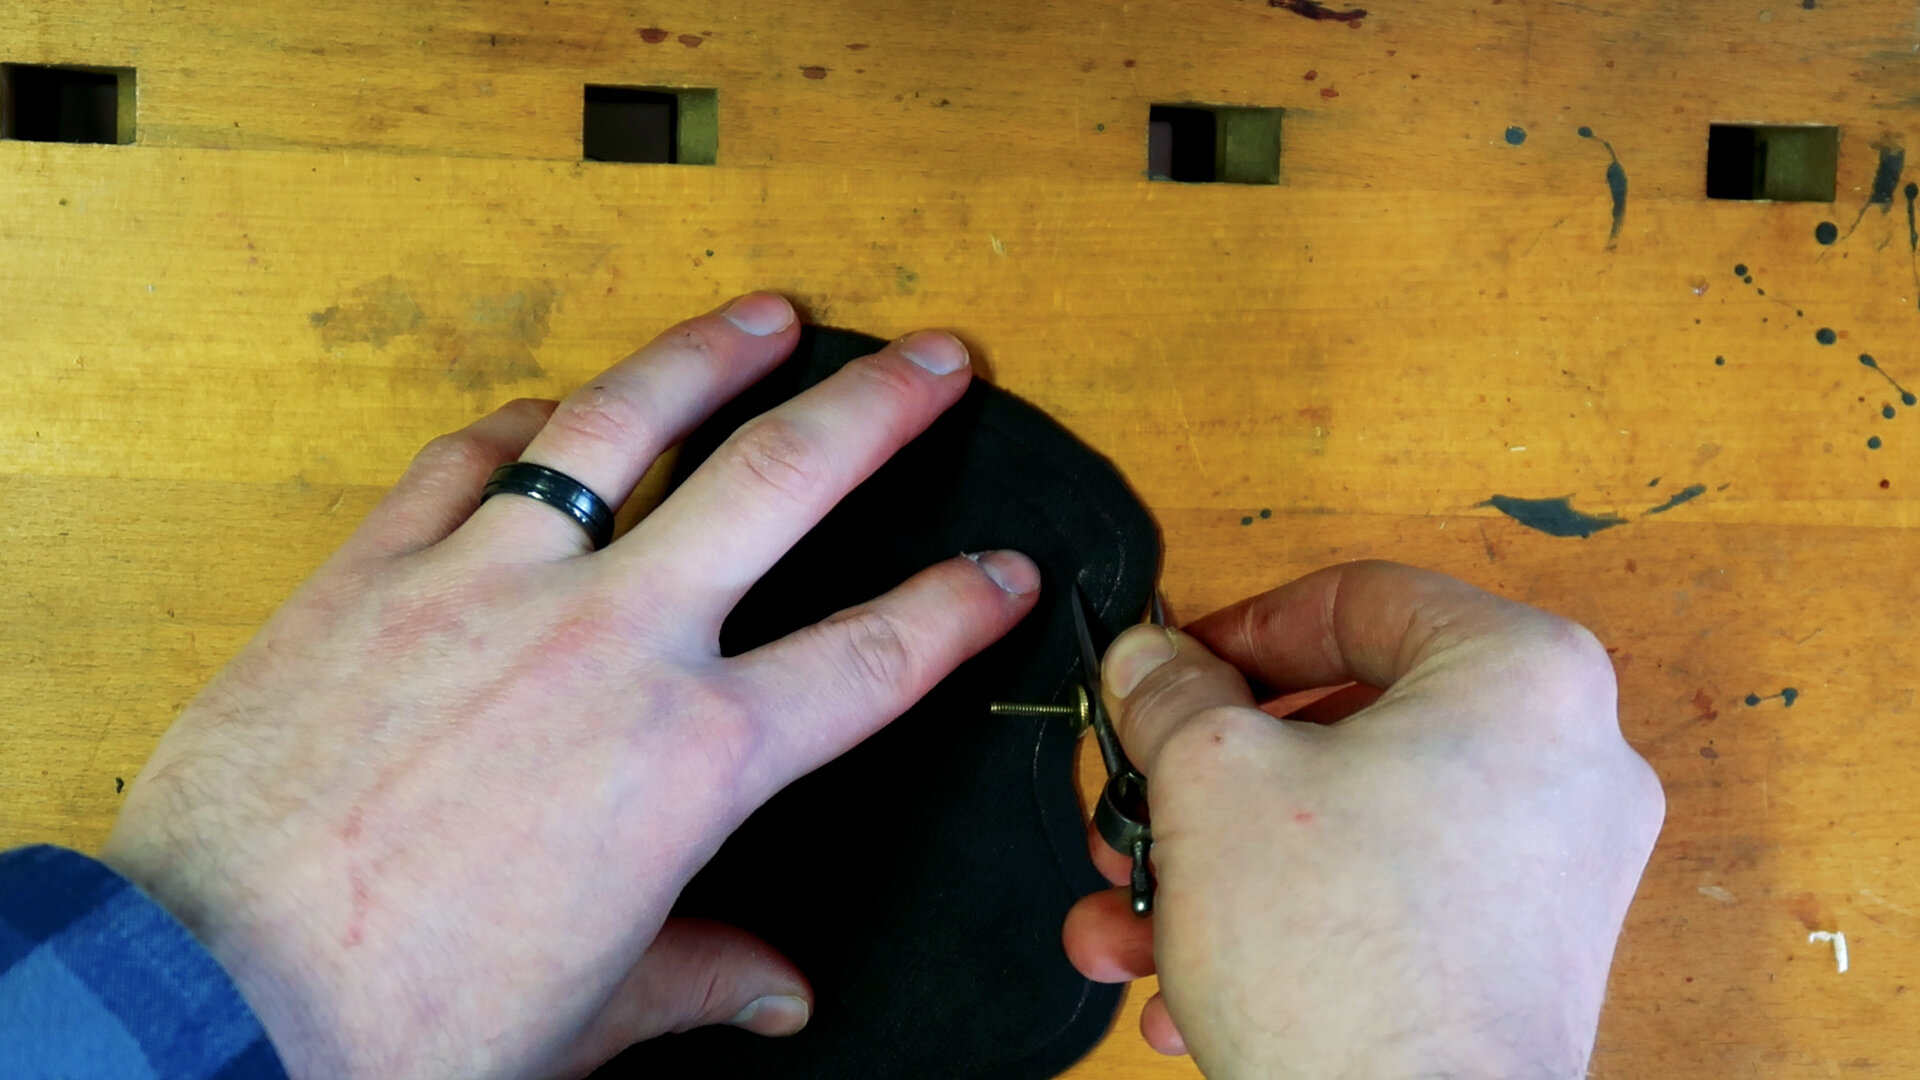
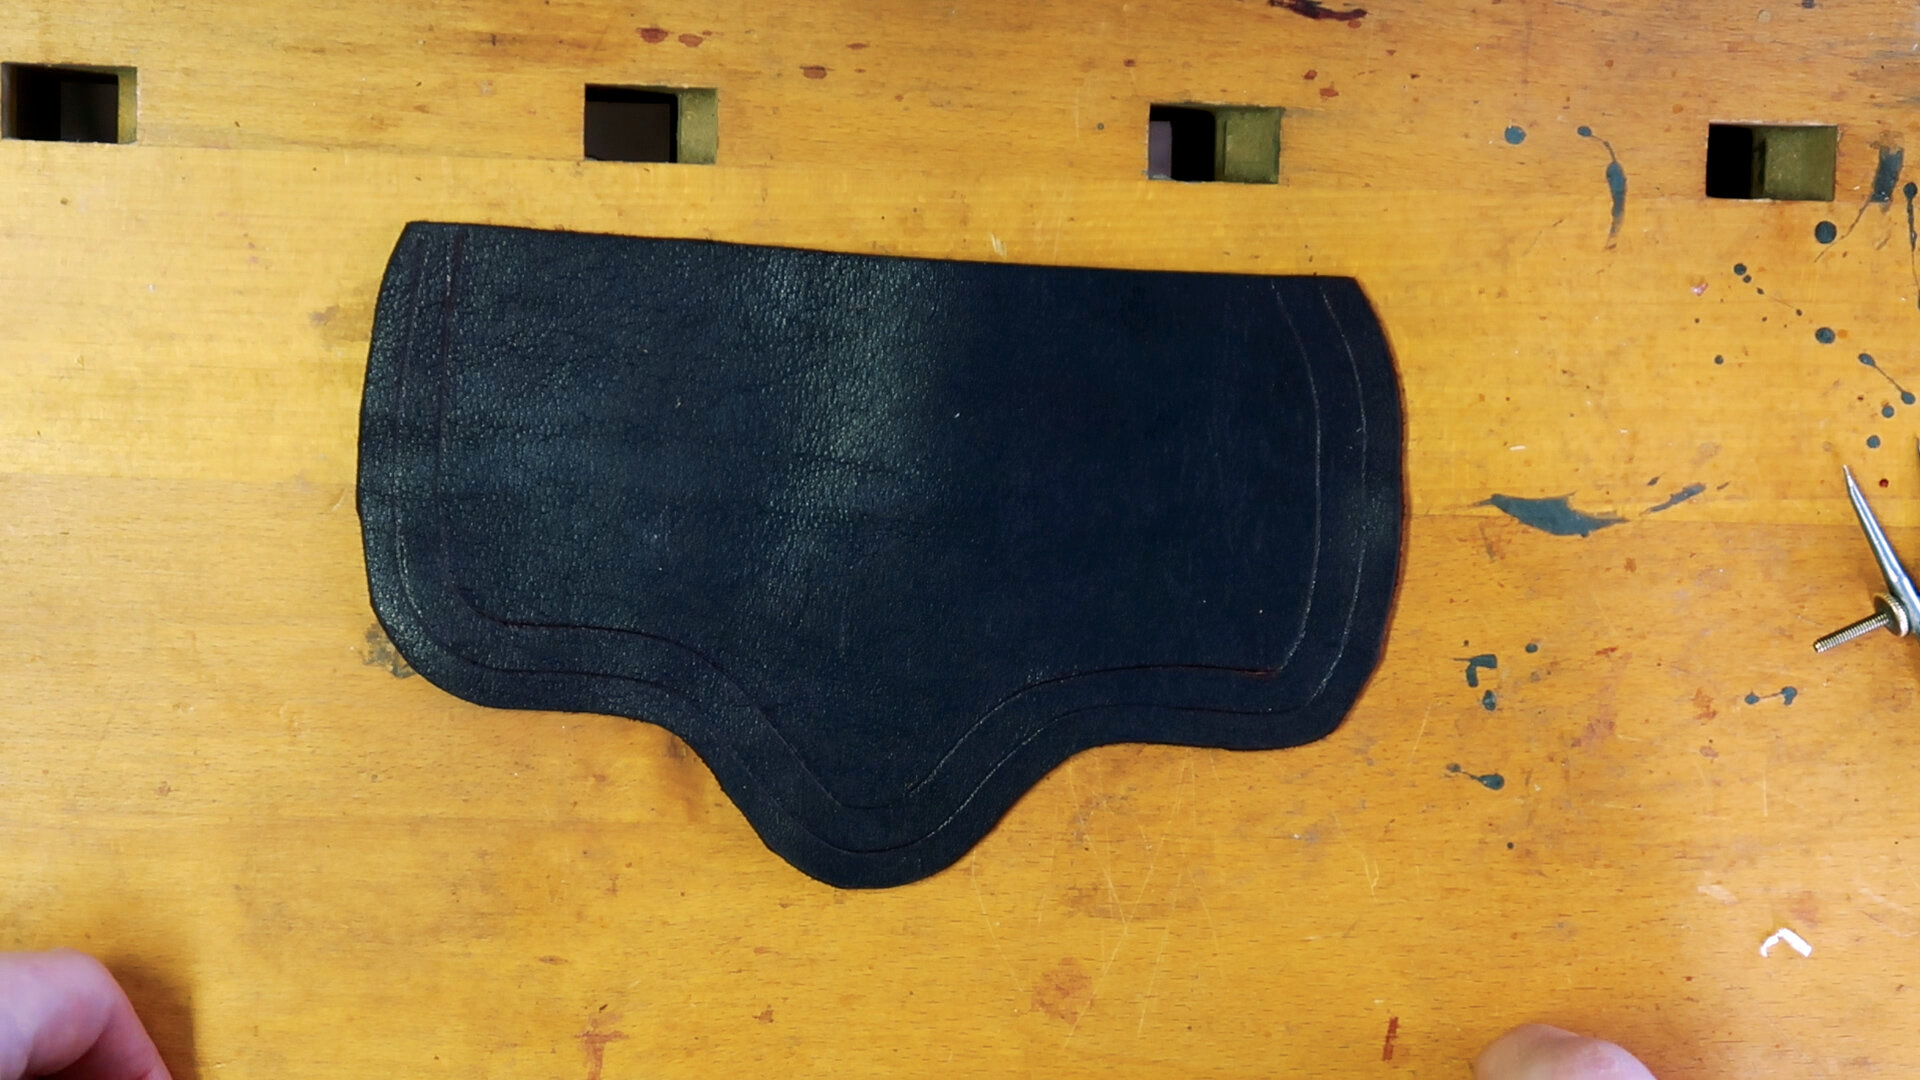
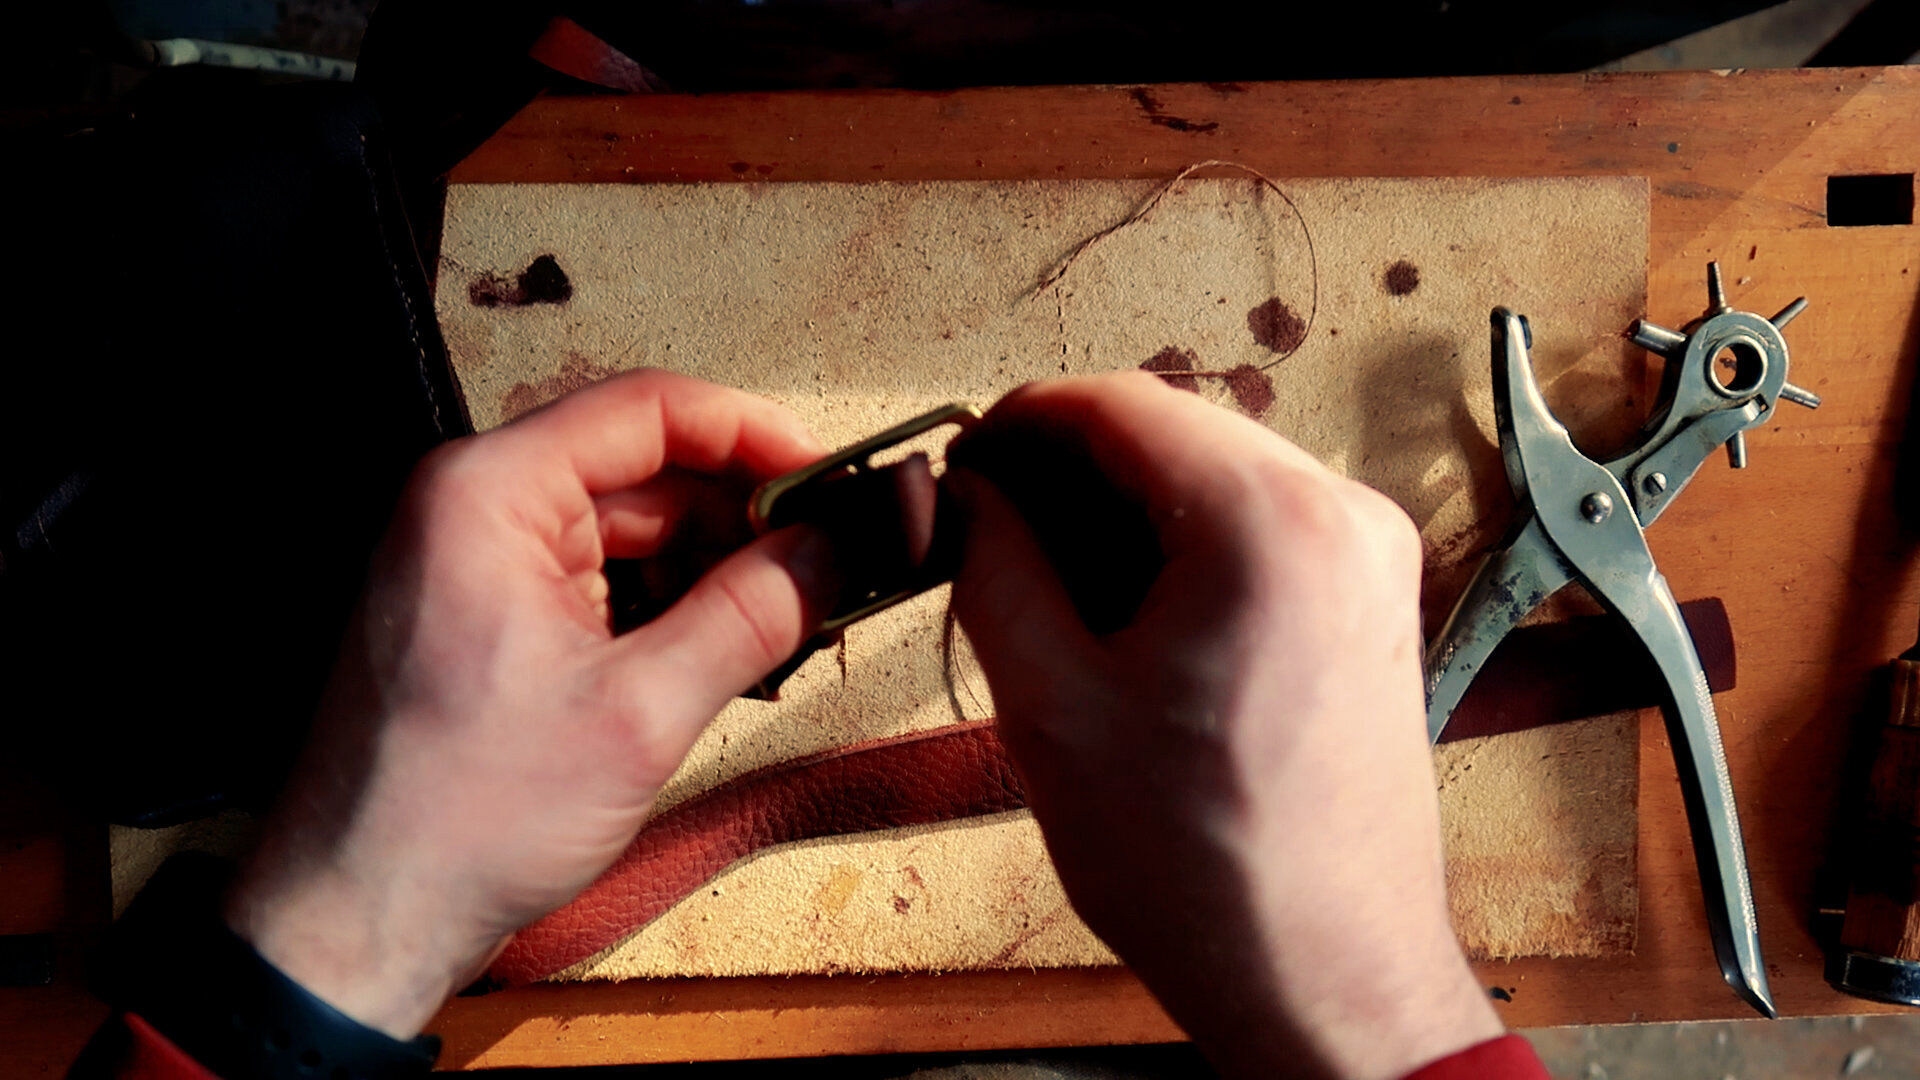
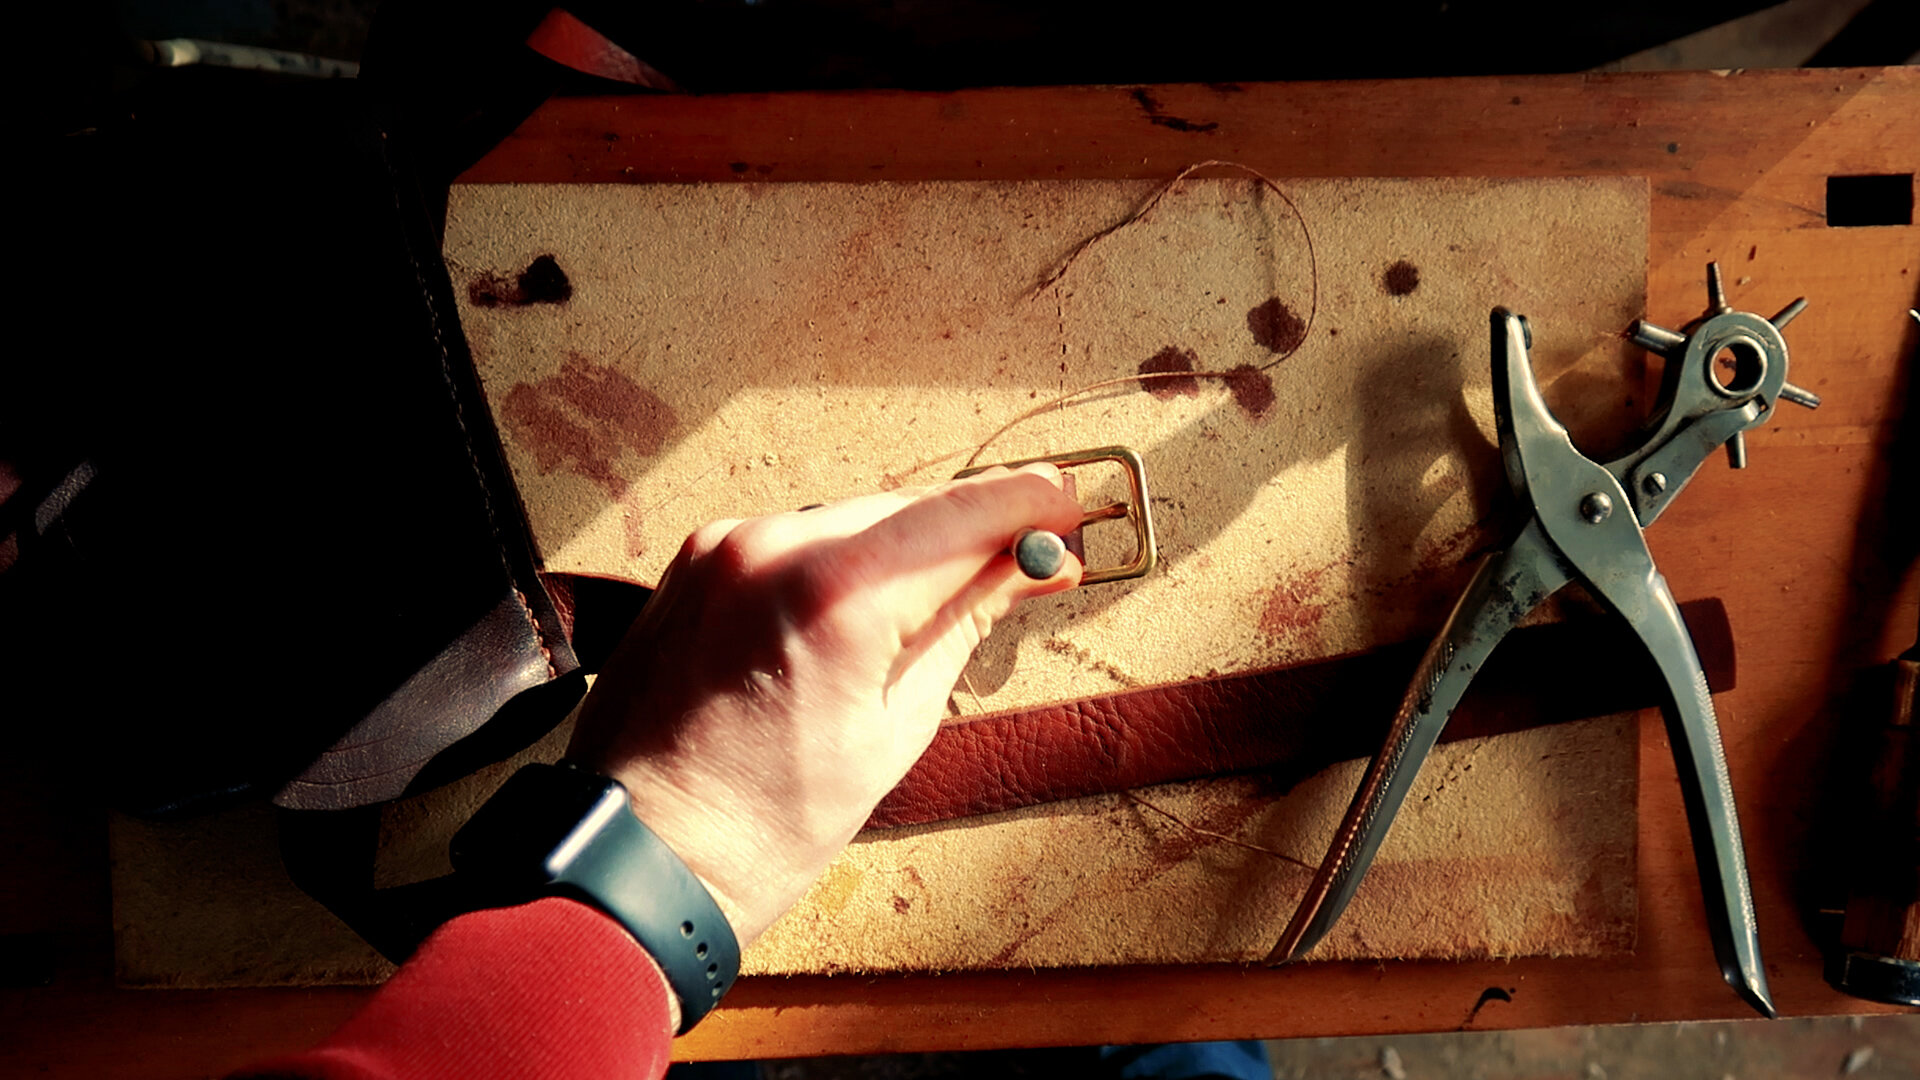
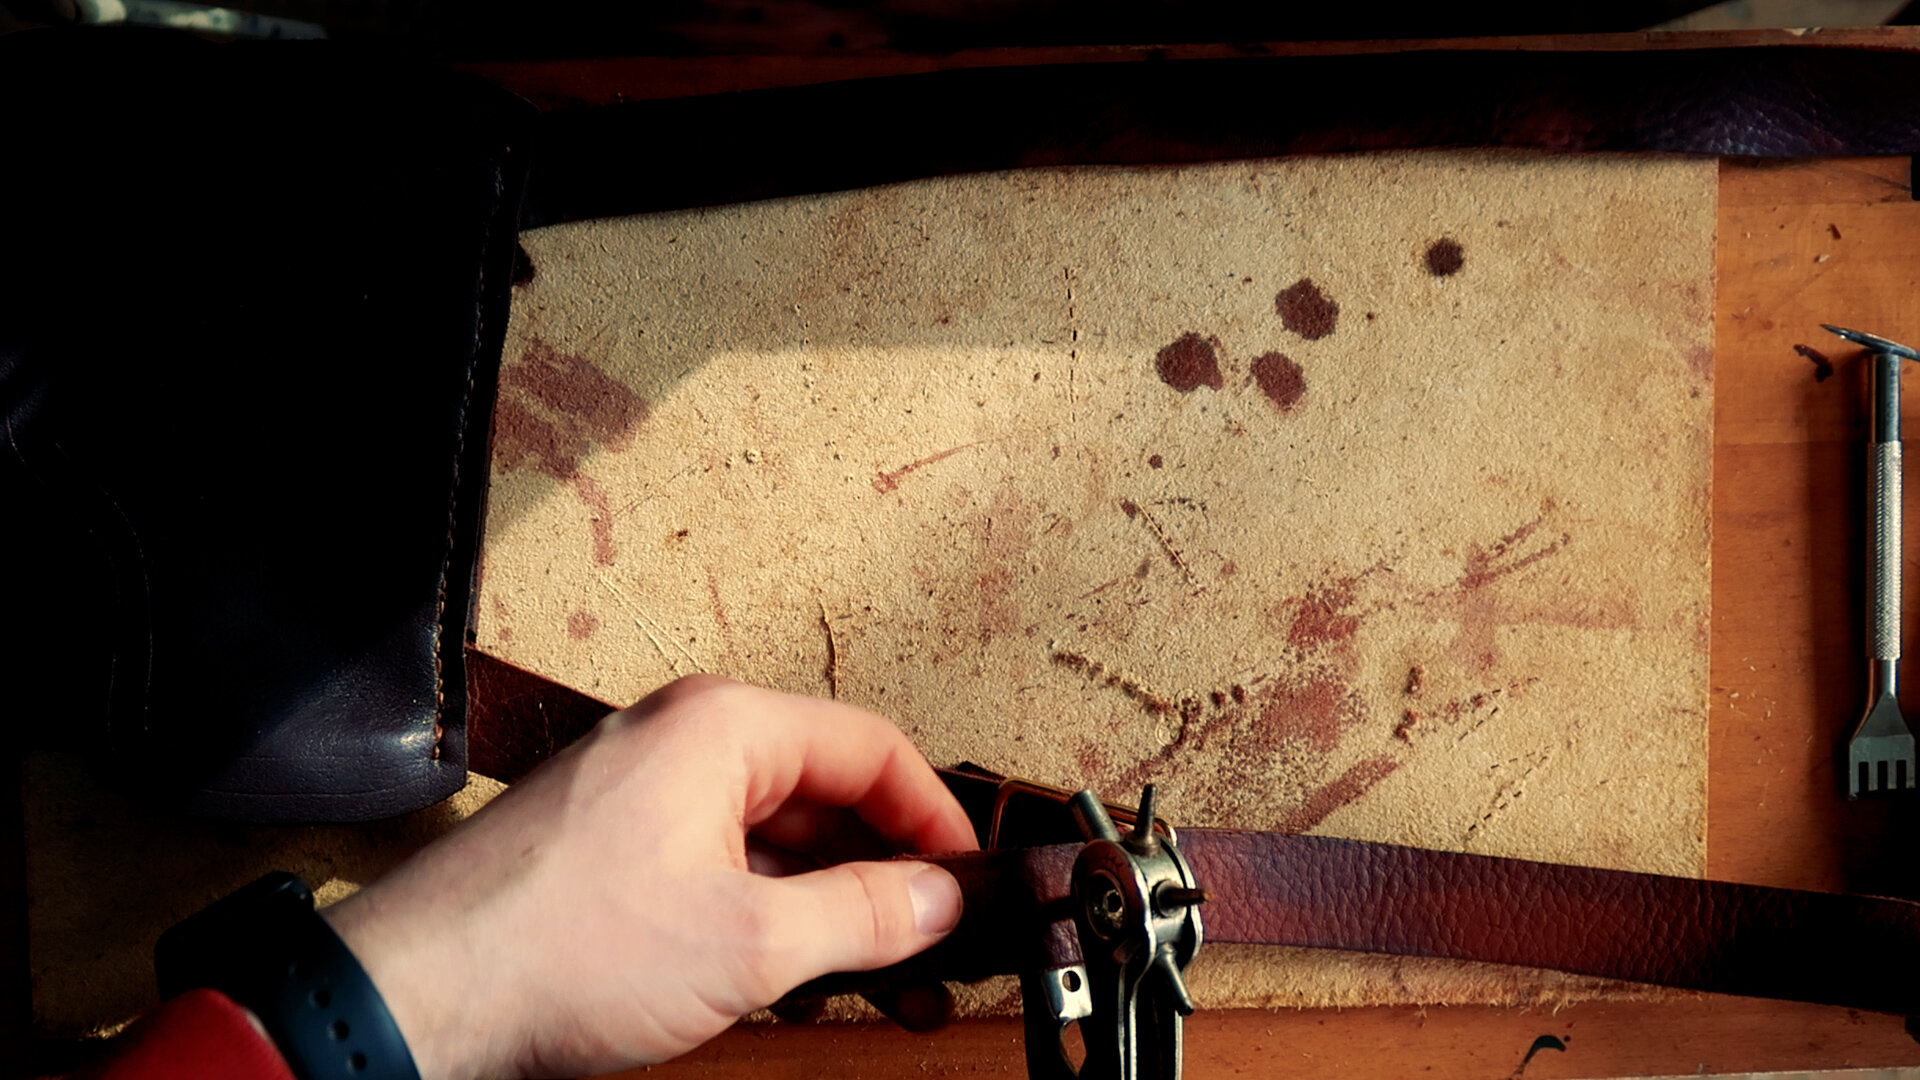
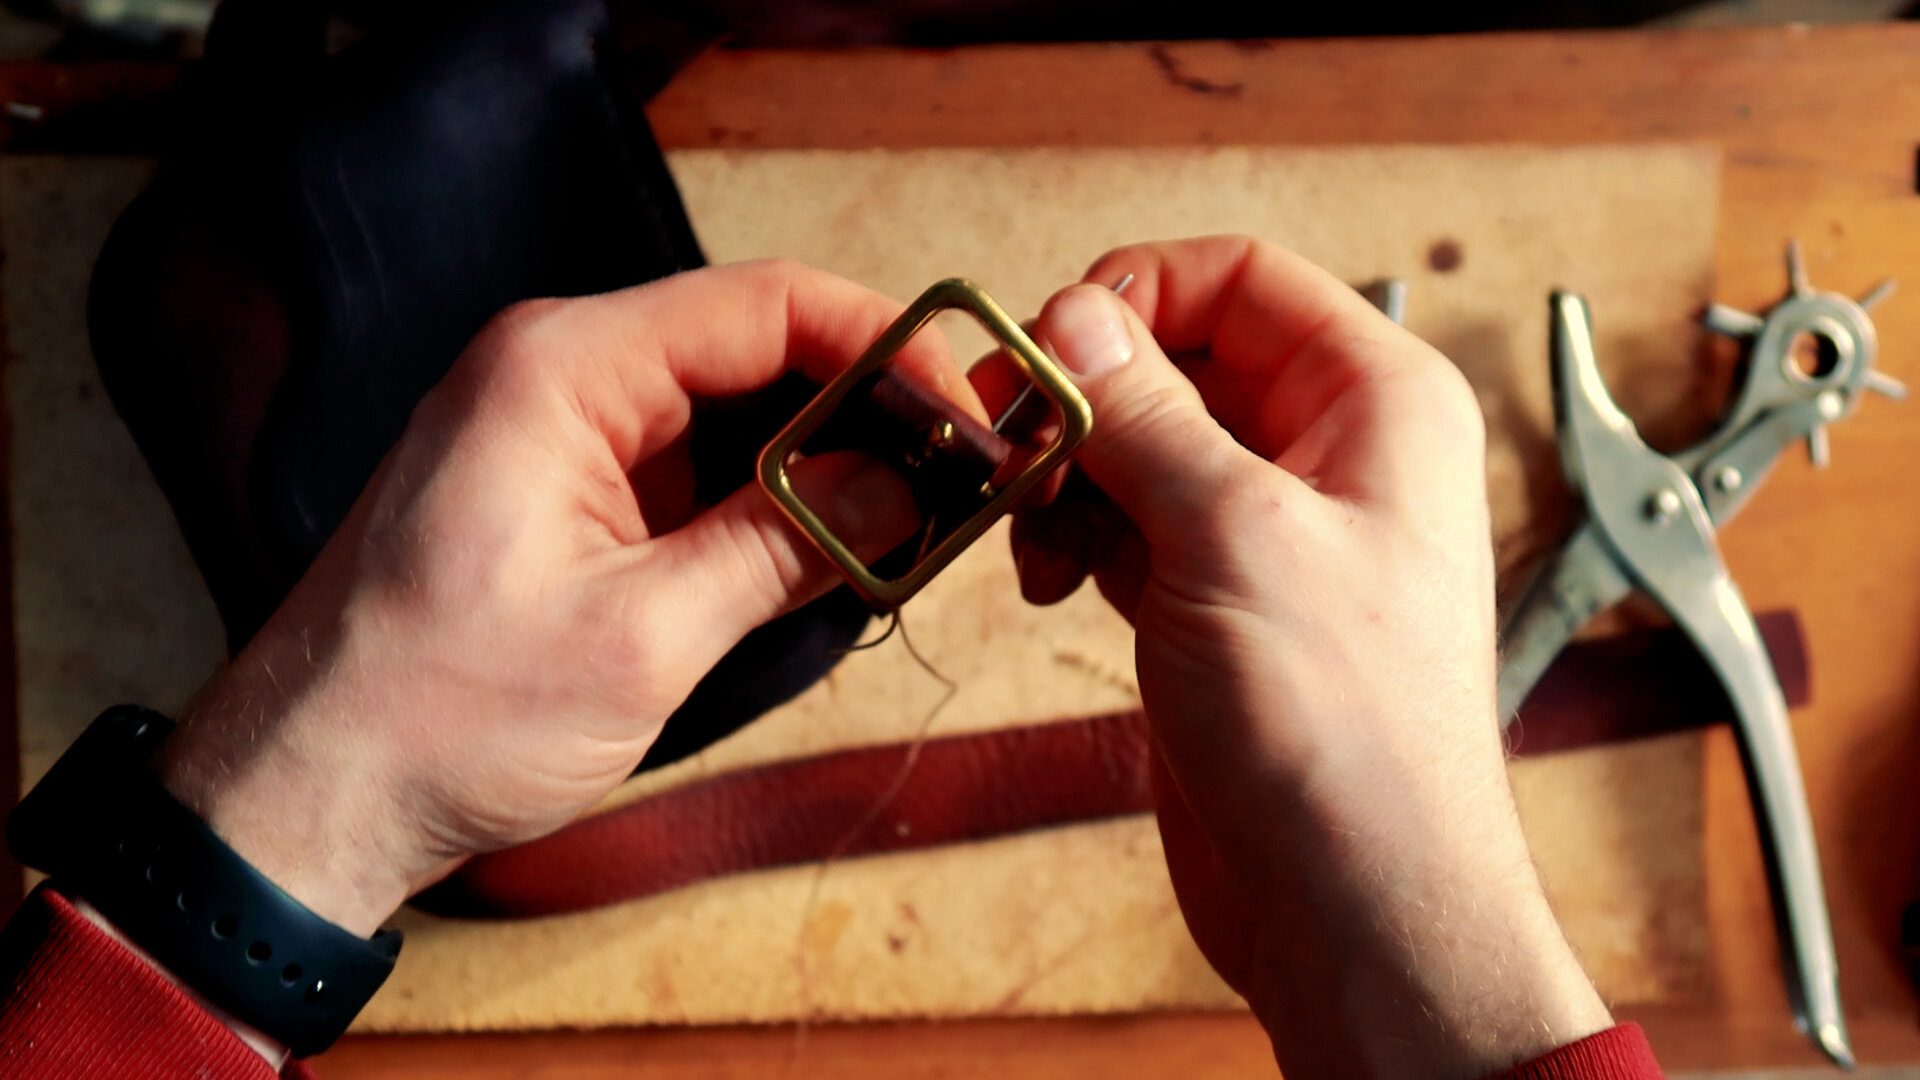
The mark on the shorter “buckle strap” is going to tell us where the center of the buckle will sit. Punch a hole large enough to accommodate your buckle bar, but small enough to prevent too much wiggle. Fold the excess over the center bar of the buckle and stitch in place. I used 3 double saddle stitches to hold this buckle. Using the same punch, punch a hole in your adjustable strap where you marked earlier. Then add a few more holes 2” from that first hole in either direction. I usually do 1 hole down the strap and 2 or 3 up the strap, (Up and down as the strap would lay on the body when carried).


With that, our bag is complete and we’re ready to fill it with all sorts of goodies. For long term care of this bag and any other leather accoutrements you might have for your muzzleloader, treat it seasonally with some “Neatsfoot Oil”, available at many farm supply stores around the US. This will keep the leather pliable and fresh for generations to come.
If you made this bag, please send us some pictures by tagging us on social media or emailing us at media@nmlra.org, we’d love to see them and share them. If you’d like something different for craftsman’s corner, please let us know via email or on social media as well, we’re enjoying making this series and want to share more projects with you.
Craftsman’s Corner is just one of the educational opportunities provided by the NMLRA. We host several traditional craft classes through the year at the NMLRA Education Center in Friendship Indiana. If you’d like to learn more, visit NMLRA.org/classes. Programs like this are made possible by the membership of the NMLRA, thank you. To join the NMLRA and support traditional craft education, please visit NMLRA.org/join